Things I made in 2023: A Year of Knits, Crochet, and 3D Creations
I have continued to knit in 2023, and I also reminded myself how to crochet. As usual, check the Ravelry link for the pattern, more photos, and more details of each project. You can view all 13 of the projects mentioned below at once: 2023 Projects on Ravelry
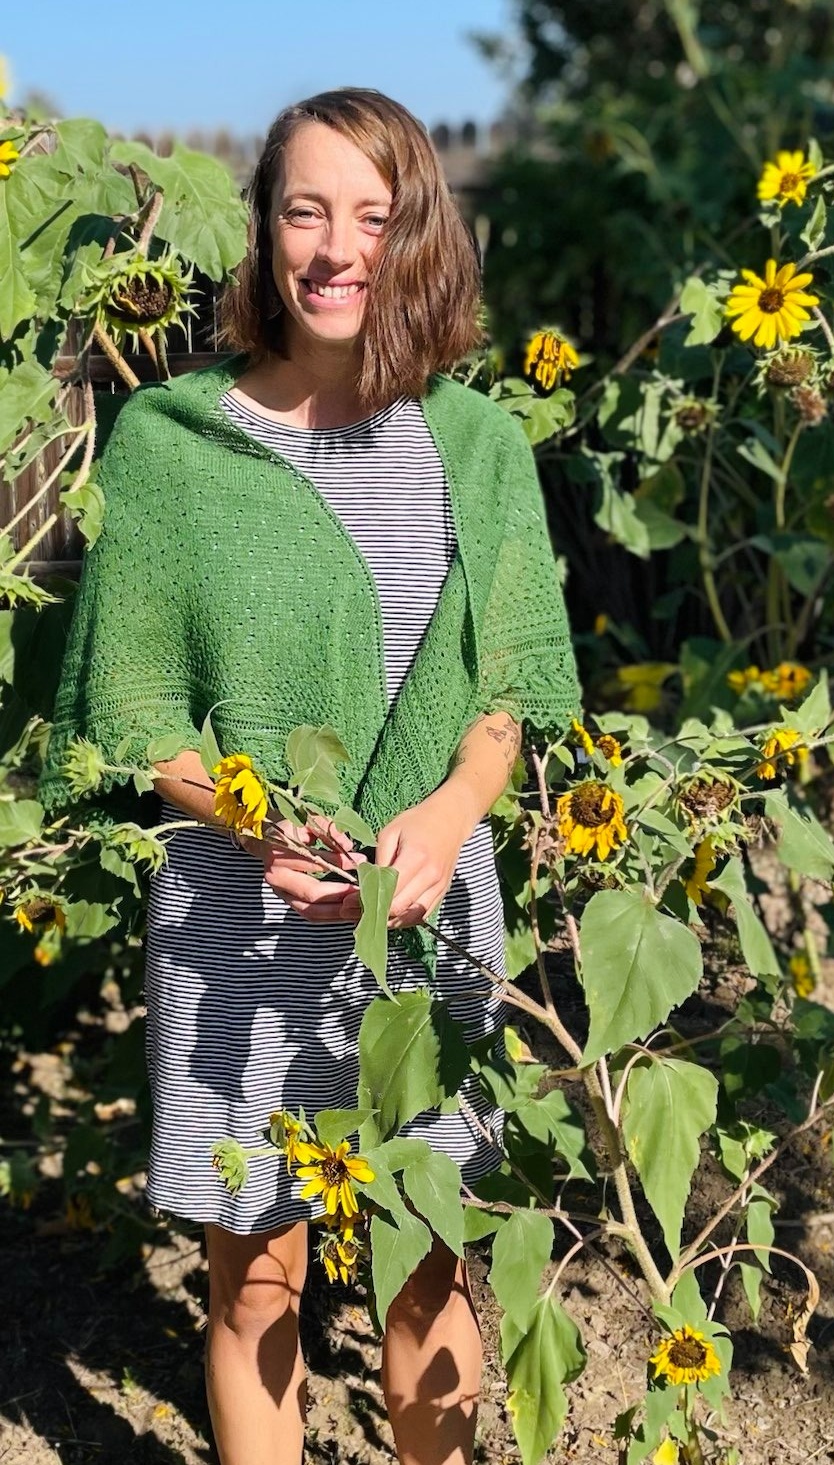
Click any of the images below for bigger versions. And as always, thank you to my sister for making everything look better with her modeling and photography!
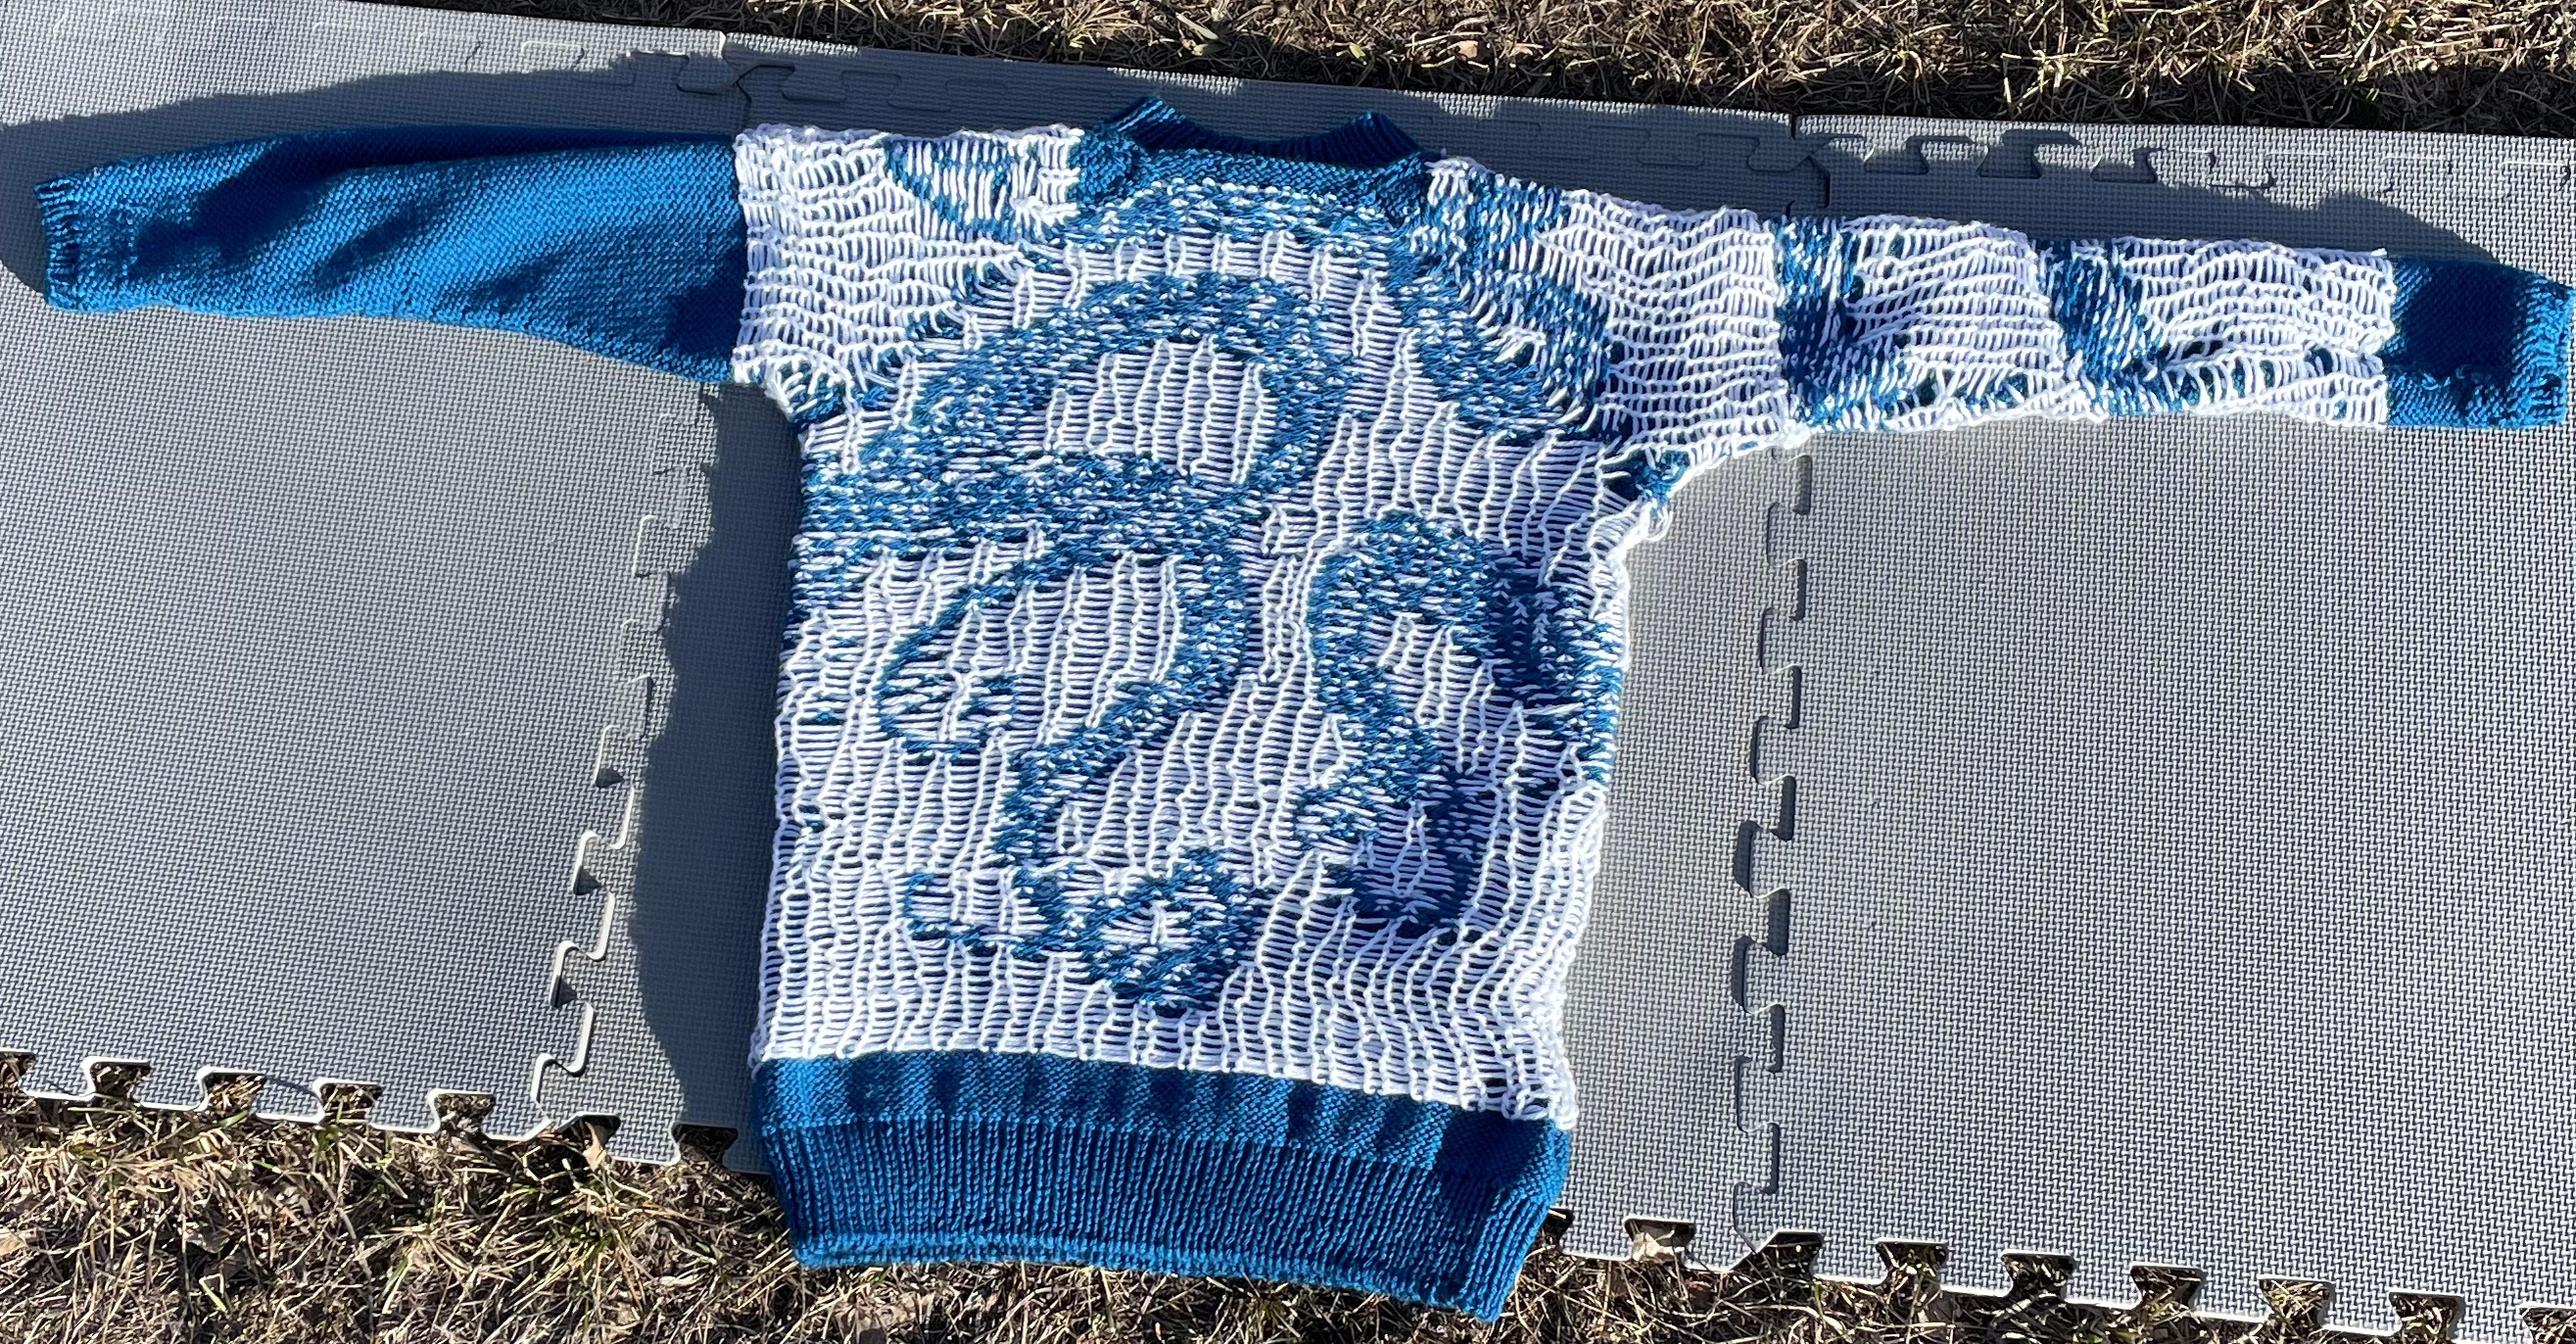
Beware the Mighty Septopus!
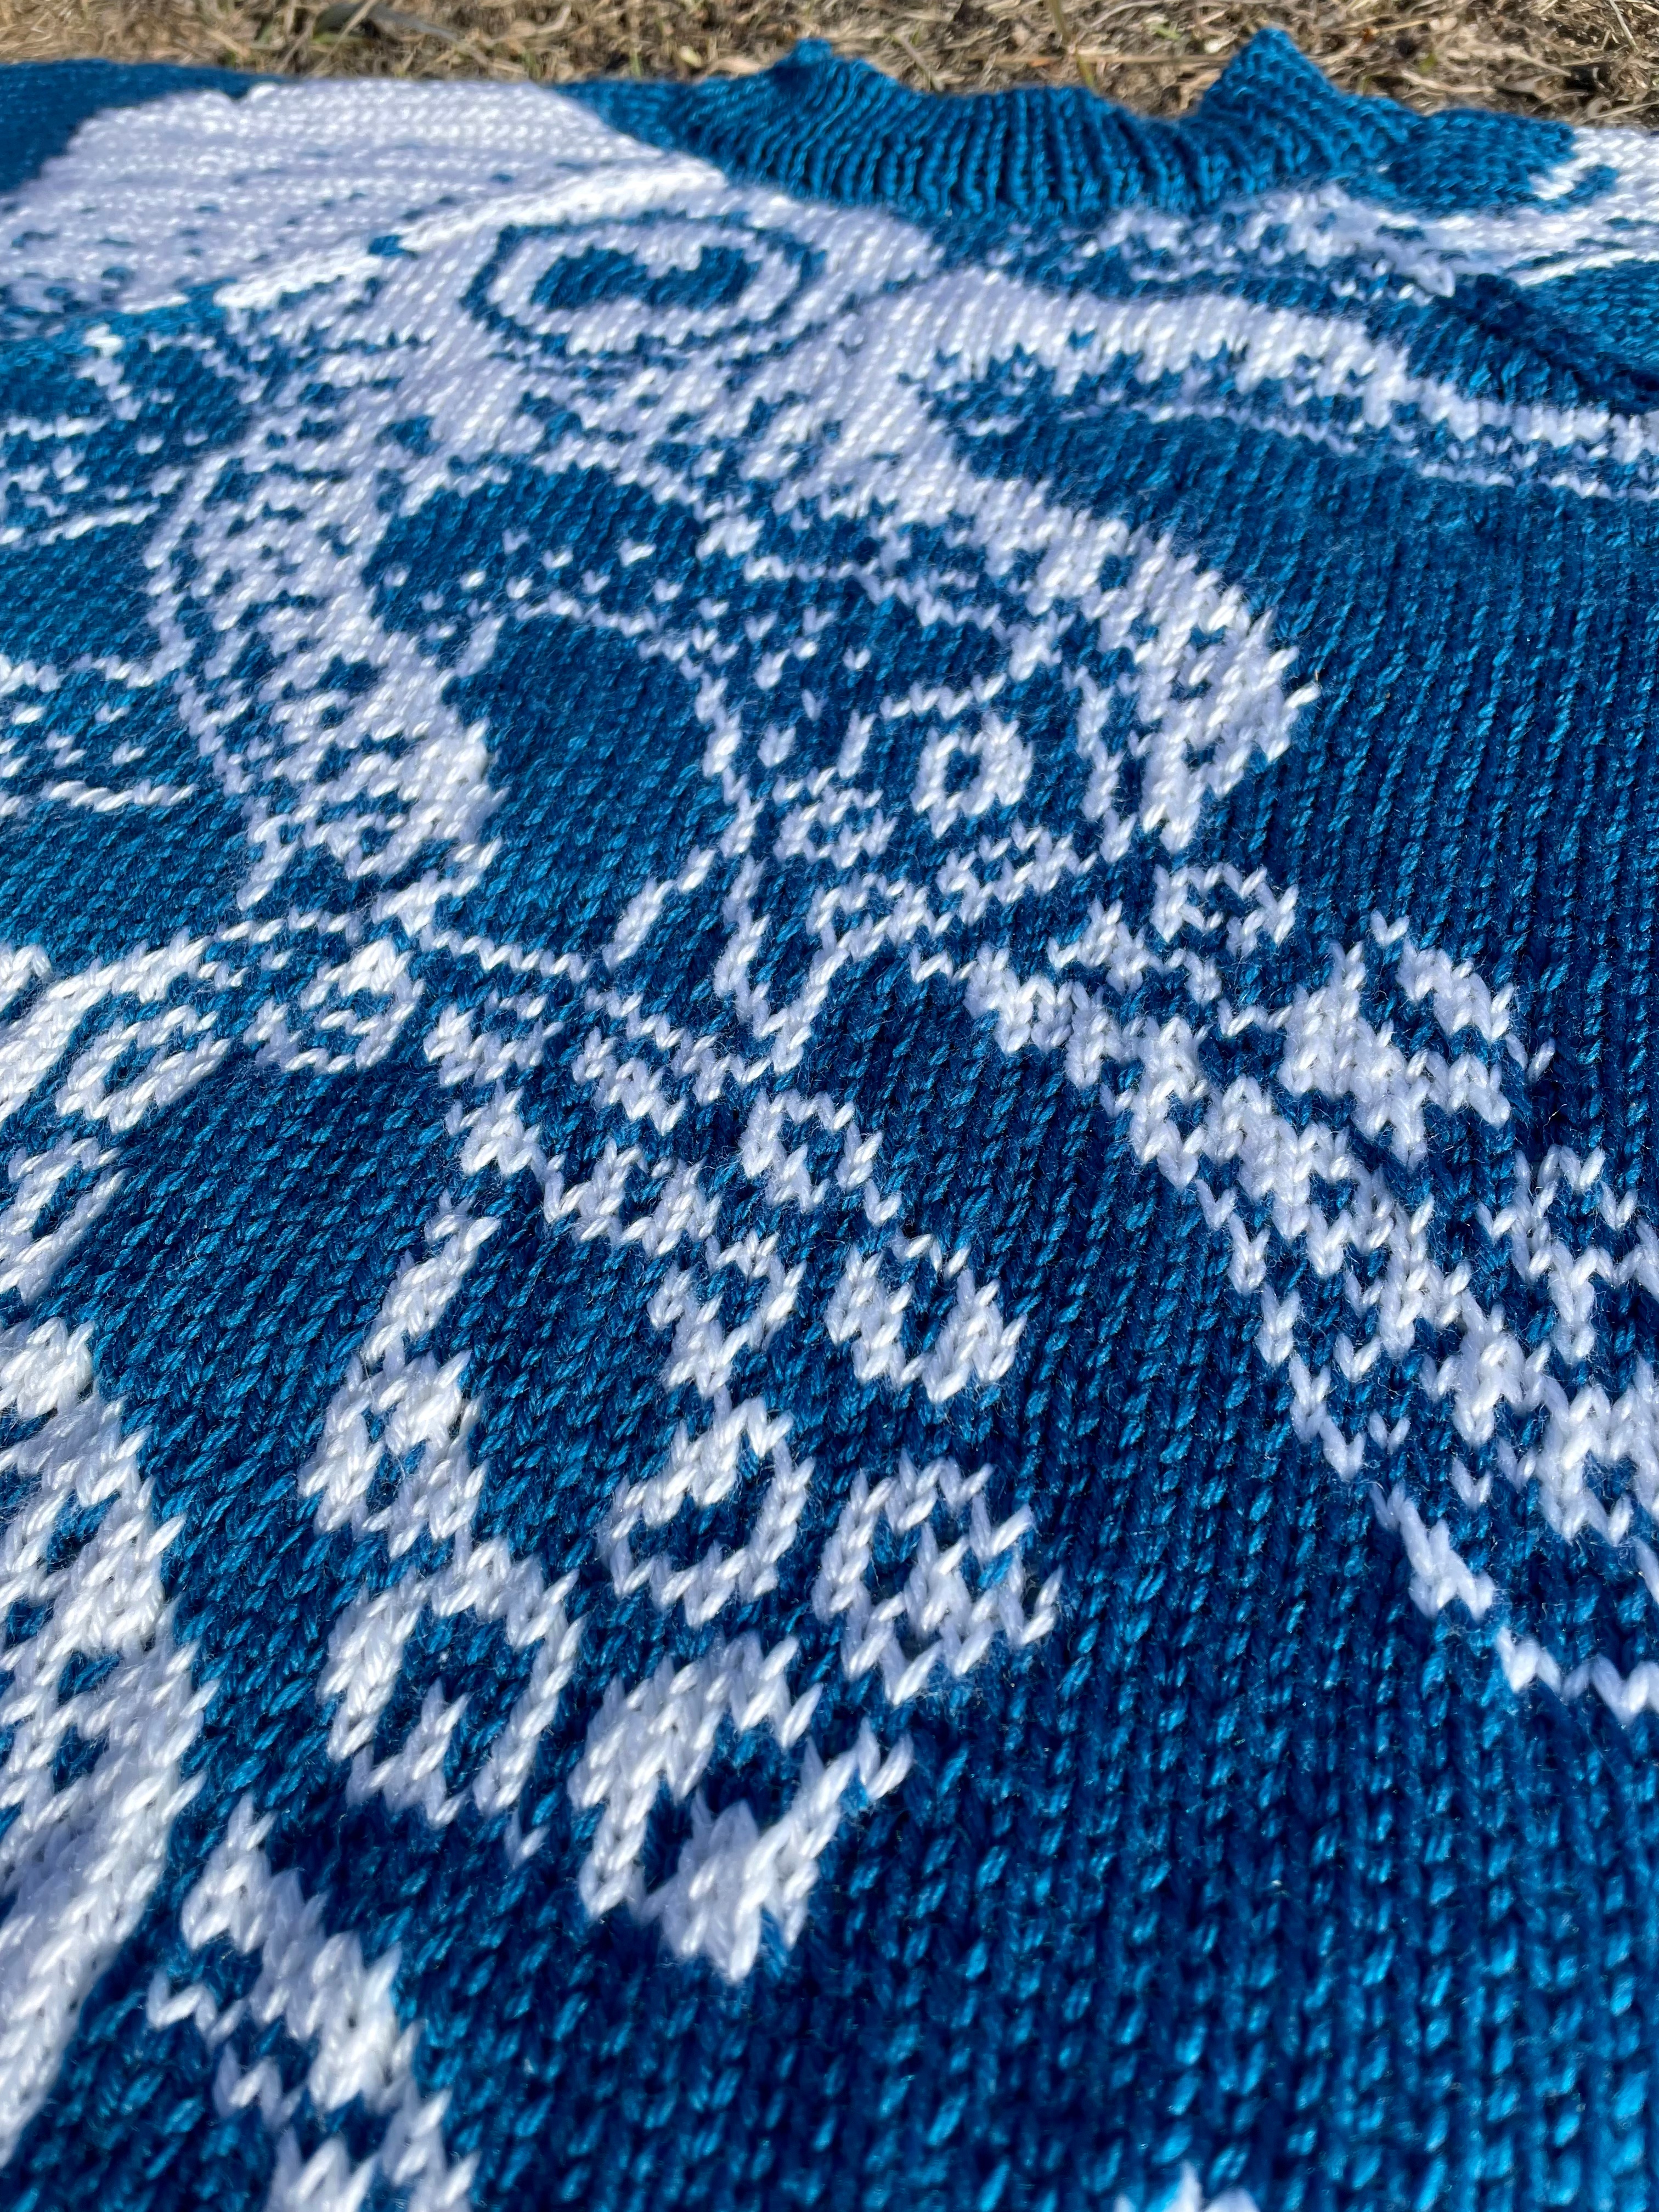

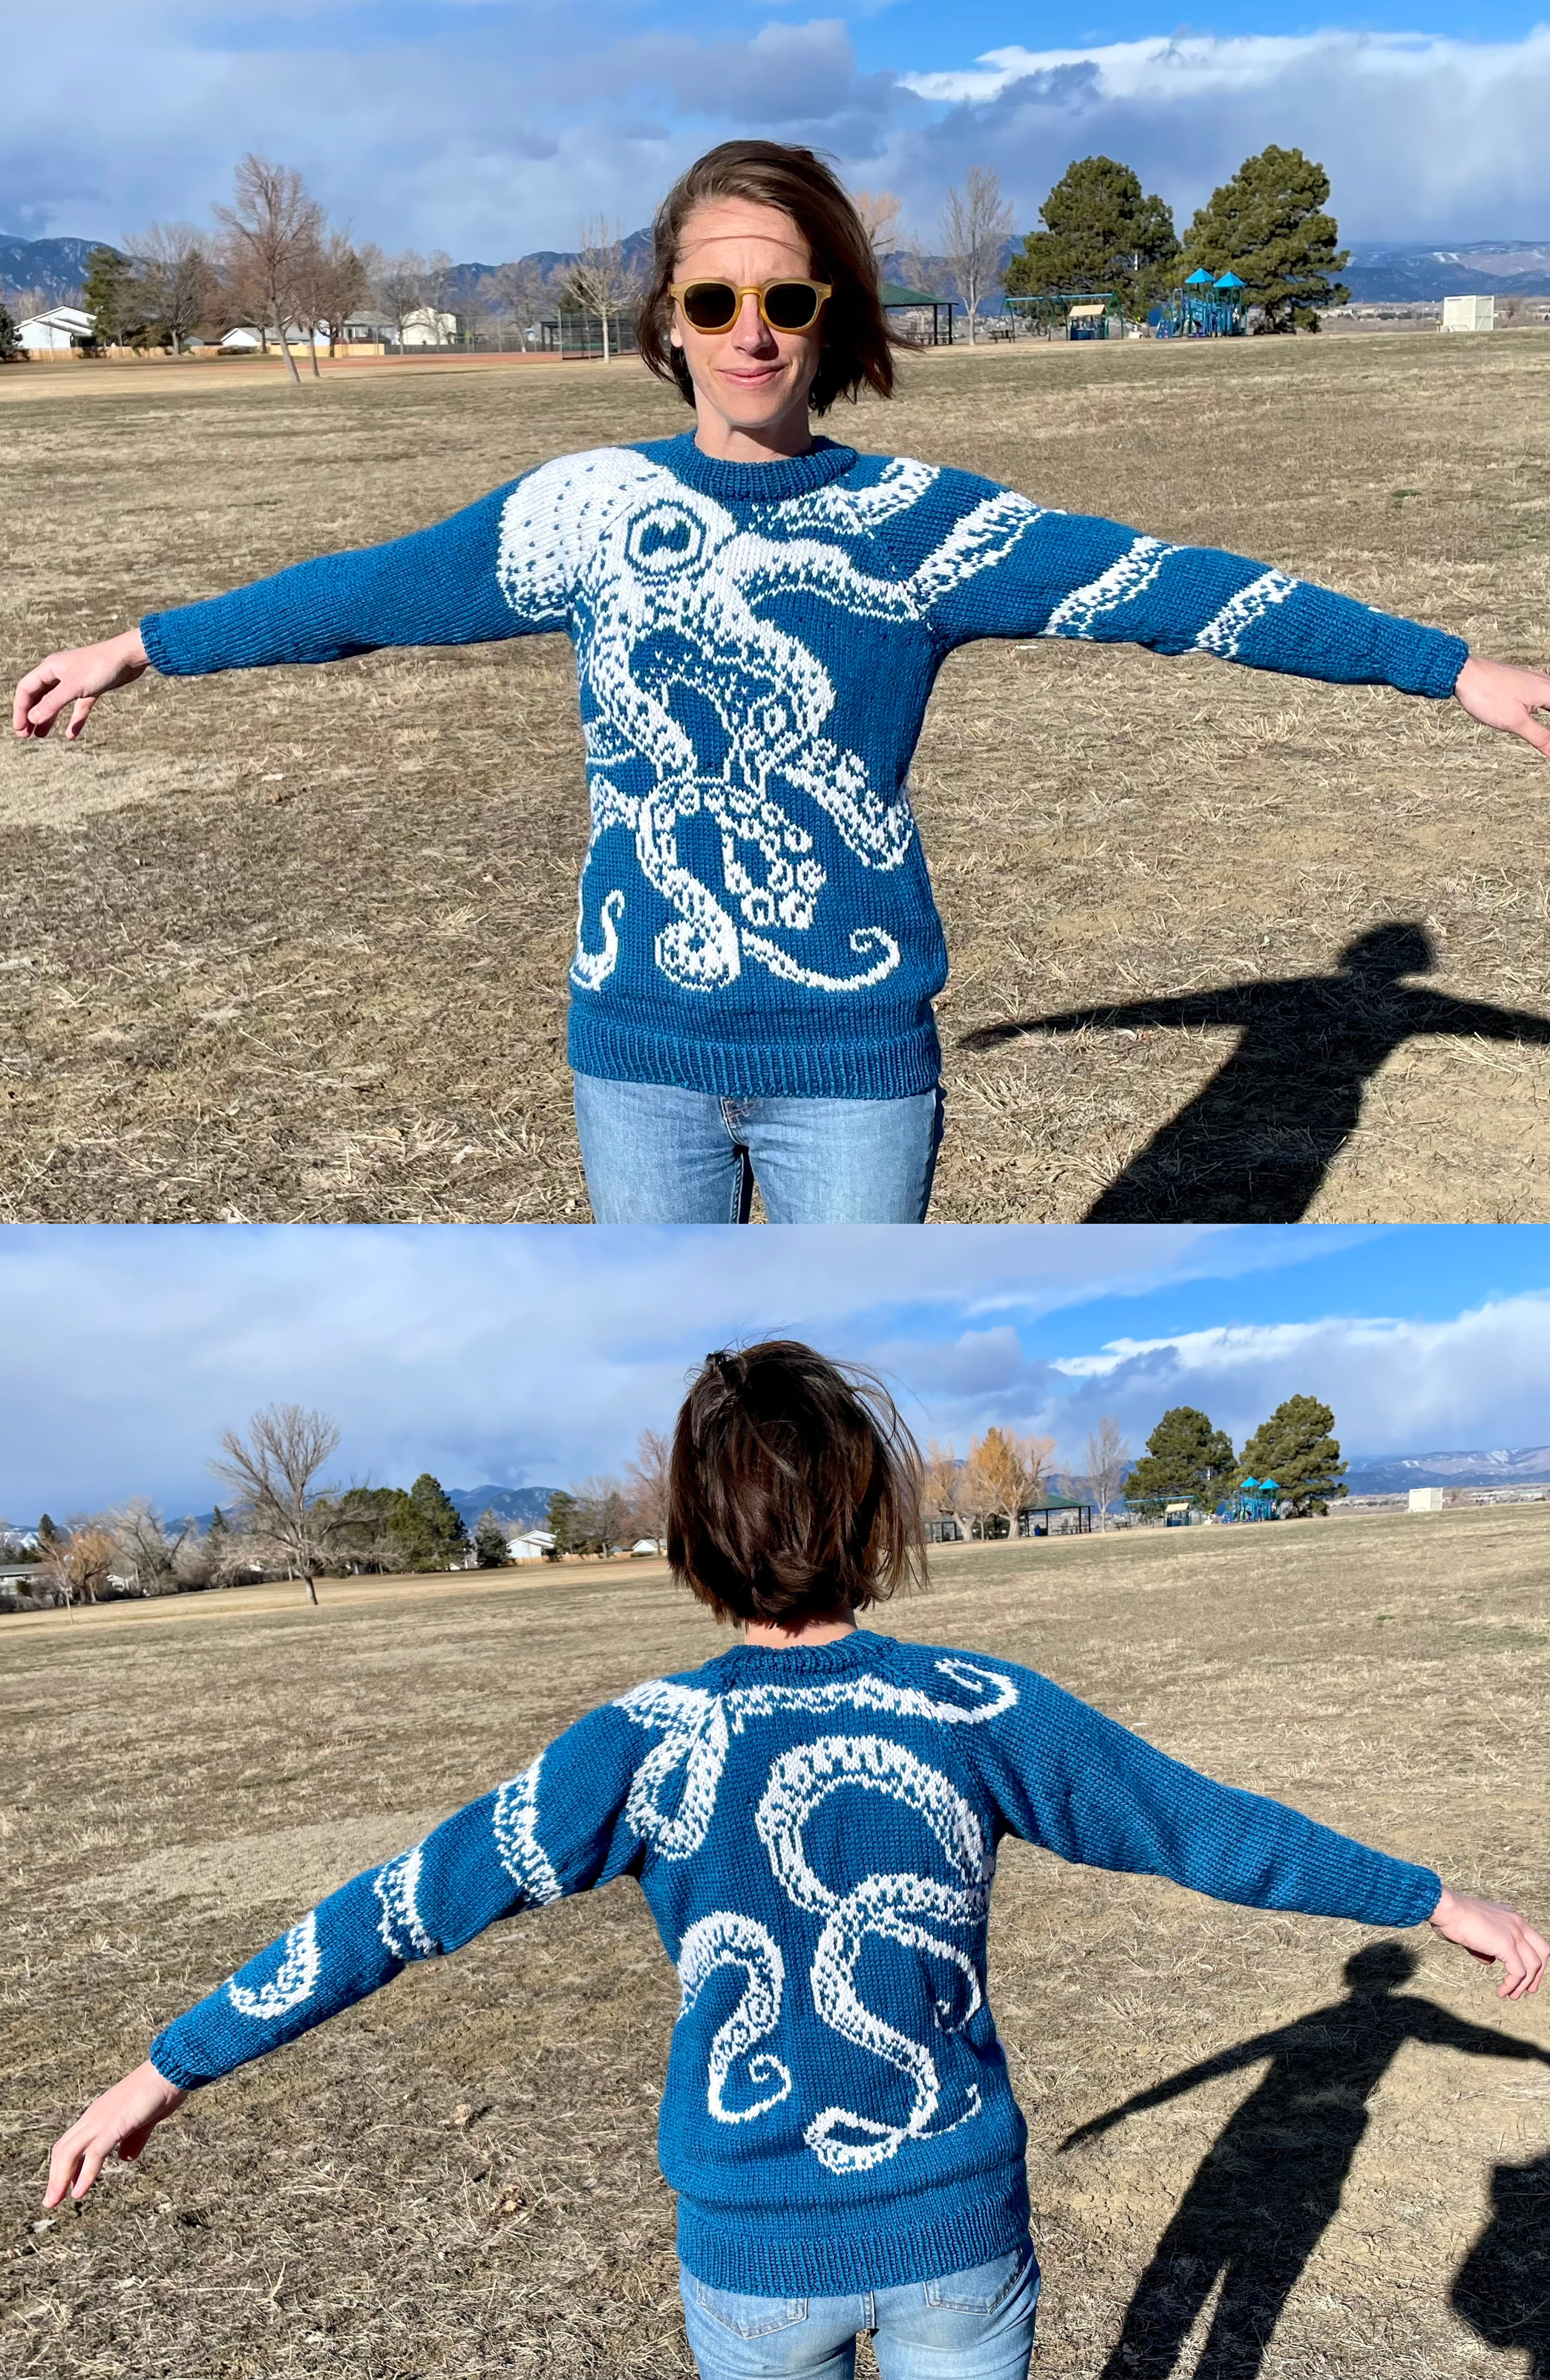
At the end of last year’s roundup I had finished a single octopus colorwork mitten for my sister. I finished the pair, and also a sweater to go with them!
Both cephalopod designs (the mittens by Emily Peters and the sweater by Maia E. Sirnes) feature tentacles that wrap around the entire piece.

I lined the mittens with polar fleece — which was the first and, unfortunately, last thing I used my sewing machine for in 2023.

For both pieces I managed the floats using ladderback jacquard. The small mittens were a good practice for the sweater. In both projects I started the ladders using the lifted increase method, but those are visible in several places on the rightside of the sweater and I wish I had tried using the backwards loop cast on method mentioned in the ysolda tutorial (linked above).
-
Ravelry Project: Mindy’s Mighty Septopus
-
Ravelry Project: Octopus Mittens
Pom poms
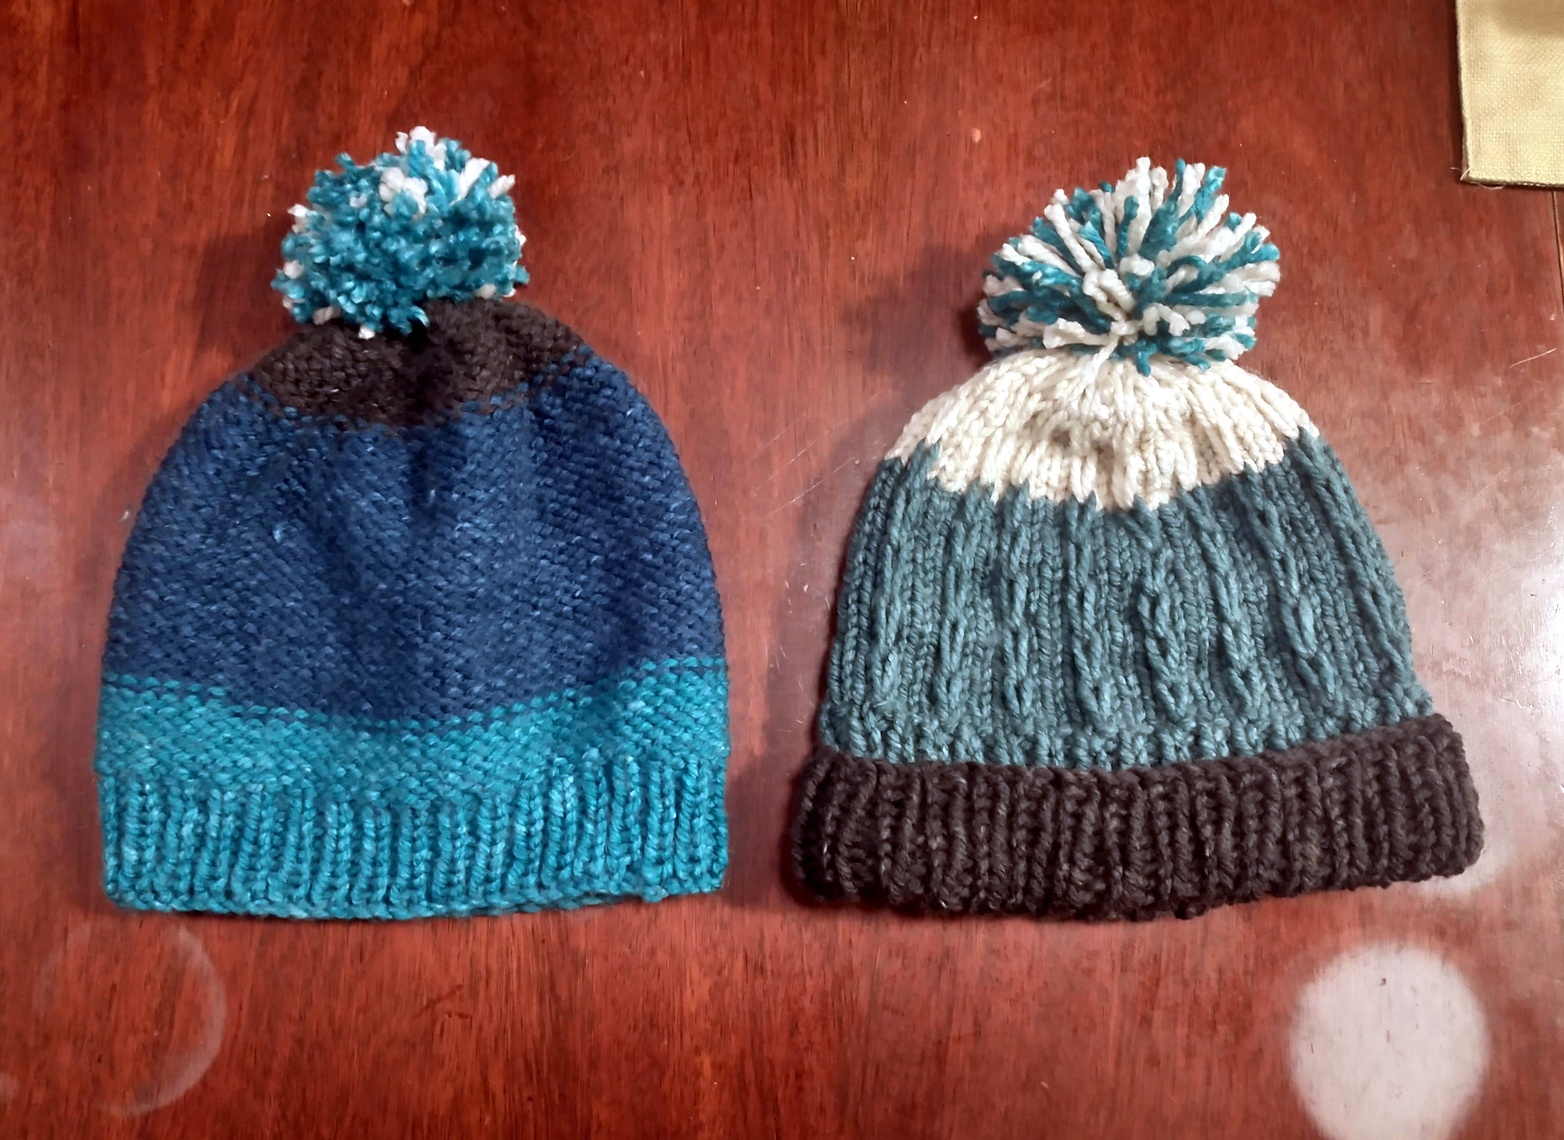
Before finishing the mittens and sweater, I made a couple of beanies out of a single skein of closeout ($3) acrylic yarn. (The hat on the left in the photo is Snap by Tin Can Knits which I made as a beta tester for their new app)
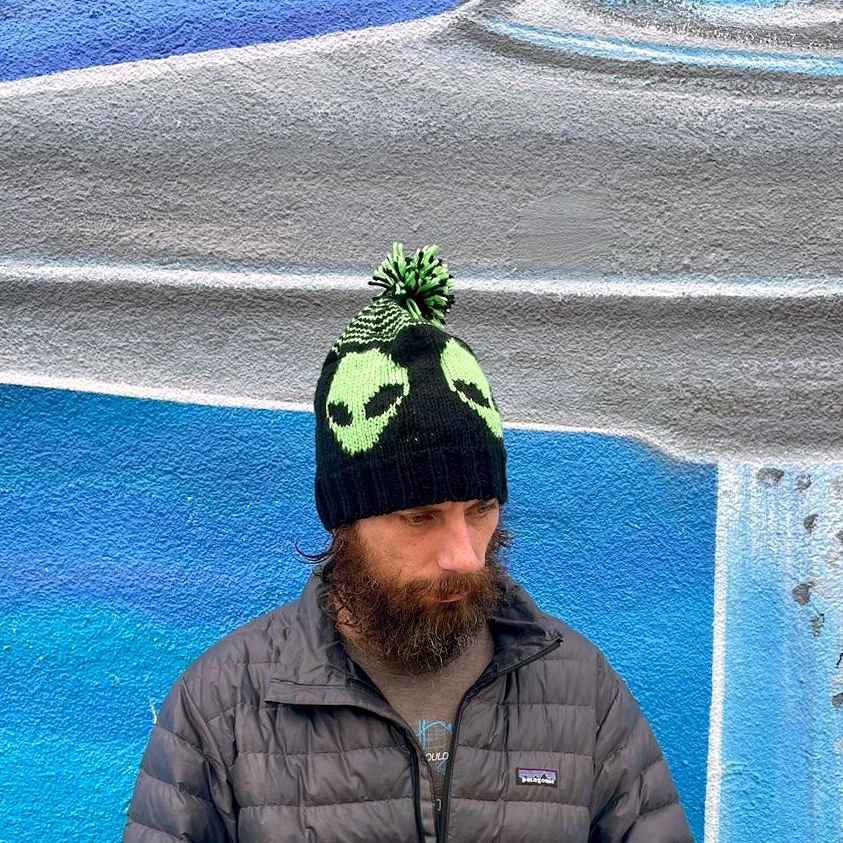
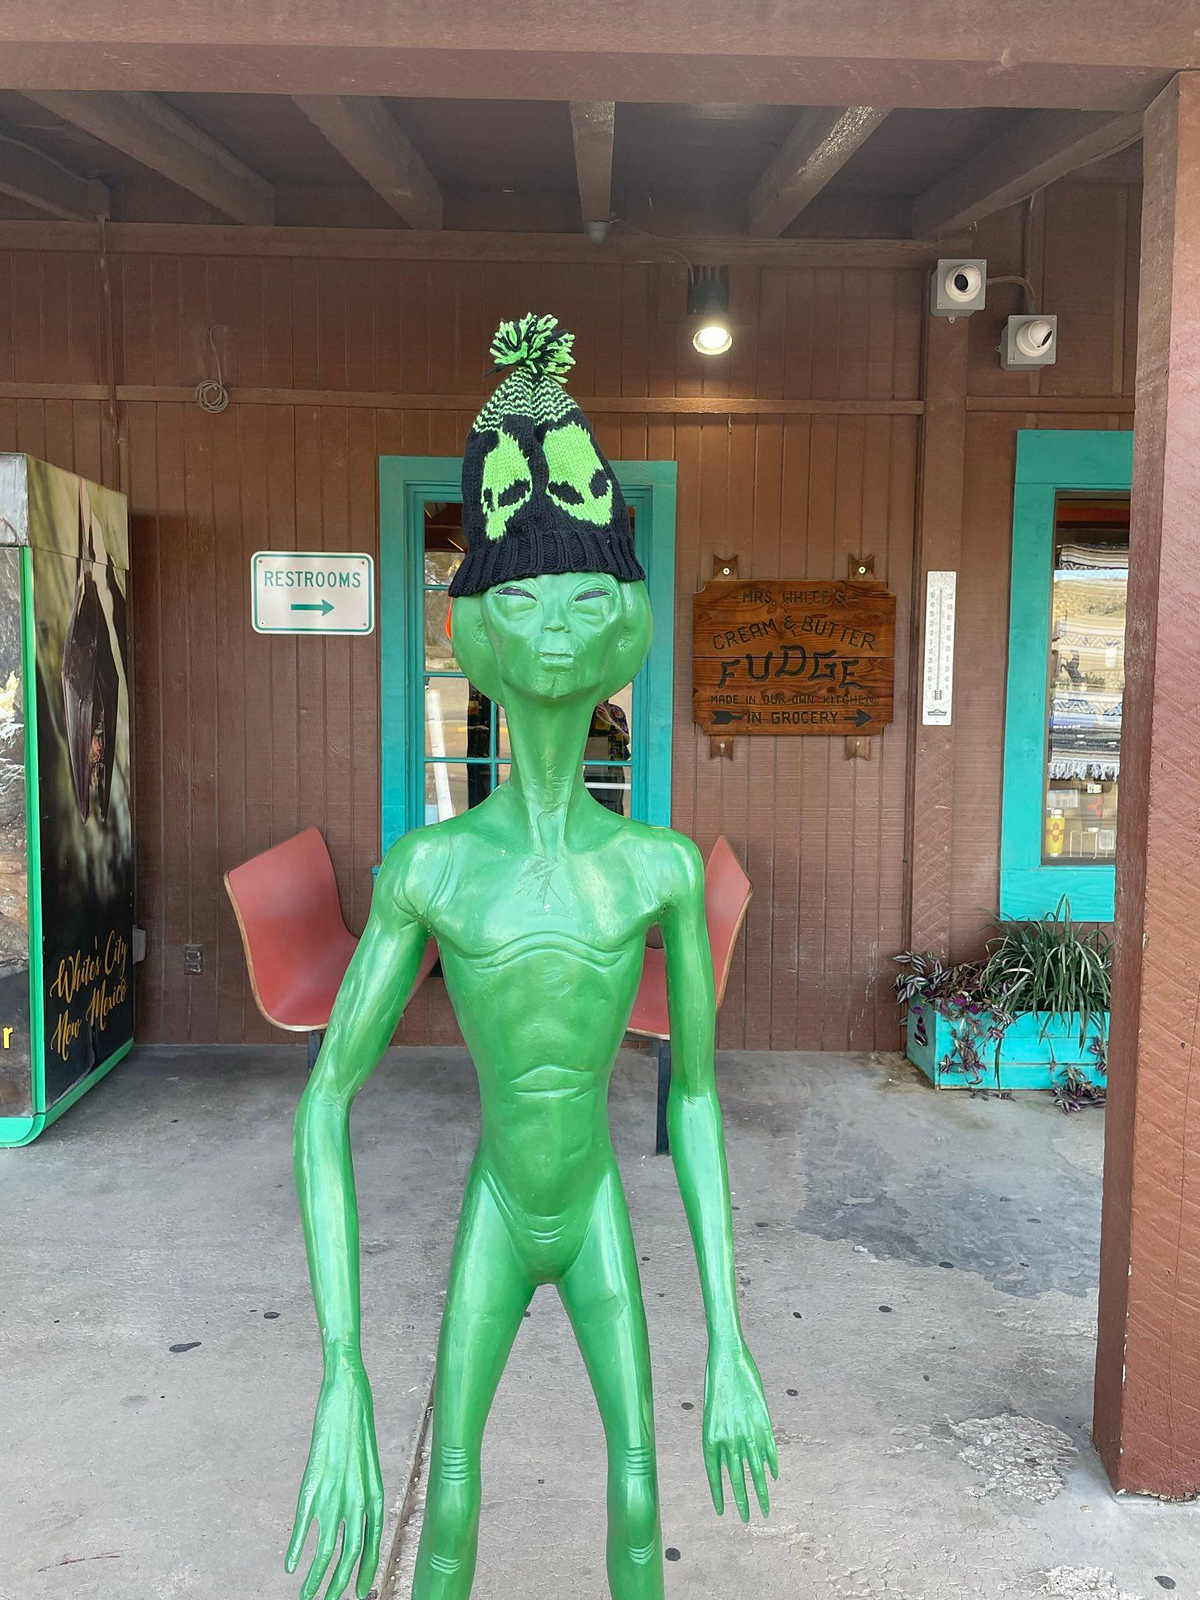
In the fall I went on a road/hiking trip in the American Southwest. We stayed in Roswell, NM, on our first night, so I found and made an alien-themed beanie pattern before leaving.
Like the octopus pieces, I managed the floats in the colorblocks between and within the alien faces with ladderback jacquard.
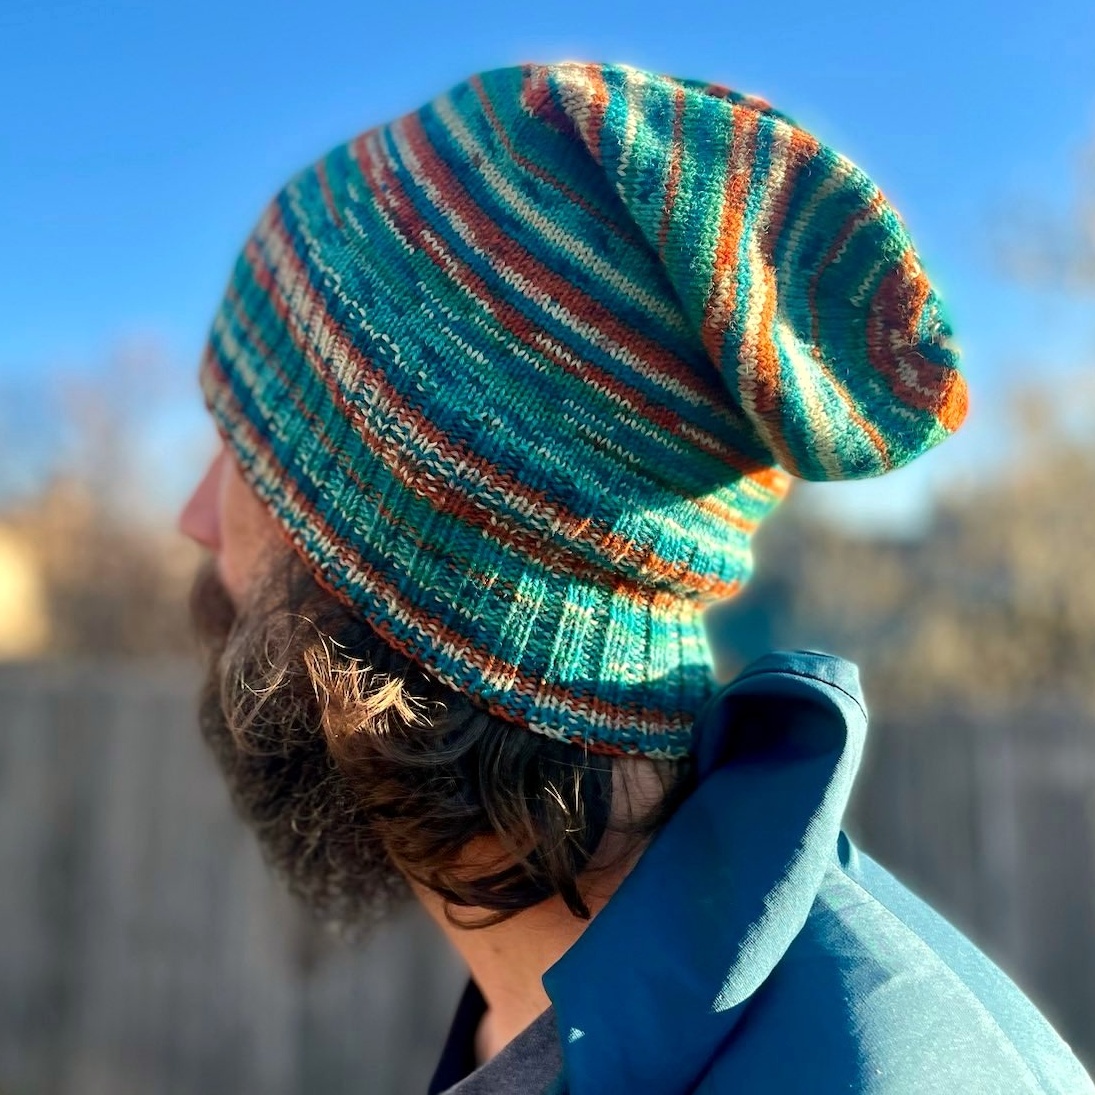
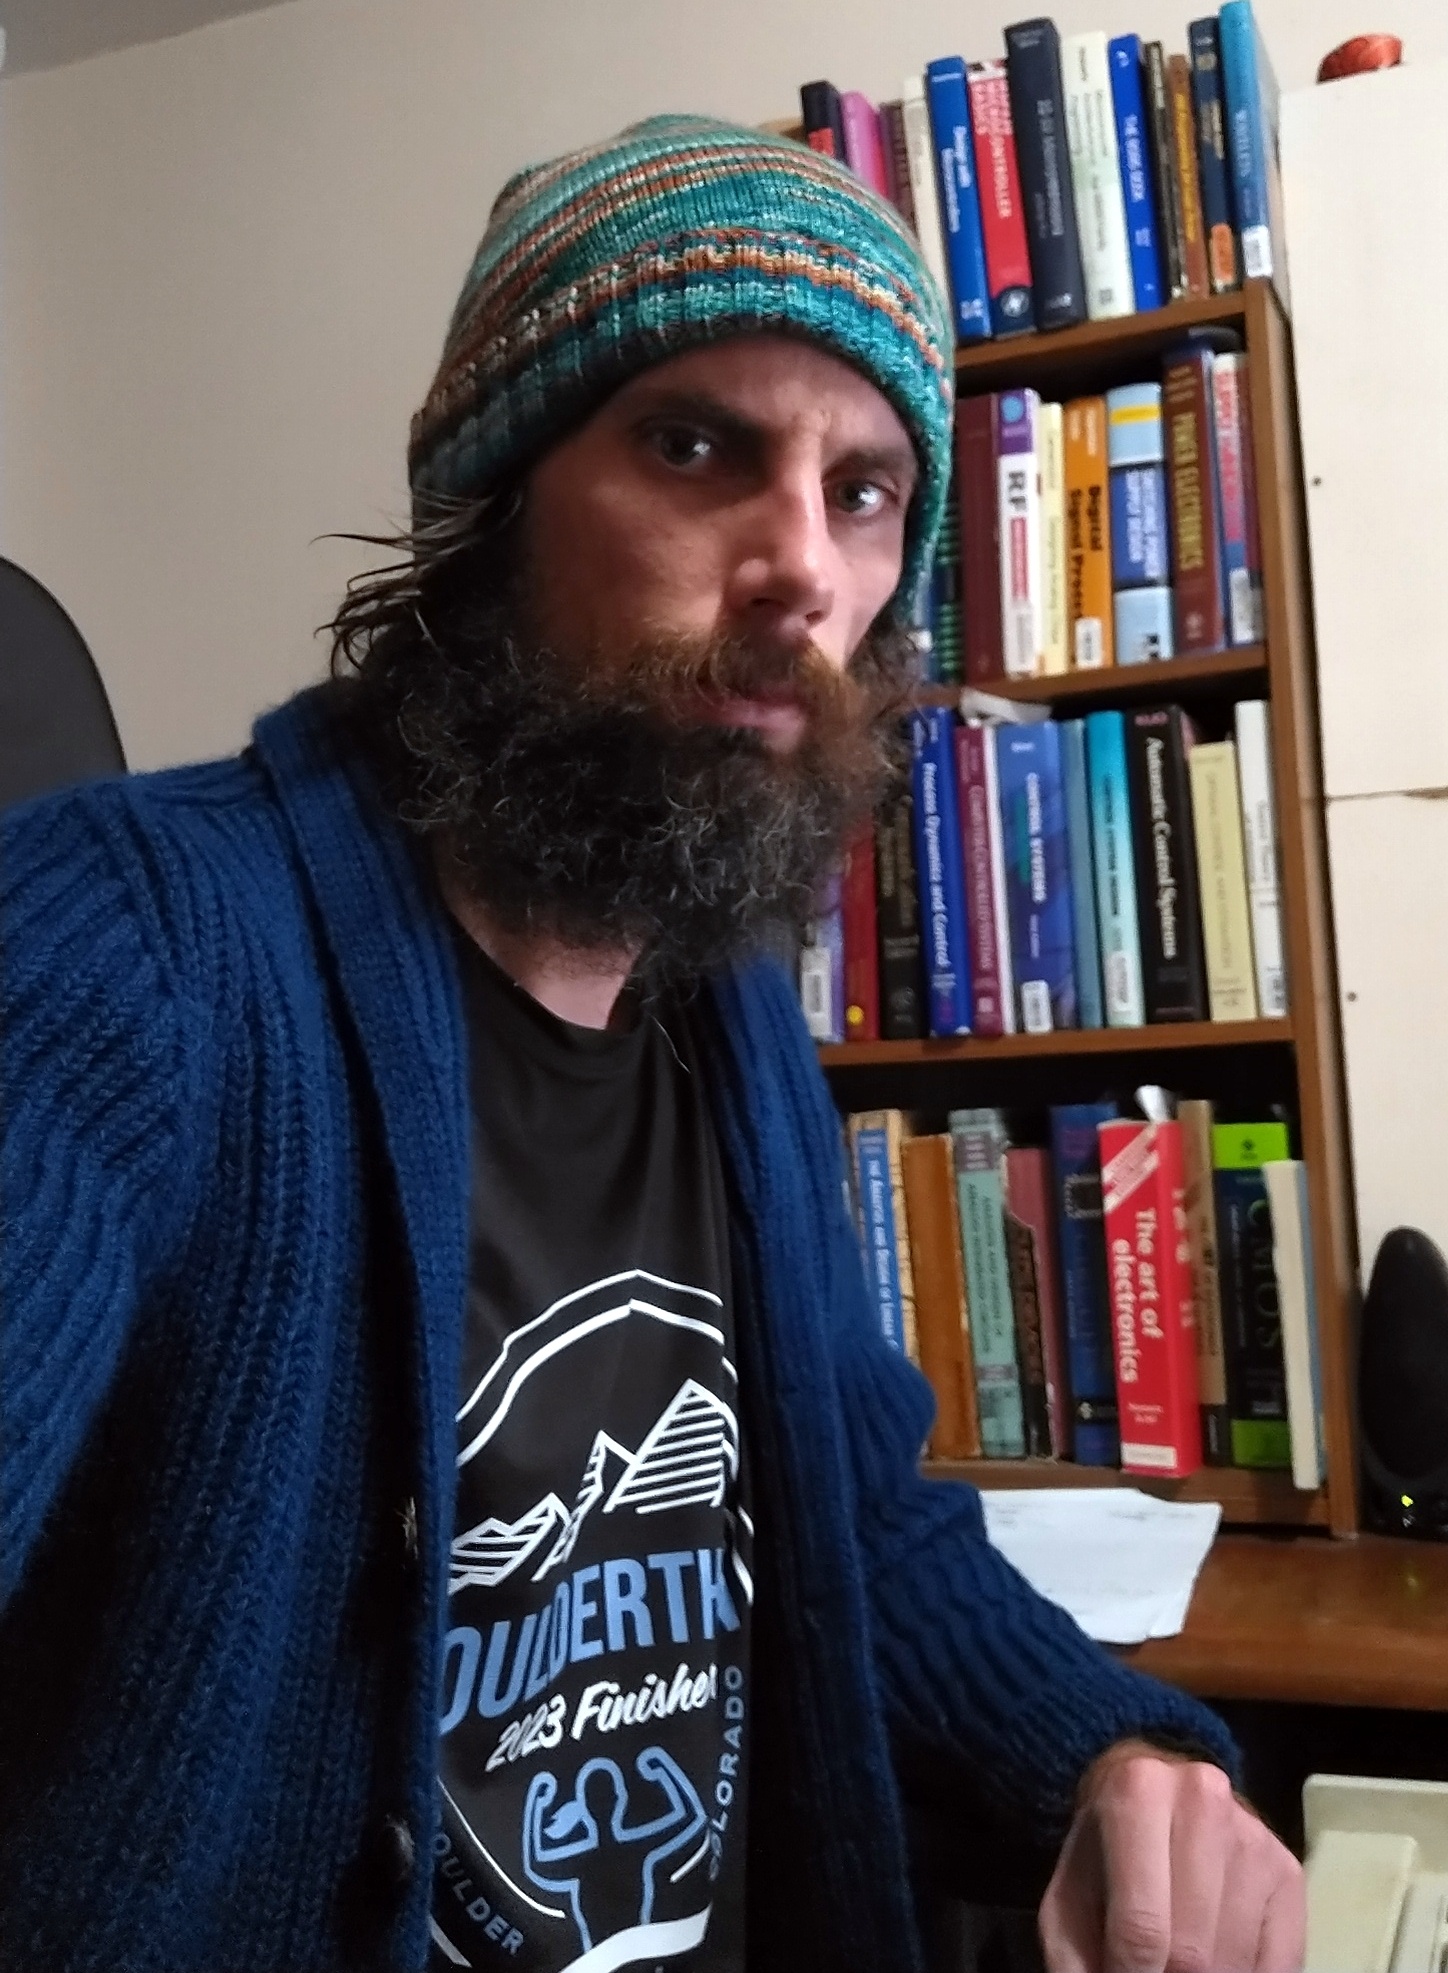
While in the car I cast on for a second hat: the Sockhead Slouch Hat by Kelly McClure. It is a slouchy stockinette cap meant to be done with a single skein of sock yarn. I chose the Tiger Lily sock yarn because its turquoise and rust colors remind me of the Southwest.
I worked on the hat several nights in my tent during a 4-day, 70-mile hike on the Arizona Trail, more on the drive back through New Mexico, and finally finished the day we arrived home.
Winter hiking in Arizona is nice, except the sun sets so early that we were at camp for many hours before bed every night. It was nice to have a project to work on. I highly recommend something portable and stockinette like this pattern for winter hiking.
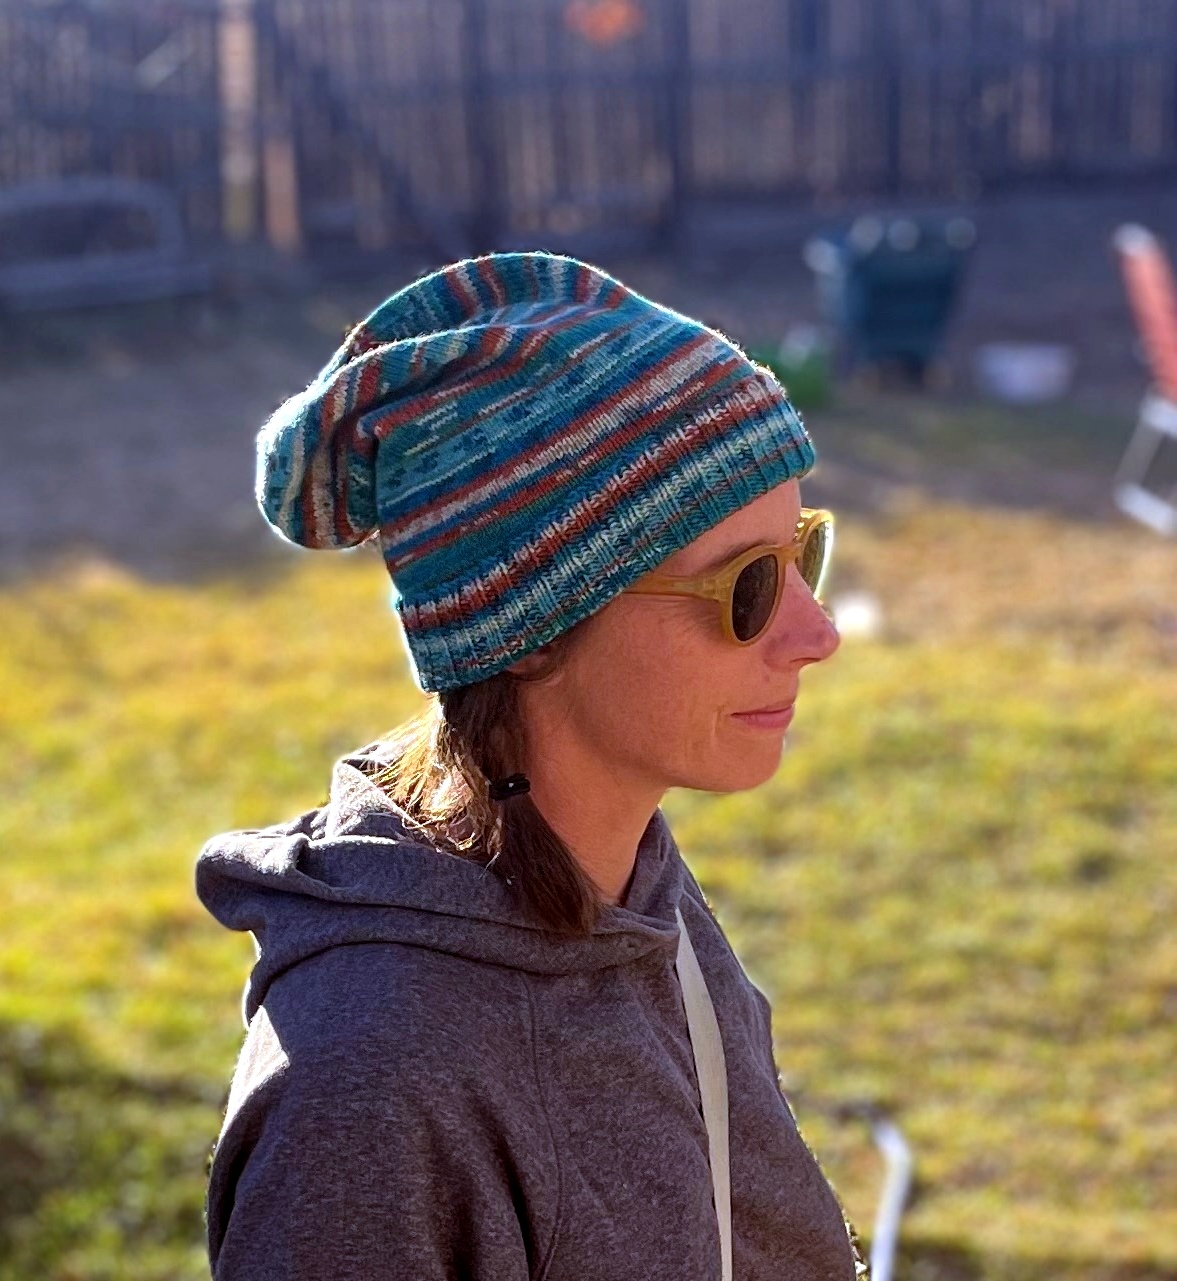
Unfortunately I didn’t take any photos of it while working on the trail, but my sister was kind enough to model it when we got home. Despite it having no pom pom, this has become my most-worn hat I’ve made… but even the superwash merino sock yarn can become quite itchy to me!
Kelly also has a Sockhead Cowl pattern to match the hat which looks like it could work like a neck gator (I wear my Buffs all the time), so I am definitely planning on making one of those.
-
Ravelry Project: O’go bulky hats
-
Ravelry Project: Roswell Cap
-
Ravelry Project: Sockhead on the Arizona Trail
The big projects
While I think the Embrace Octopus sweater is the most visually striking project of the year, once I calculated the gauge to work with lighter yarn (including some modifications to the charts), the actual knitting went pretty quickly. I did finish three projects that took significant amounts of time.
Cholla’s Bahama Blanket
I started this in the summer of 2022 and didn’t finish until February 2023. In 2020 I finished two Tunisian crochet throw blankets, so working on this one felt quite familiar. Though this is my first chevron pattern.
I made this one for my sister’s cat Cholla.
-
Ravelry Project: Cholla’s Bahama Blanket
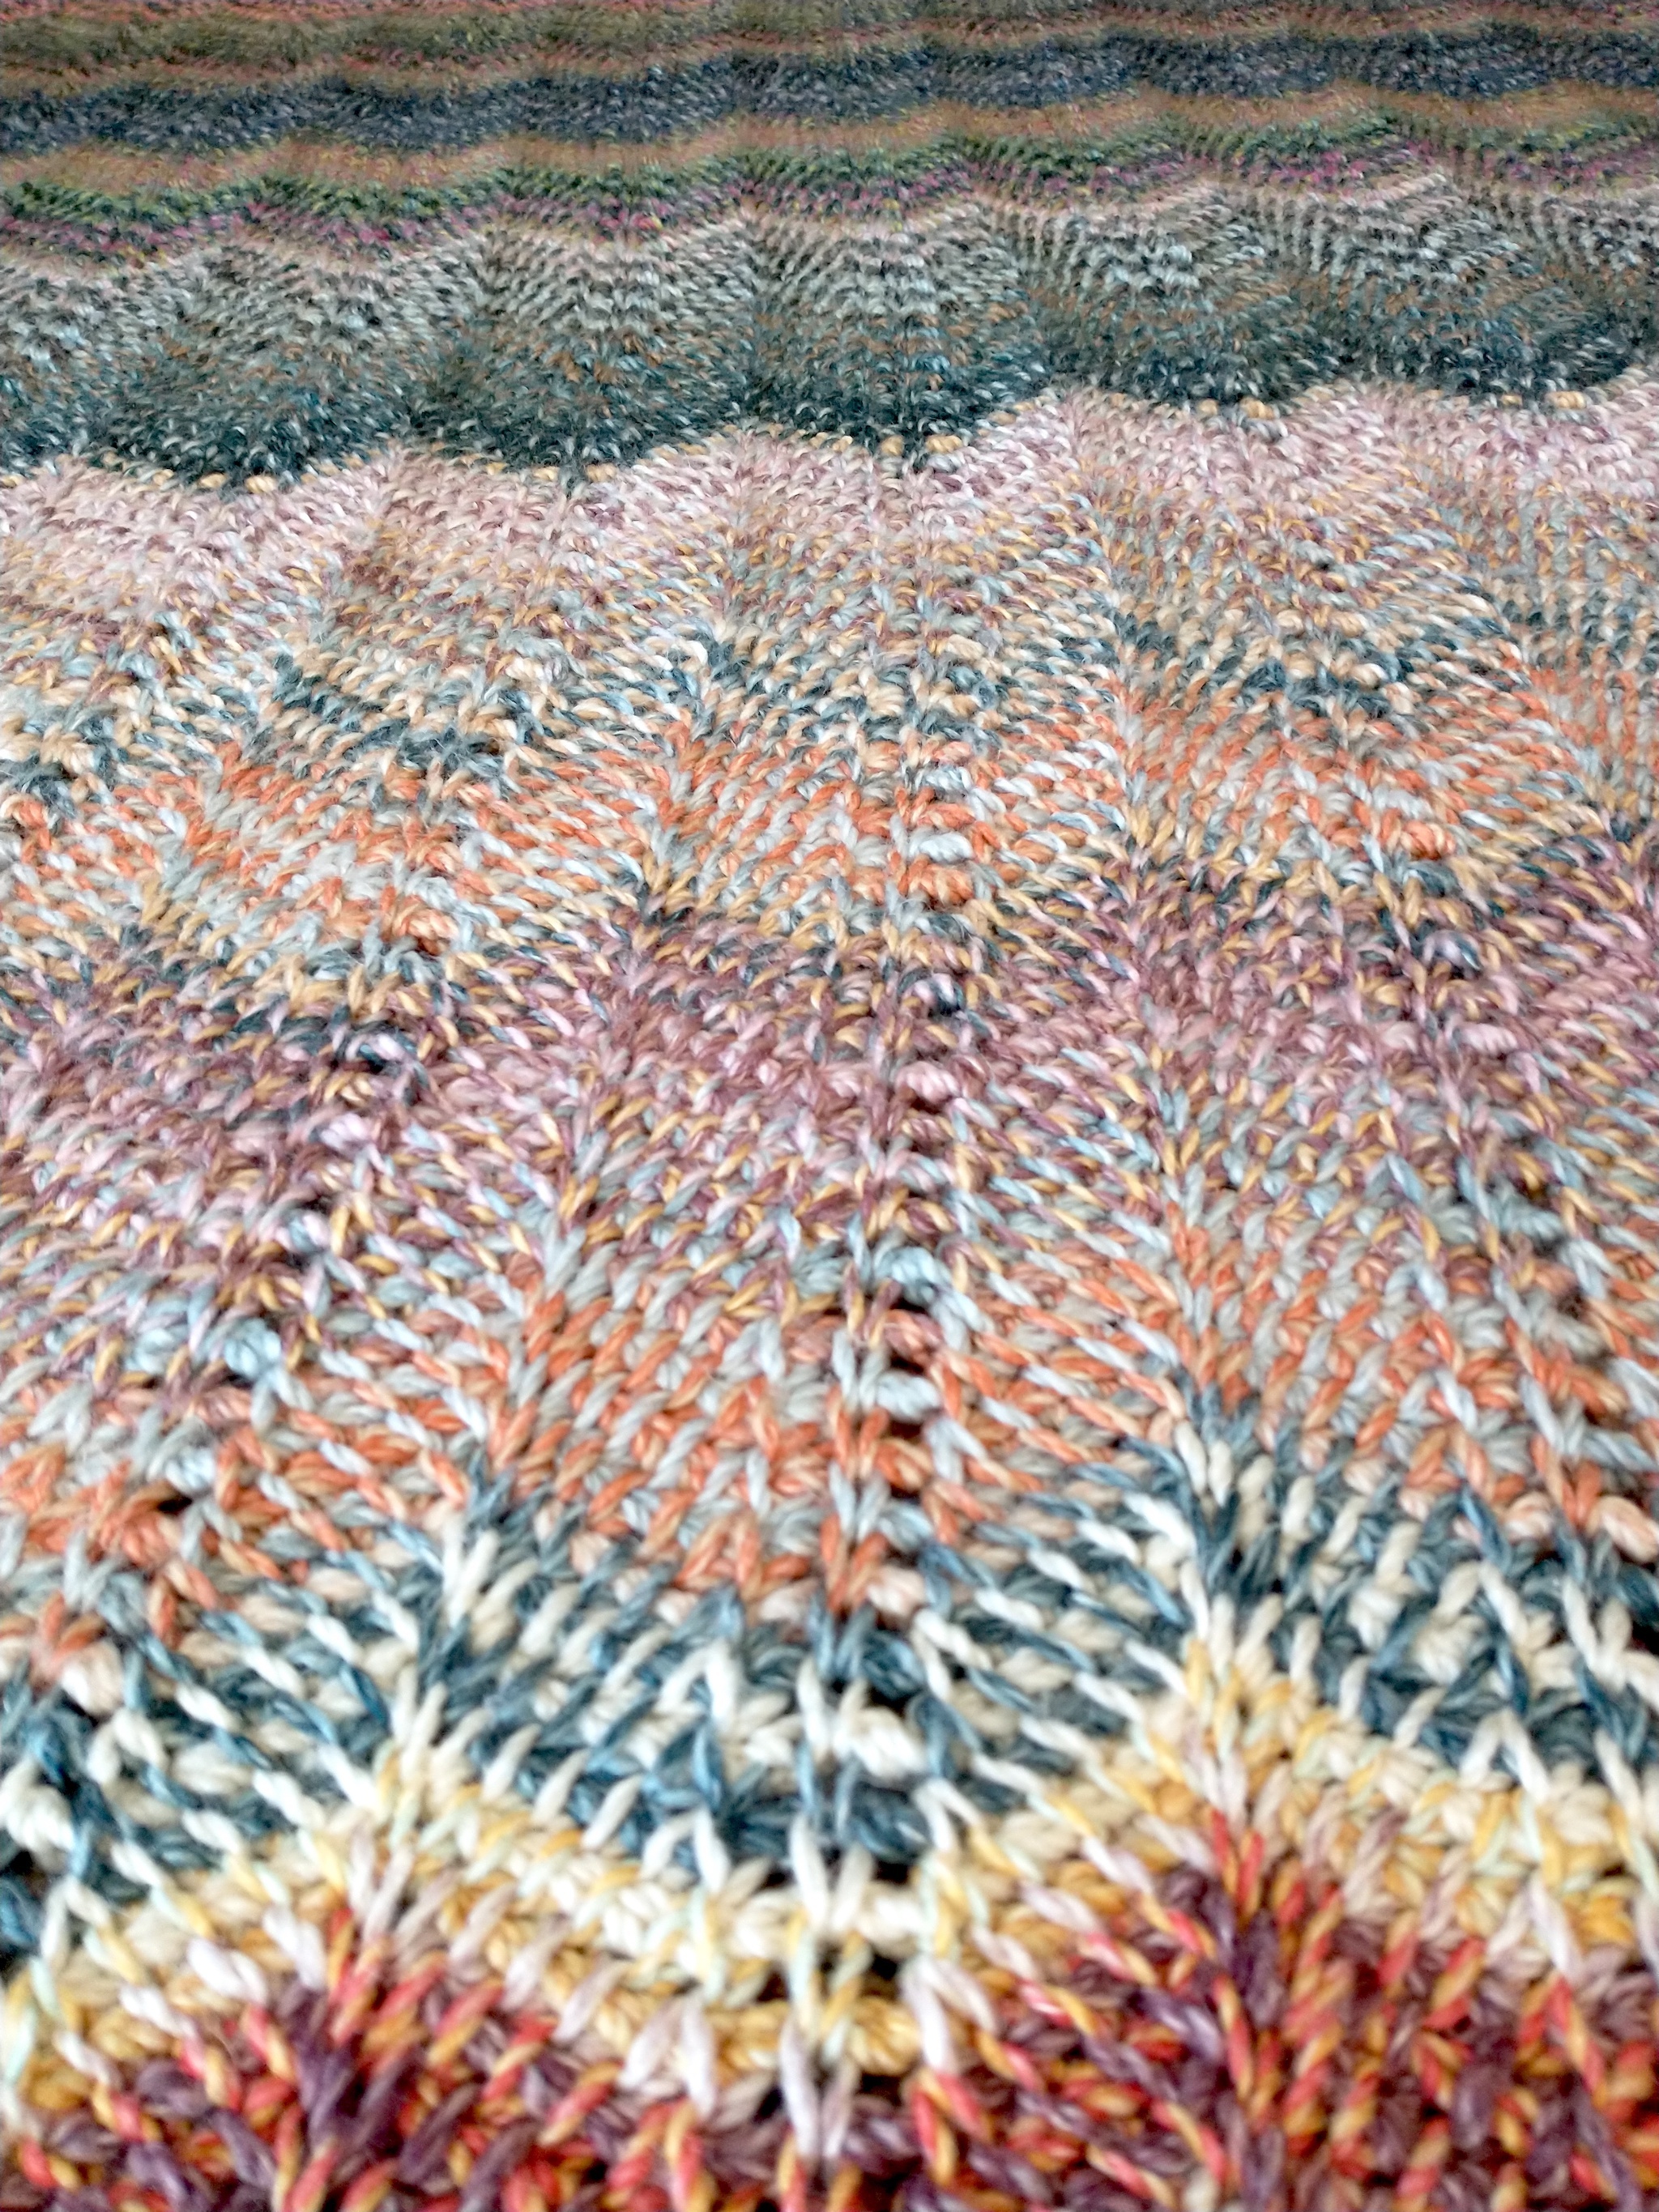
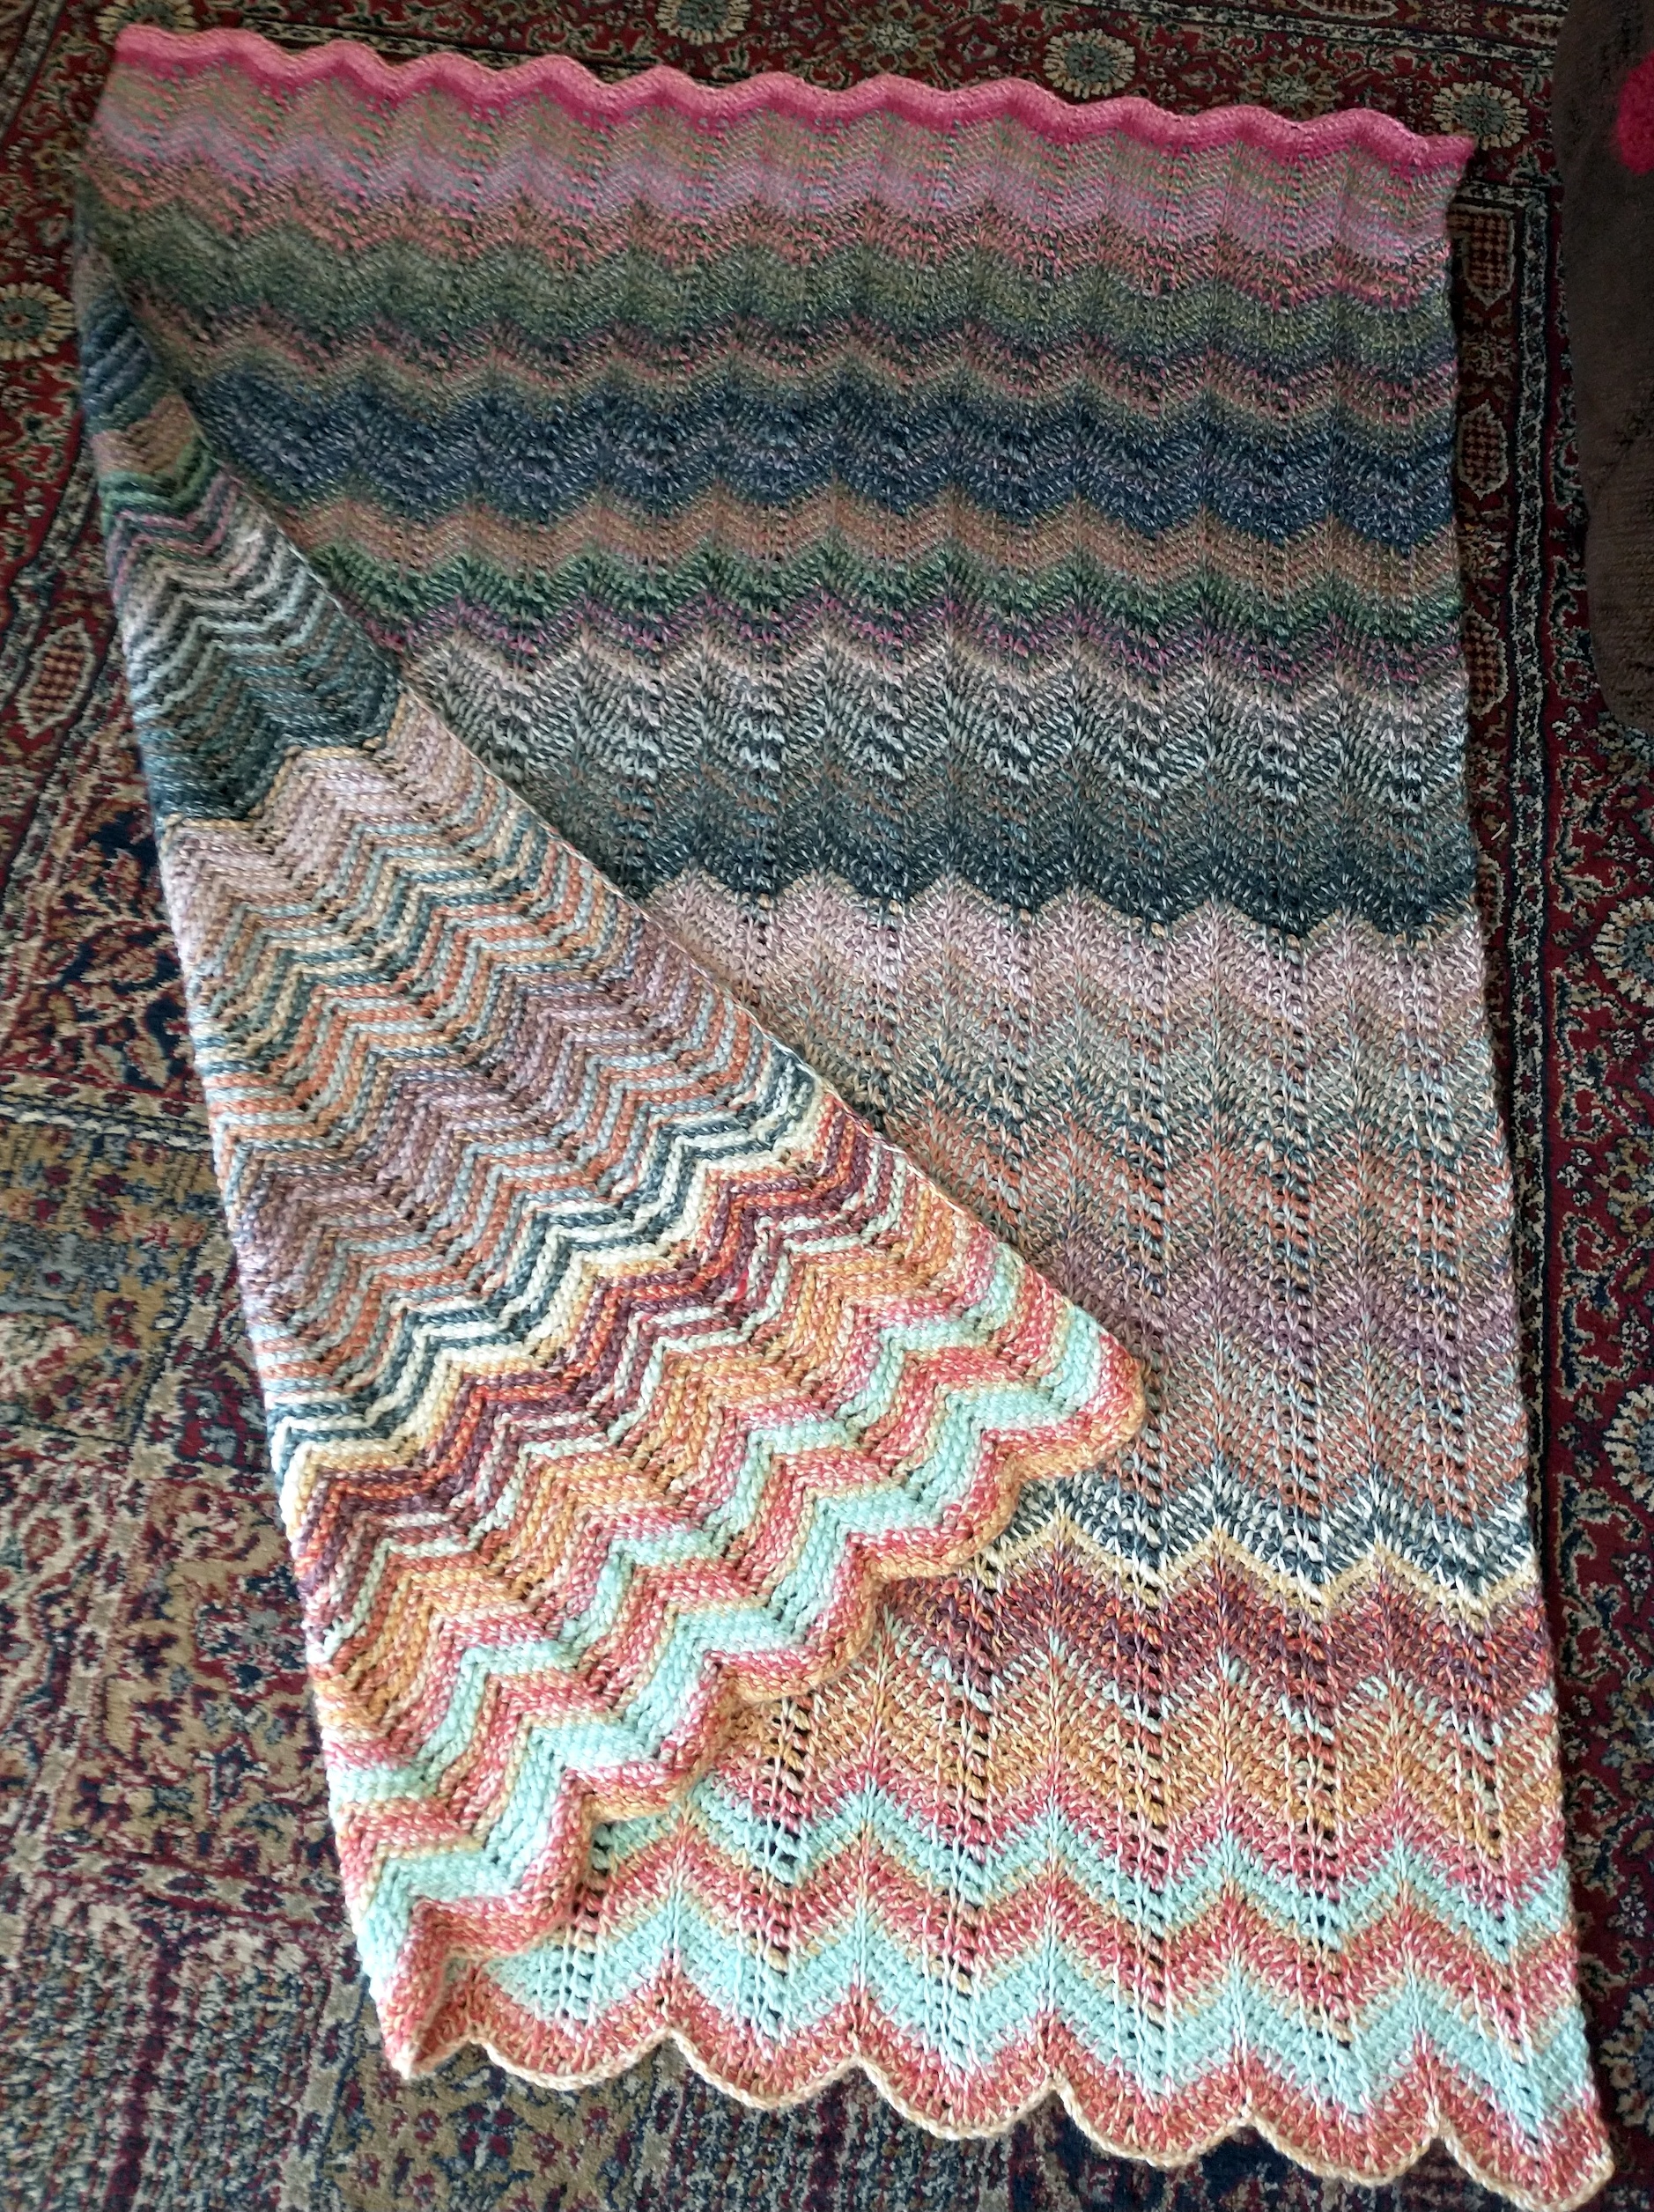
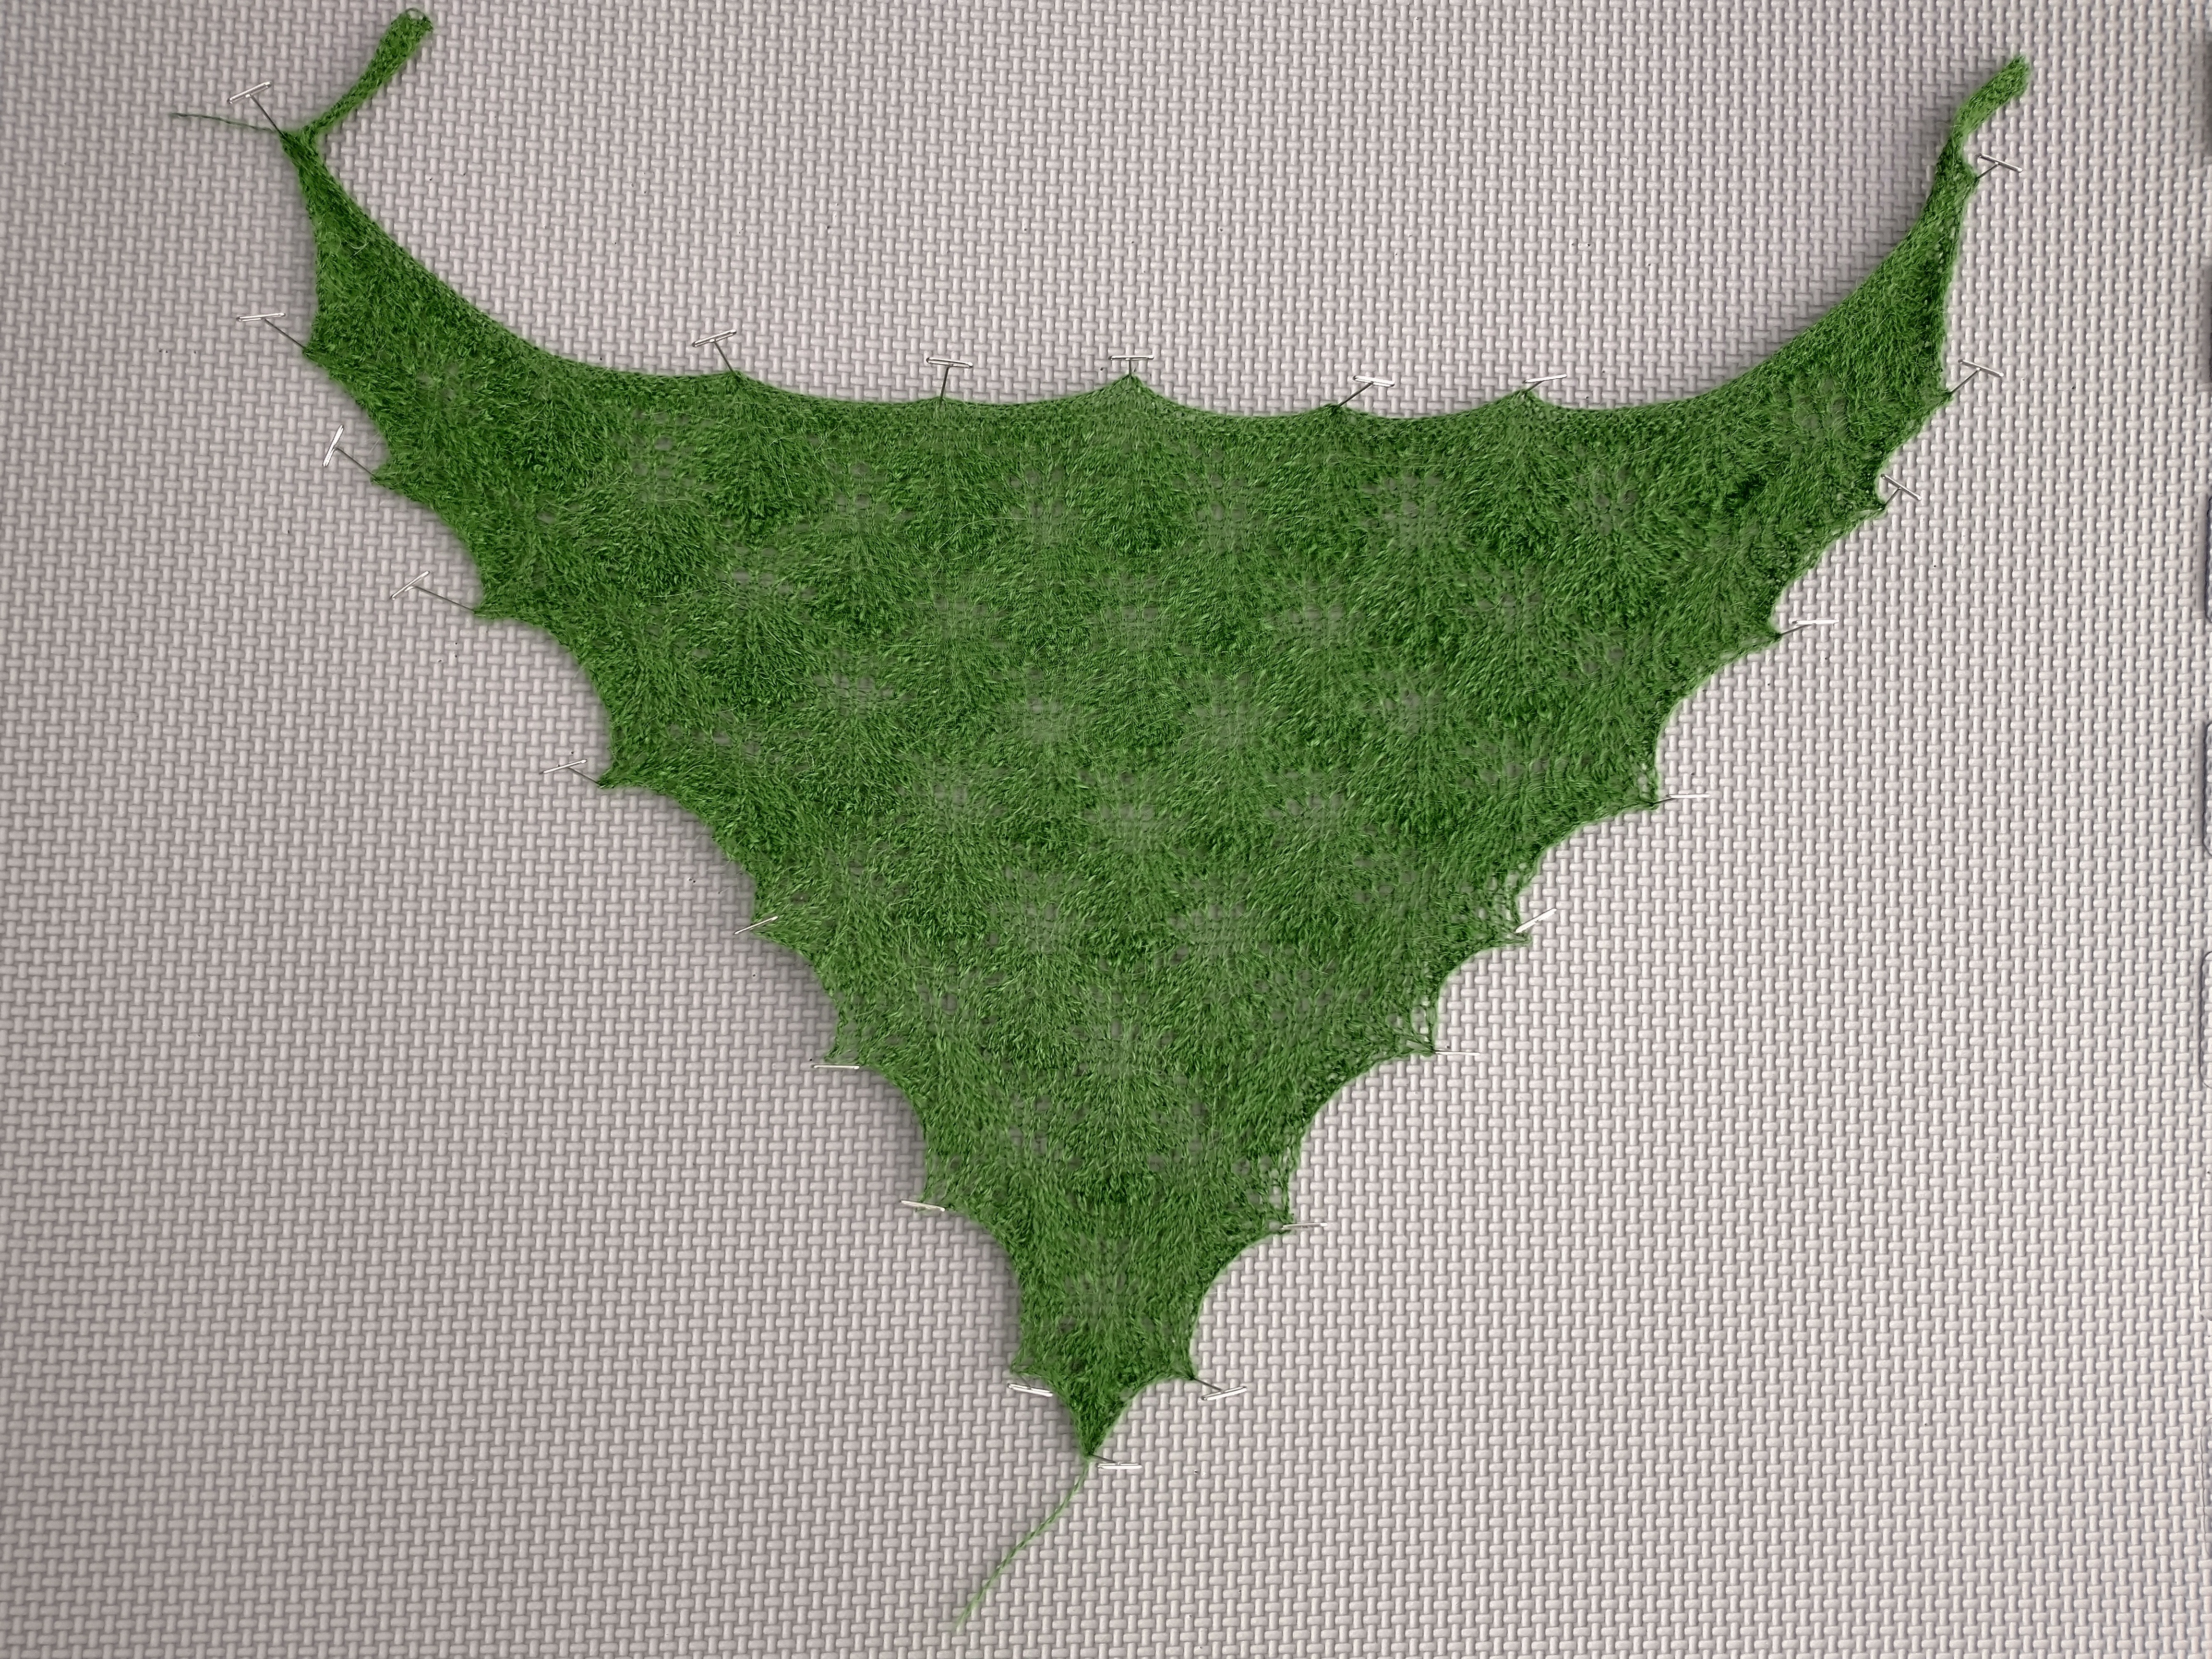
Oceanspray Shawl
The Oceanspray shawl is about 81,000 stitches. The first two thirds of the pattern are mostly stockinette (with some yarnovers), which drag on a bit, but the payoff is the elm leaf edging.
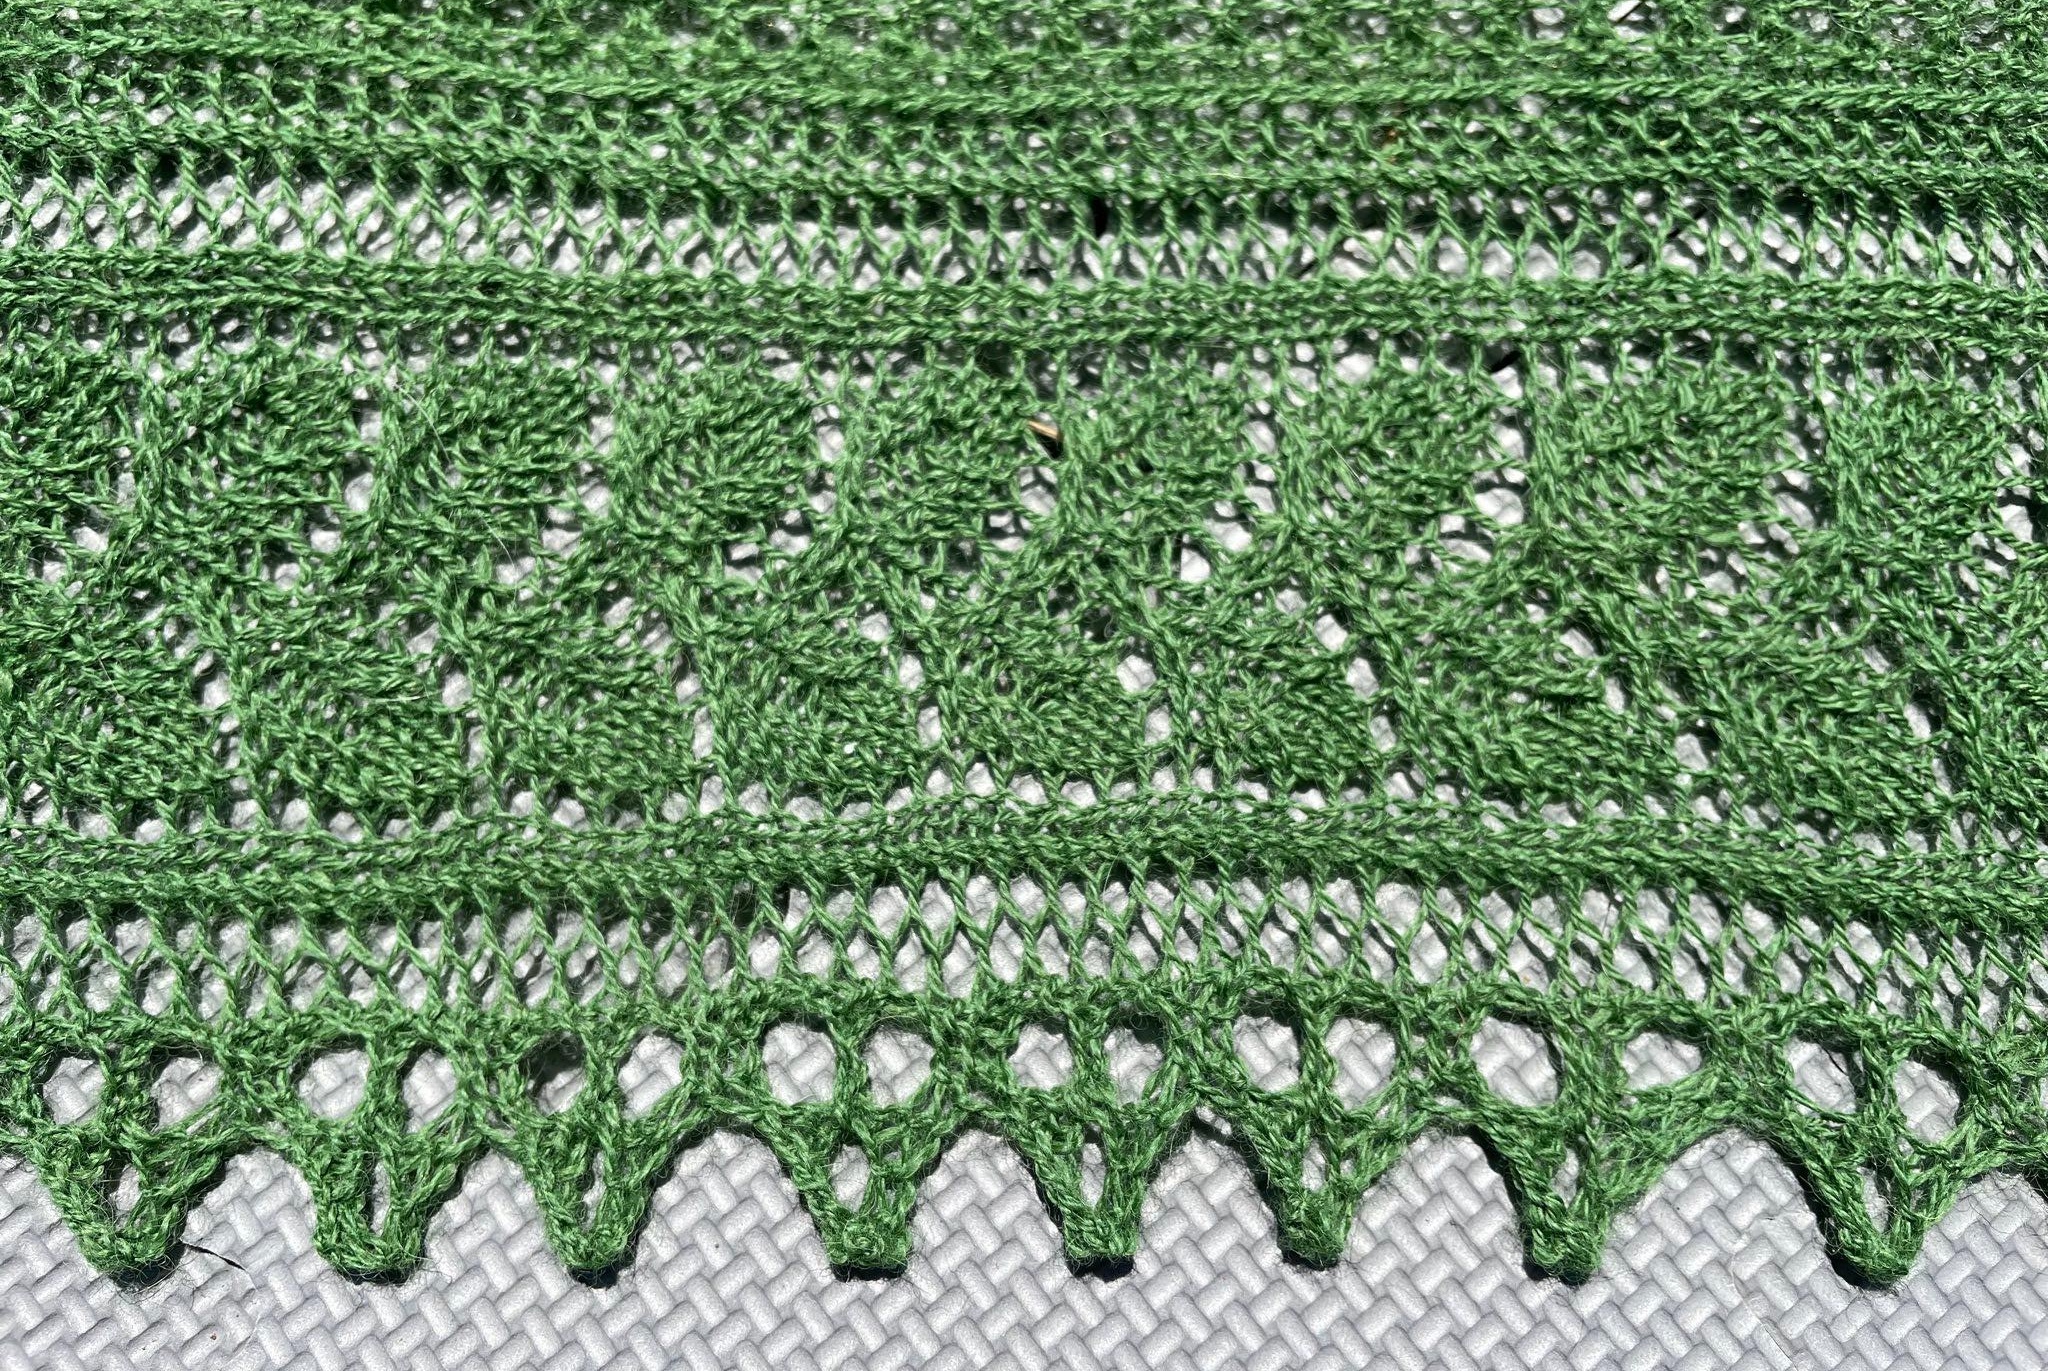
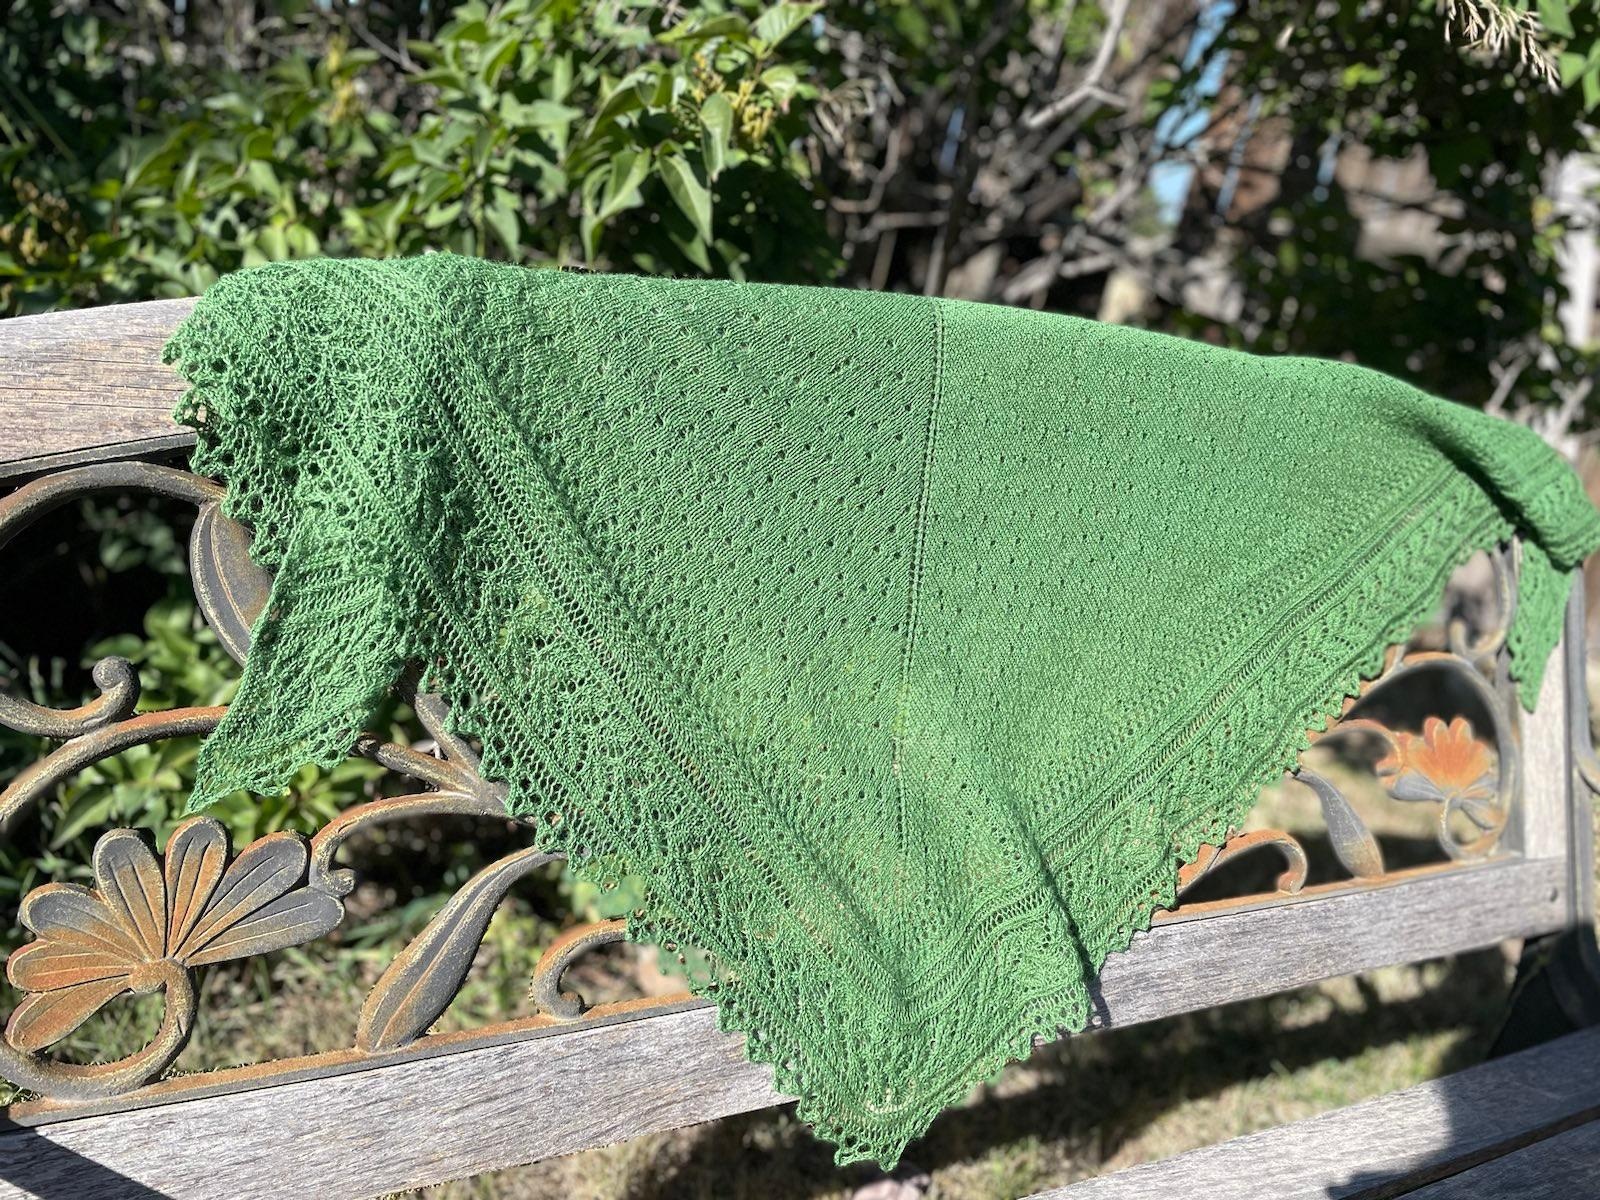
I also did a little lace kerchief in the same yarn. (I still have several skeins of the green Alpaca Cloud yarn left, so another large lace shawl is probably in the queue for 2024.)
-
Ravelry Project: Oceanspray
-
Ravelry Project: Ostrich Feather Lace Kerchief
The Book Exchange Book Exchange Cardigan
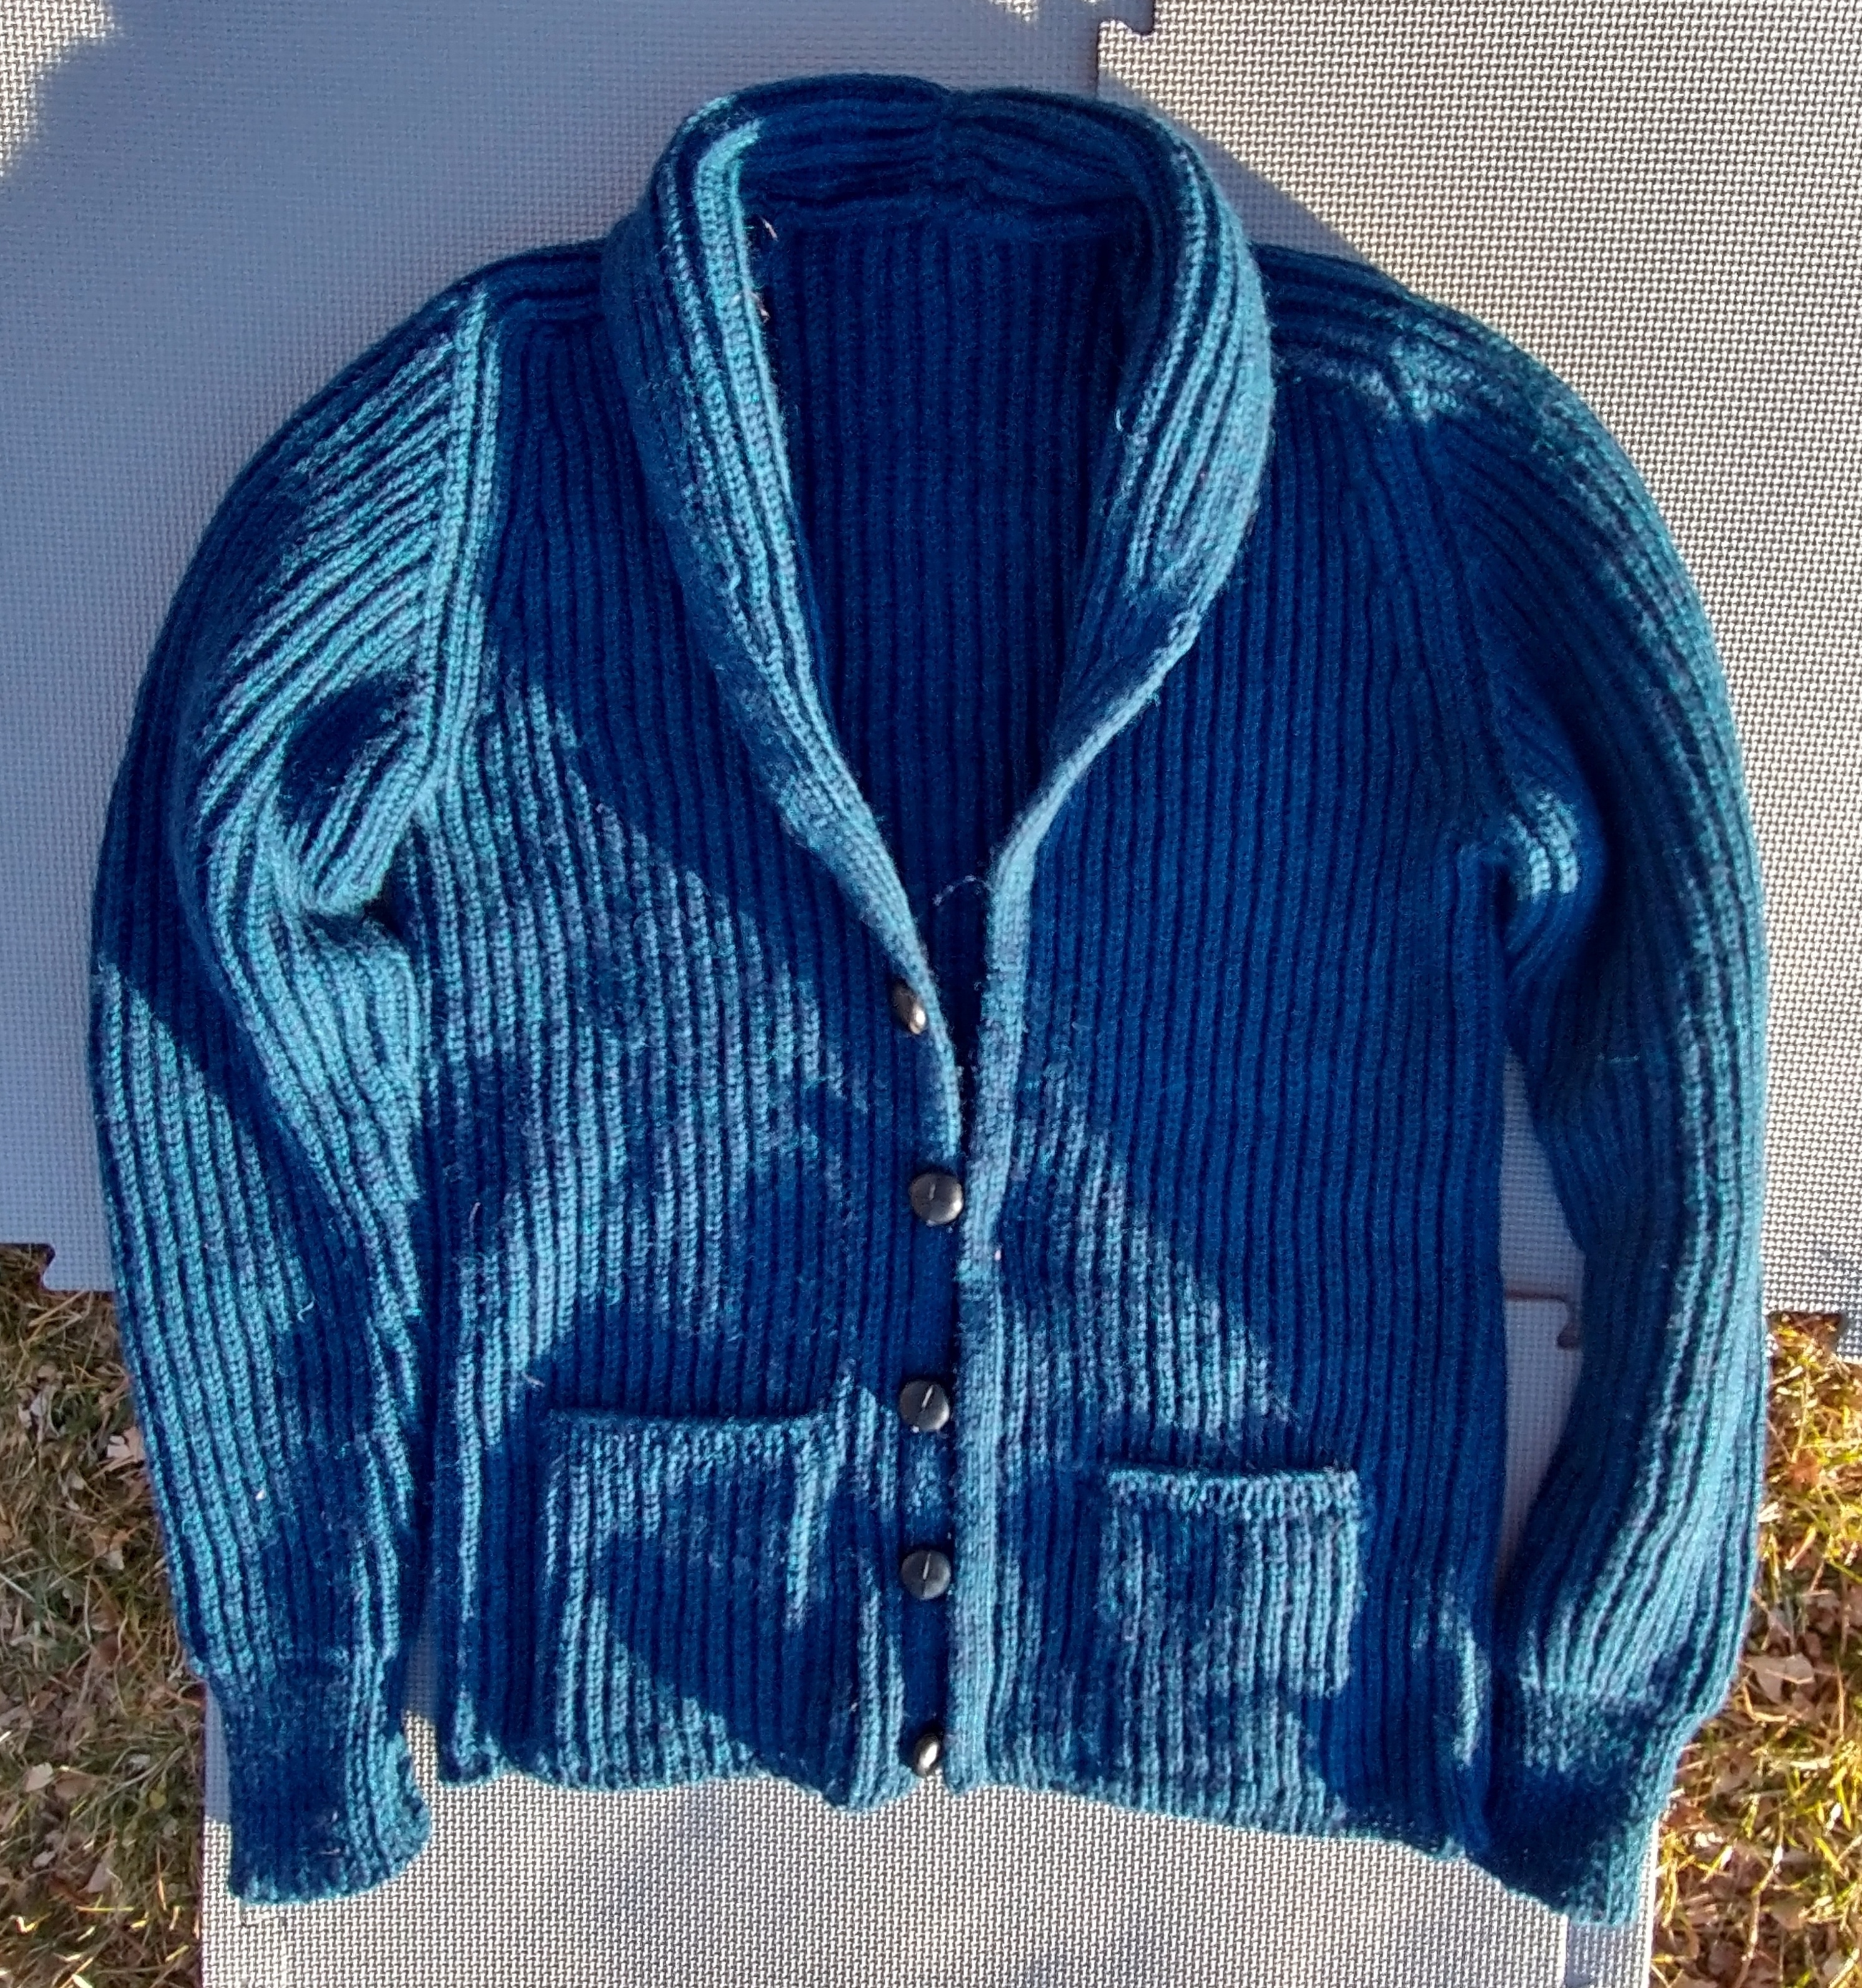
Years ago, before I really knew how to knit (at least before I had made any garments), I received book Knitting Brioche as a gift. From the patterns in the back I selected the Book Exchange Cardigan as one I would like to try some day. Later, about a year and a half ago, WEBS was having a sale on Cascade 220 ($8/100g) so I bought 10 skeins with that cardigan in mind. This October I actually cast on. I had one gauge mishap and had to restart after almost finishing the back… but I finally finished (and it fits)!
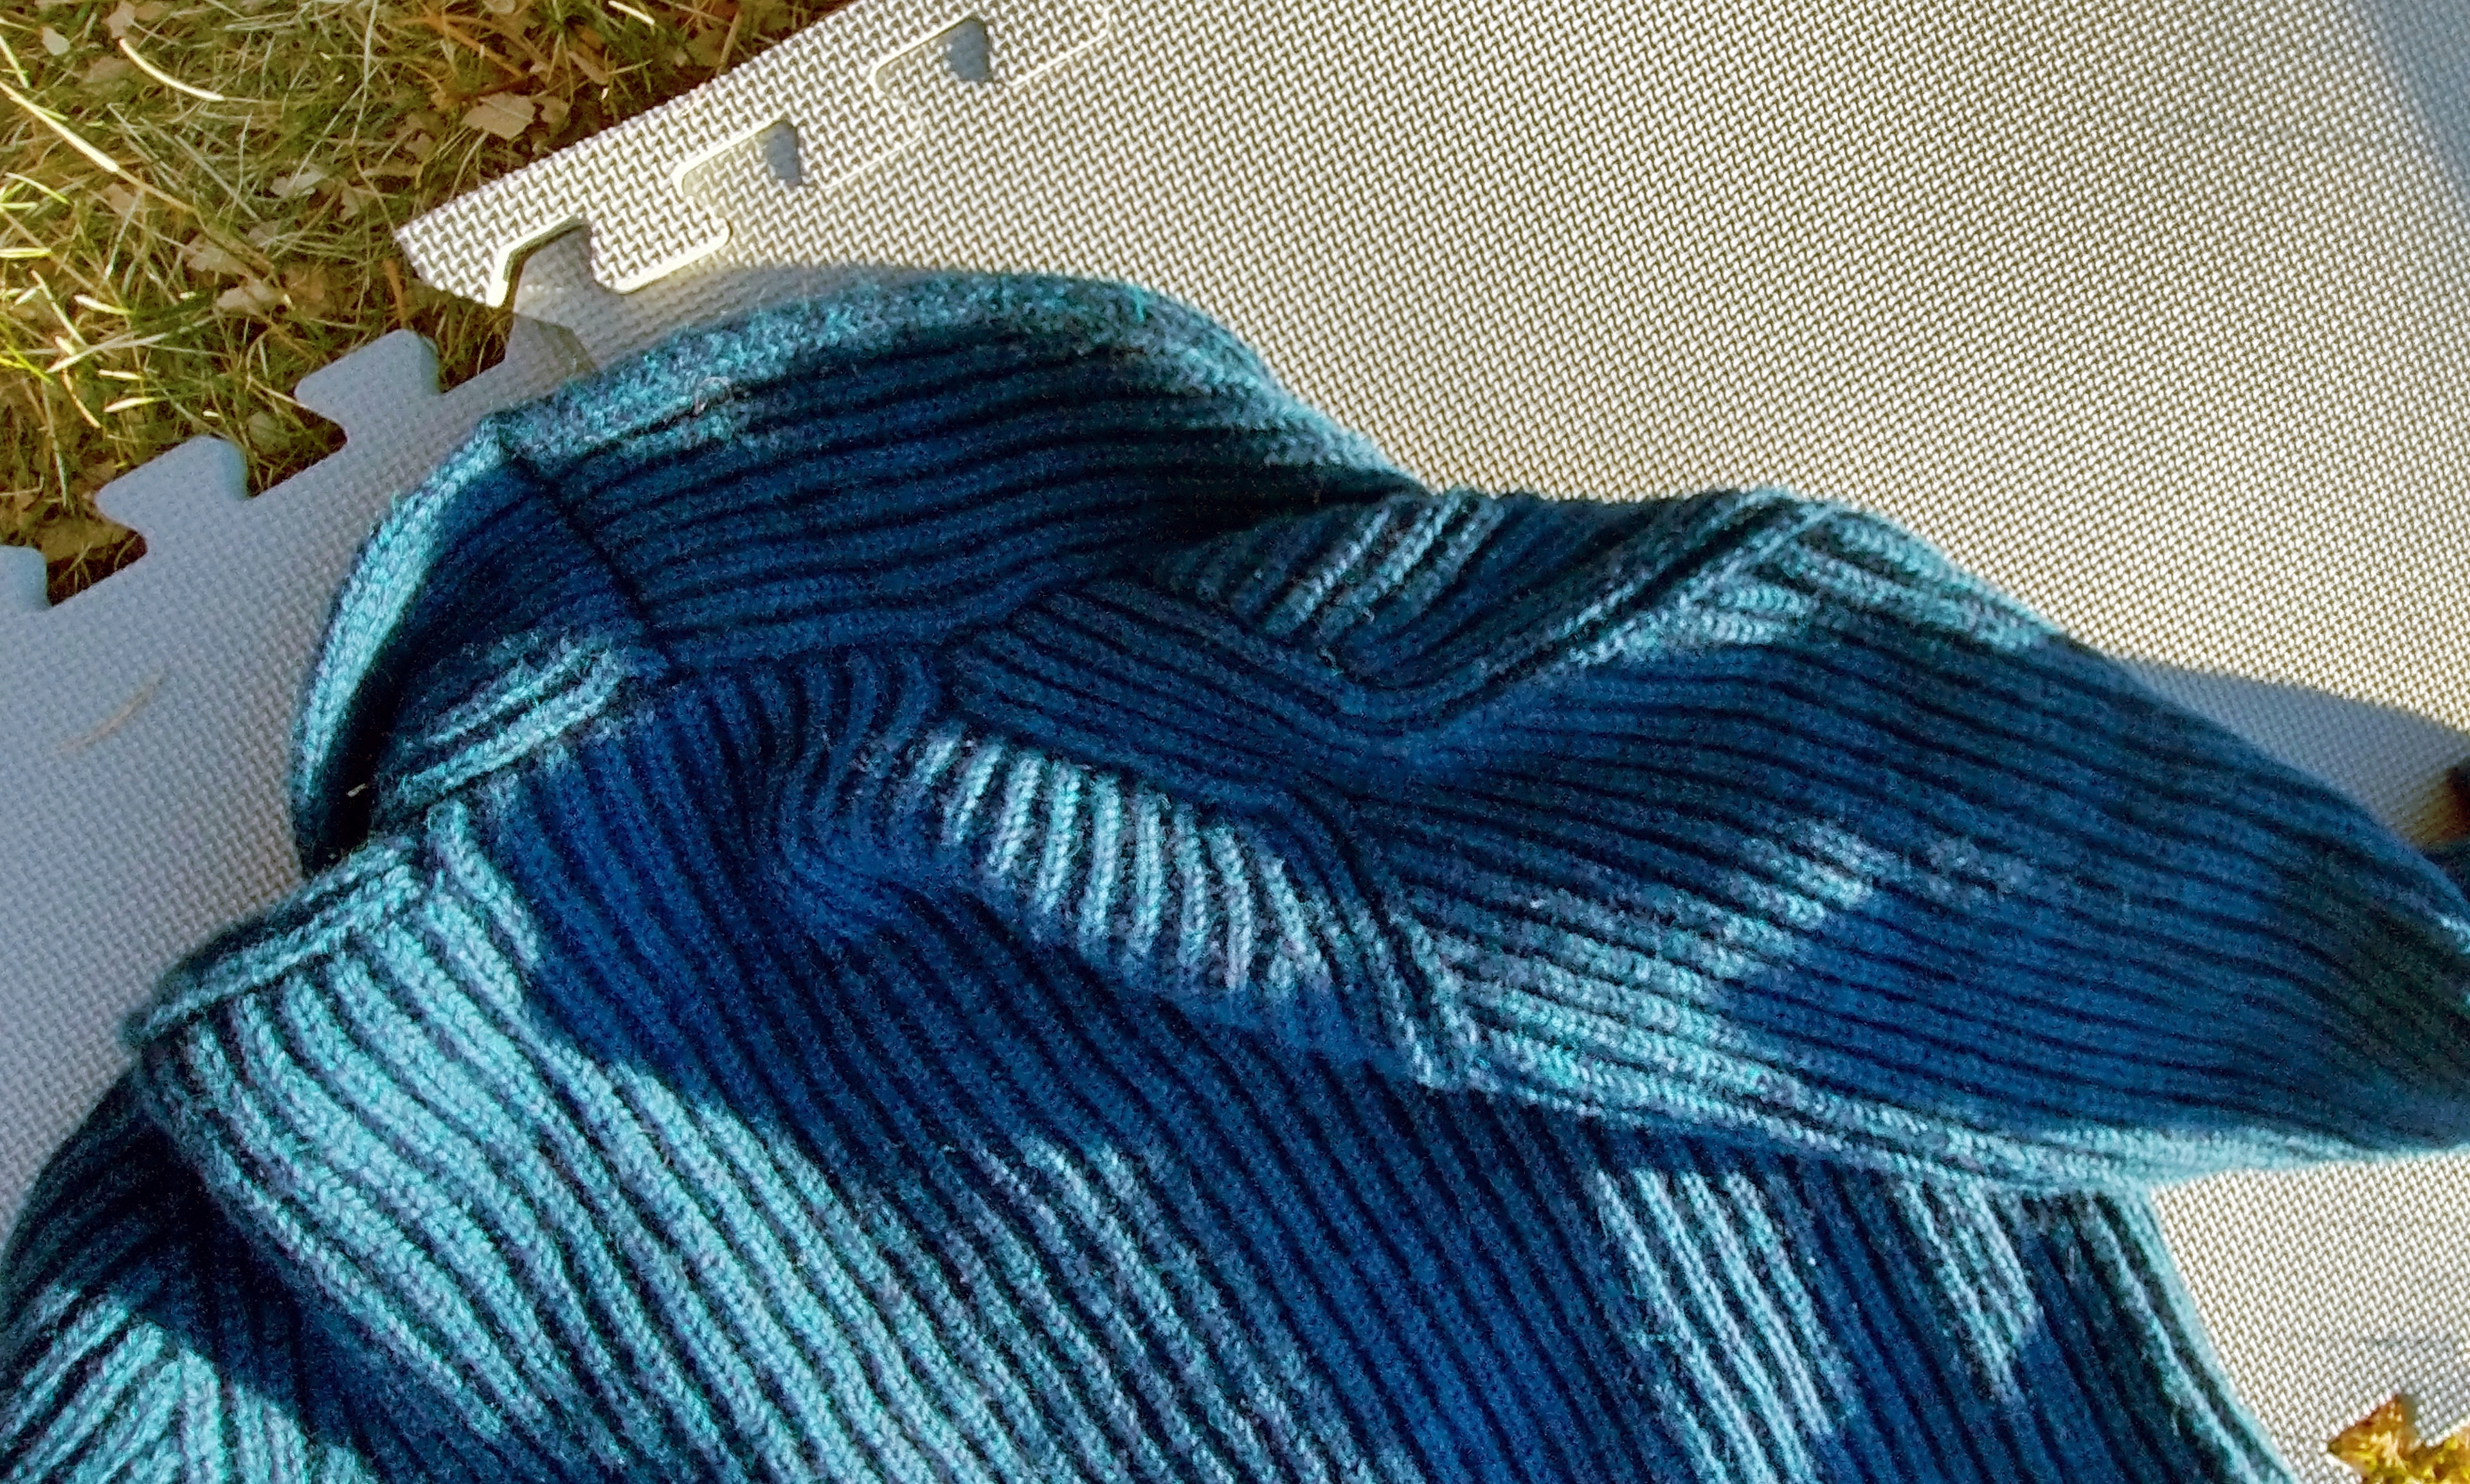
I haven’t even calculated how many stitches this cardigan contains, but it took me over 3 months of dedicated knitting and 820g (1.8 lb) of wool. The Cascade 220 yarn is actually soft enough for me to wear, it fits (even buttoned up), the brioche fabric is fluffy, and it has pockets! It is my favorite garment I’ve made for myself so far.
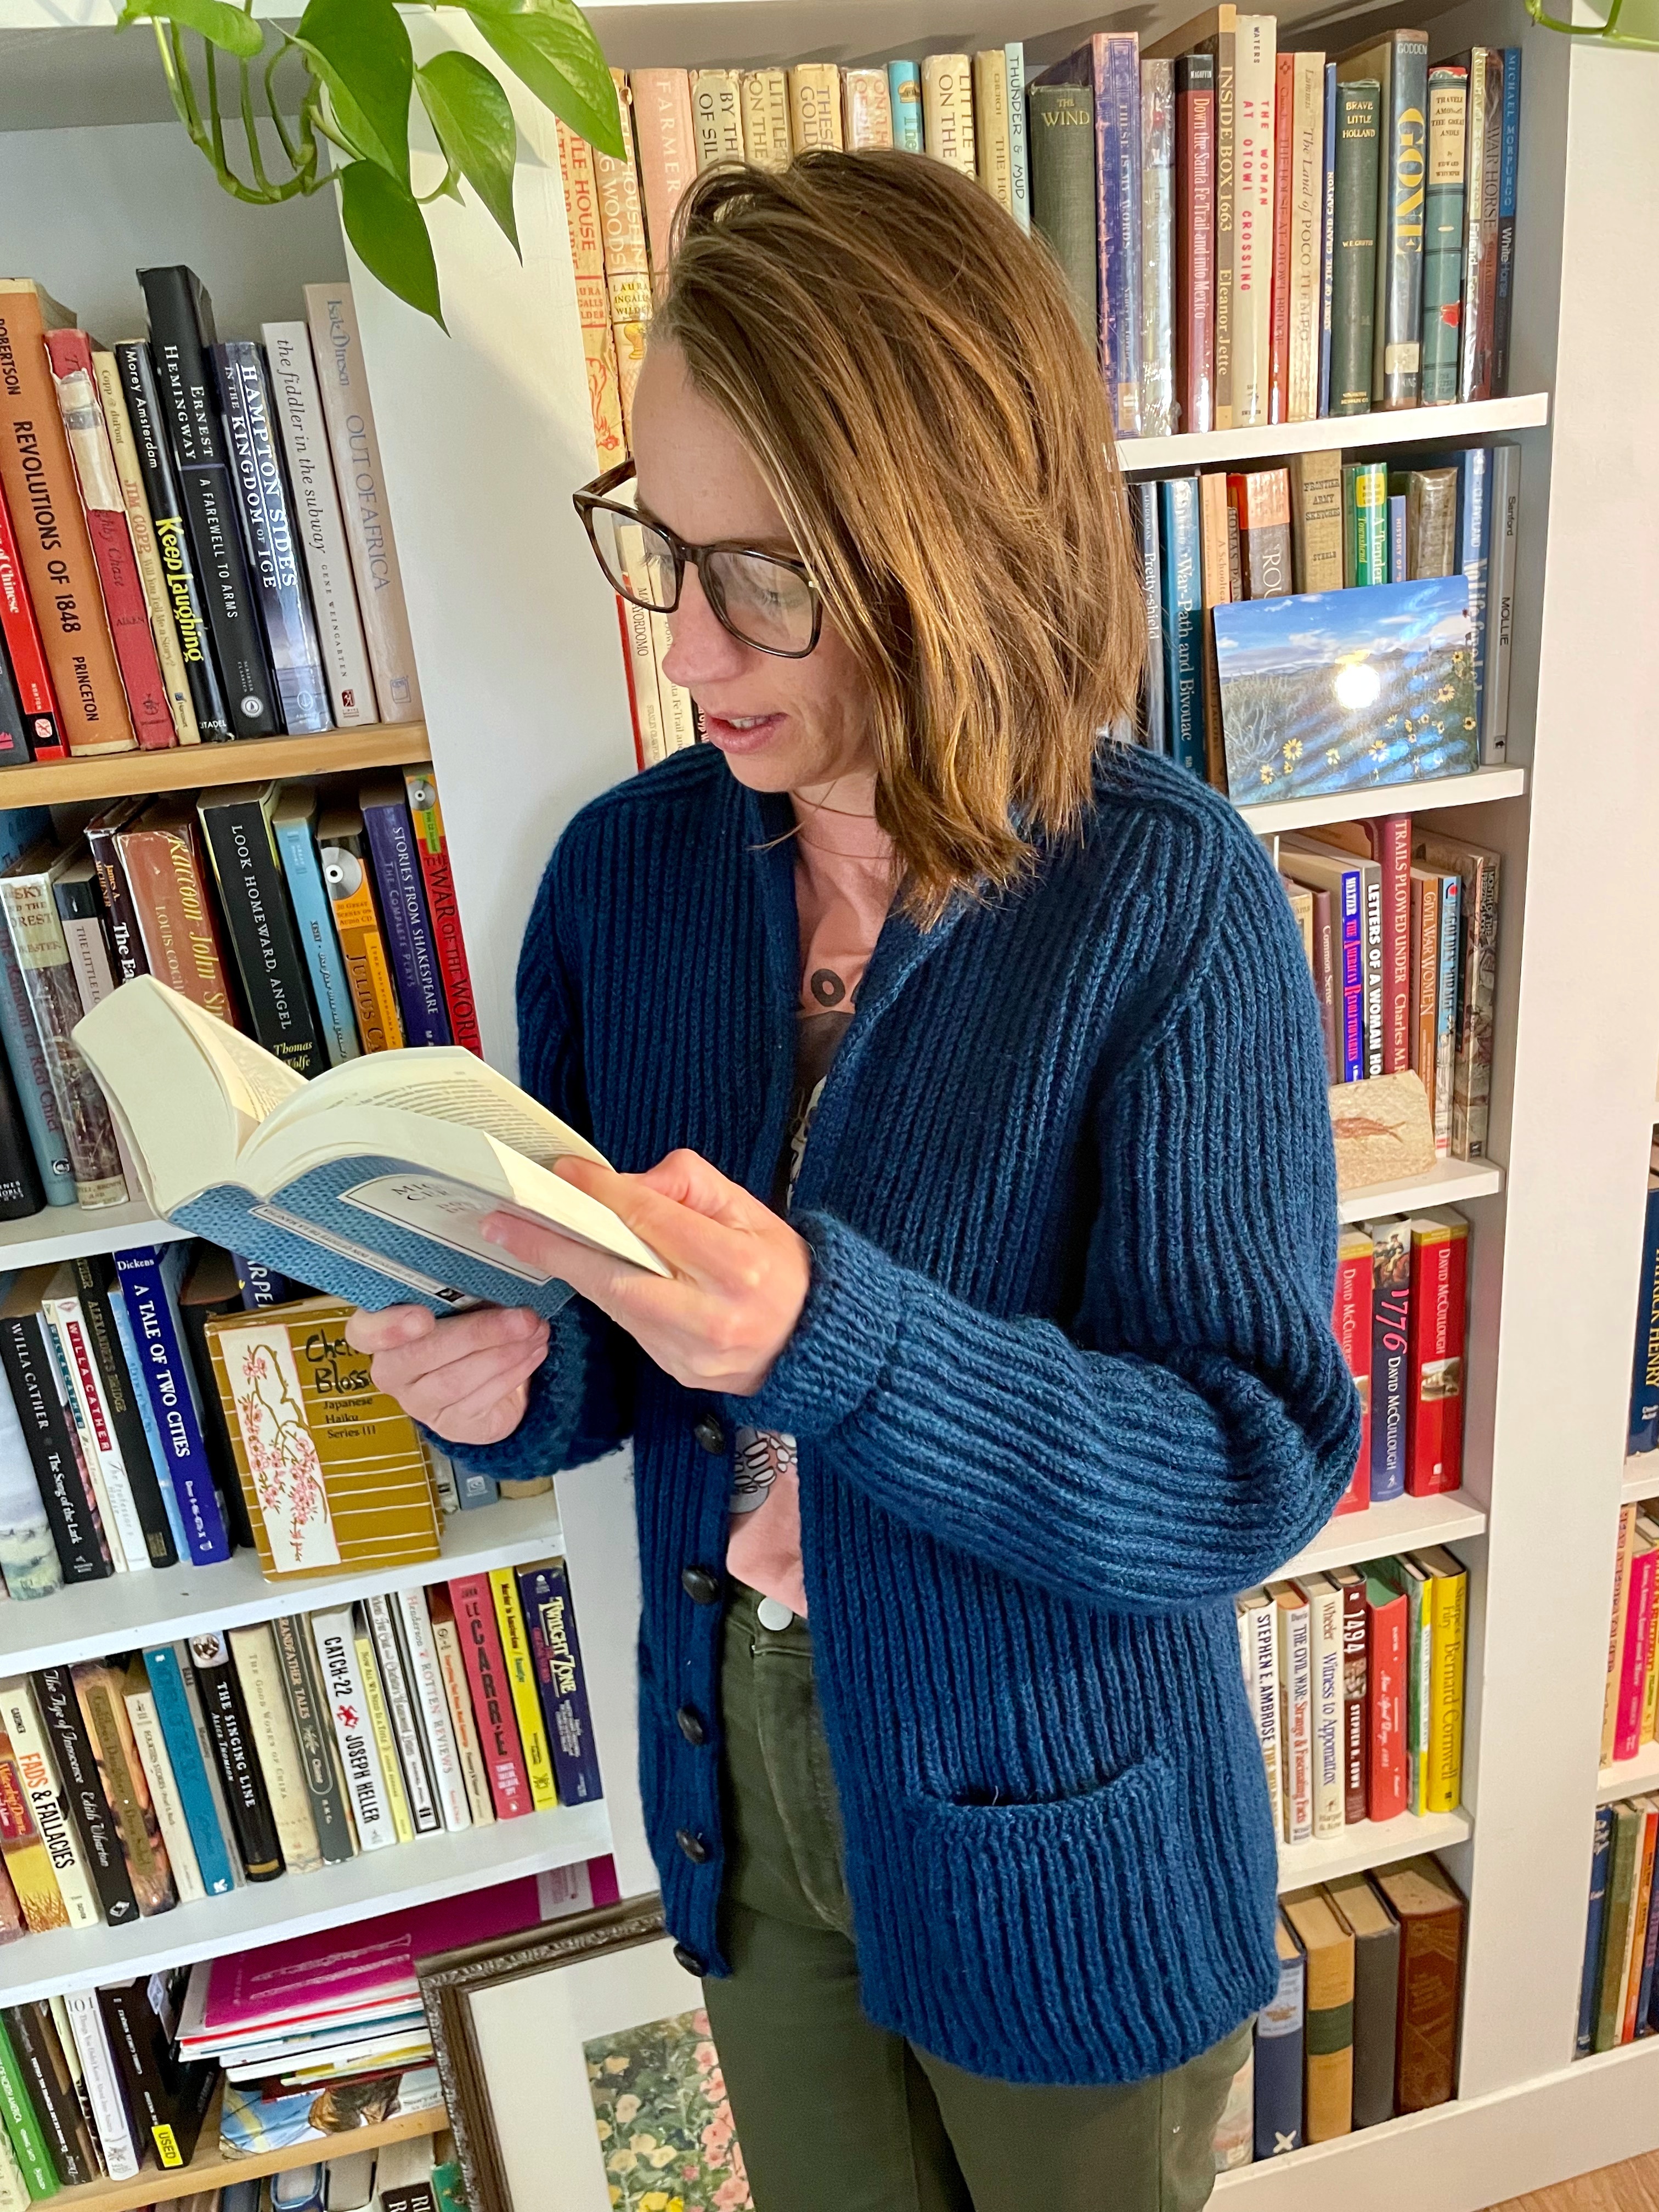
In the book, Nancy says the pattern is named after a used bookstore she frequented in Amsterdam. In a synchronicitous turn of events I finished the cardigan on December 20th, and my family had decided that we would (for the first time) do a "white elephant" style book exchange on Christmas Eve as our Christmas gathering this year. So I got to wear my new Book Exchange to a book exchange.
-
Ravelry Project: The Book Exchange Book Exchange Cardigan
Crochet
I haven’t crocheted (except for Tunisian) since completing some simple crochet beanies back in 2019, so I decided to do some small projects to remind myself how.
One thing I discovered after completing most of the projects below is that I had been crocheting wrong! I was creating the new stitch to the left of the stitch below (with the right side facing). But the usual way is to create the stitch to the right of the stitch in the previous row. My way not only introduces more left-leaning bias when worked in the round, but it can be more difficult especially right before chains that tend to be very tight. I don’t know if I always crocheted that way, or if I only just recently re-taught myself wrong 🤷
For reference, Shelley Husband has a blog post on where to insert when creating stitches (think of rightside stitches as a capital letter P, “The circley bit of the P is where you poke your hook if you’re working into the stitch”): How to work into a stitch (and around, and between and…)
Doilies!
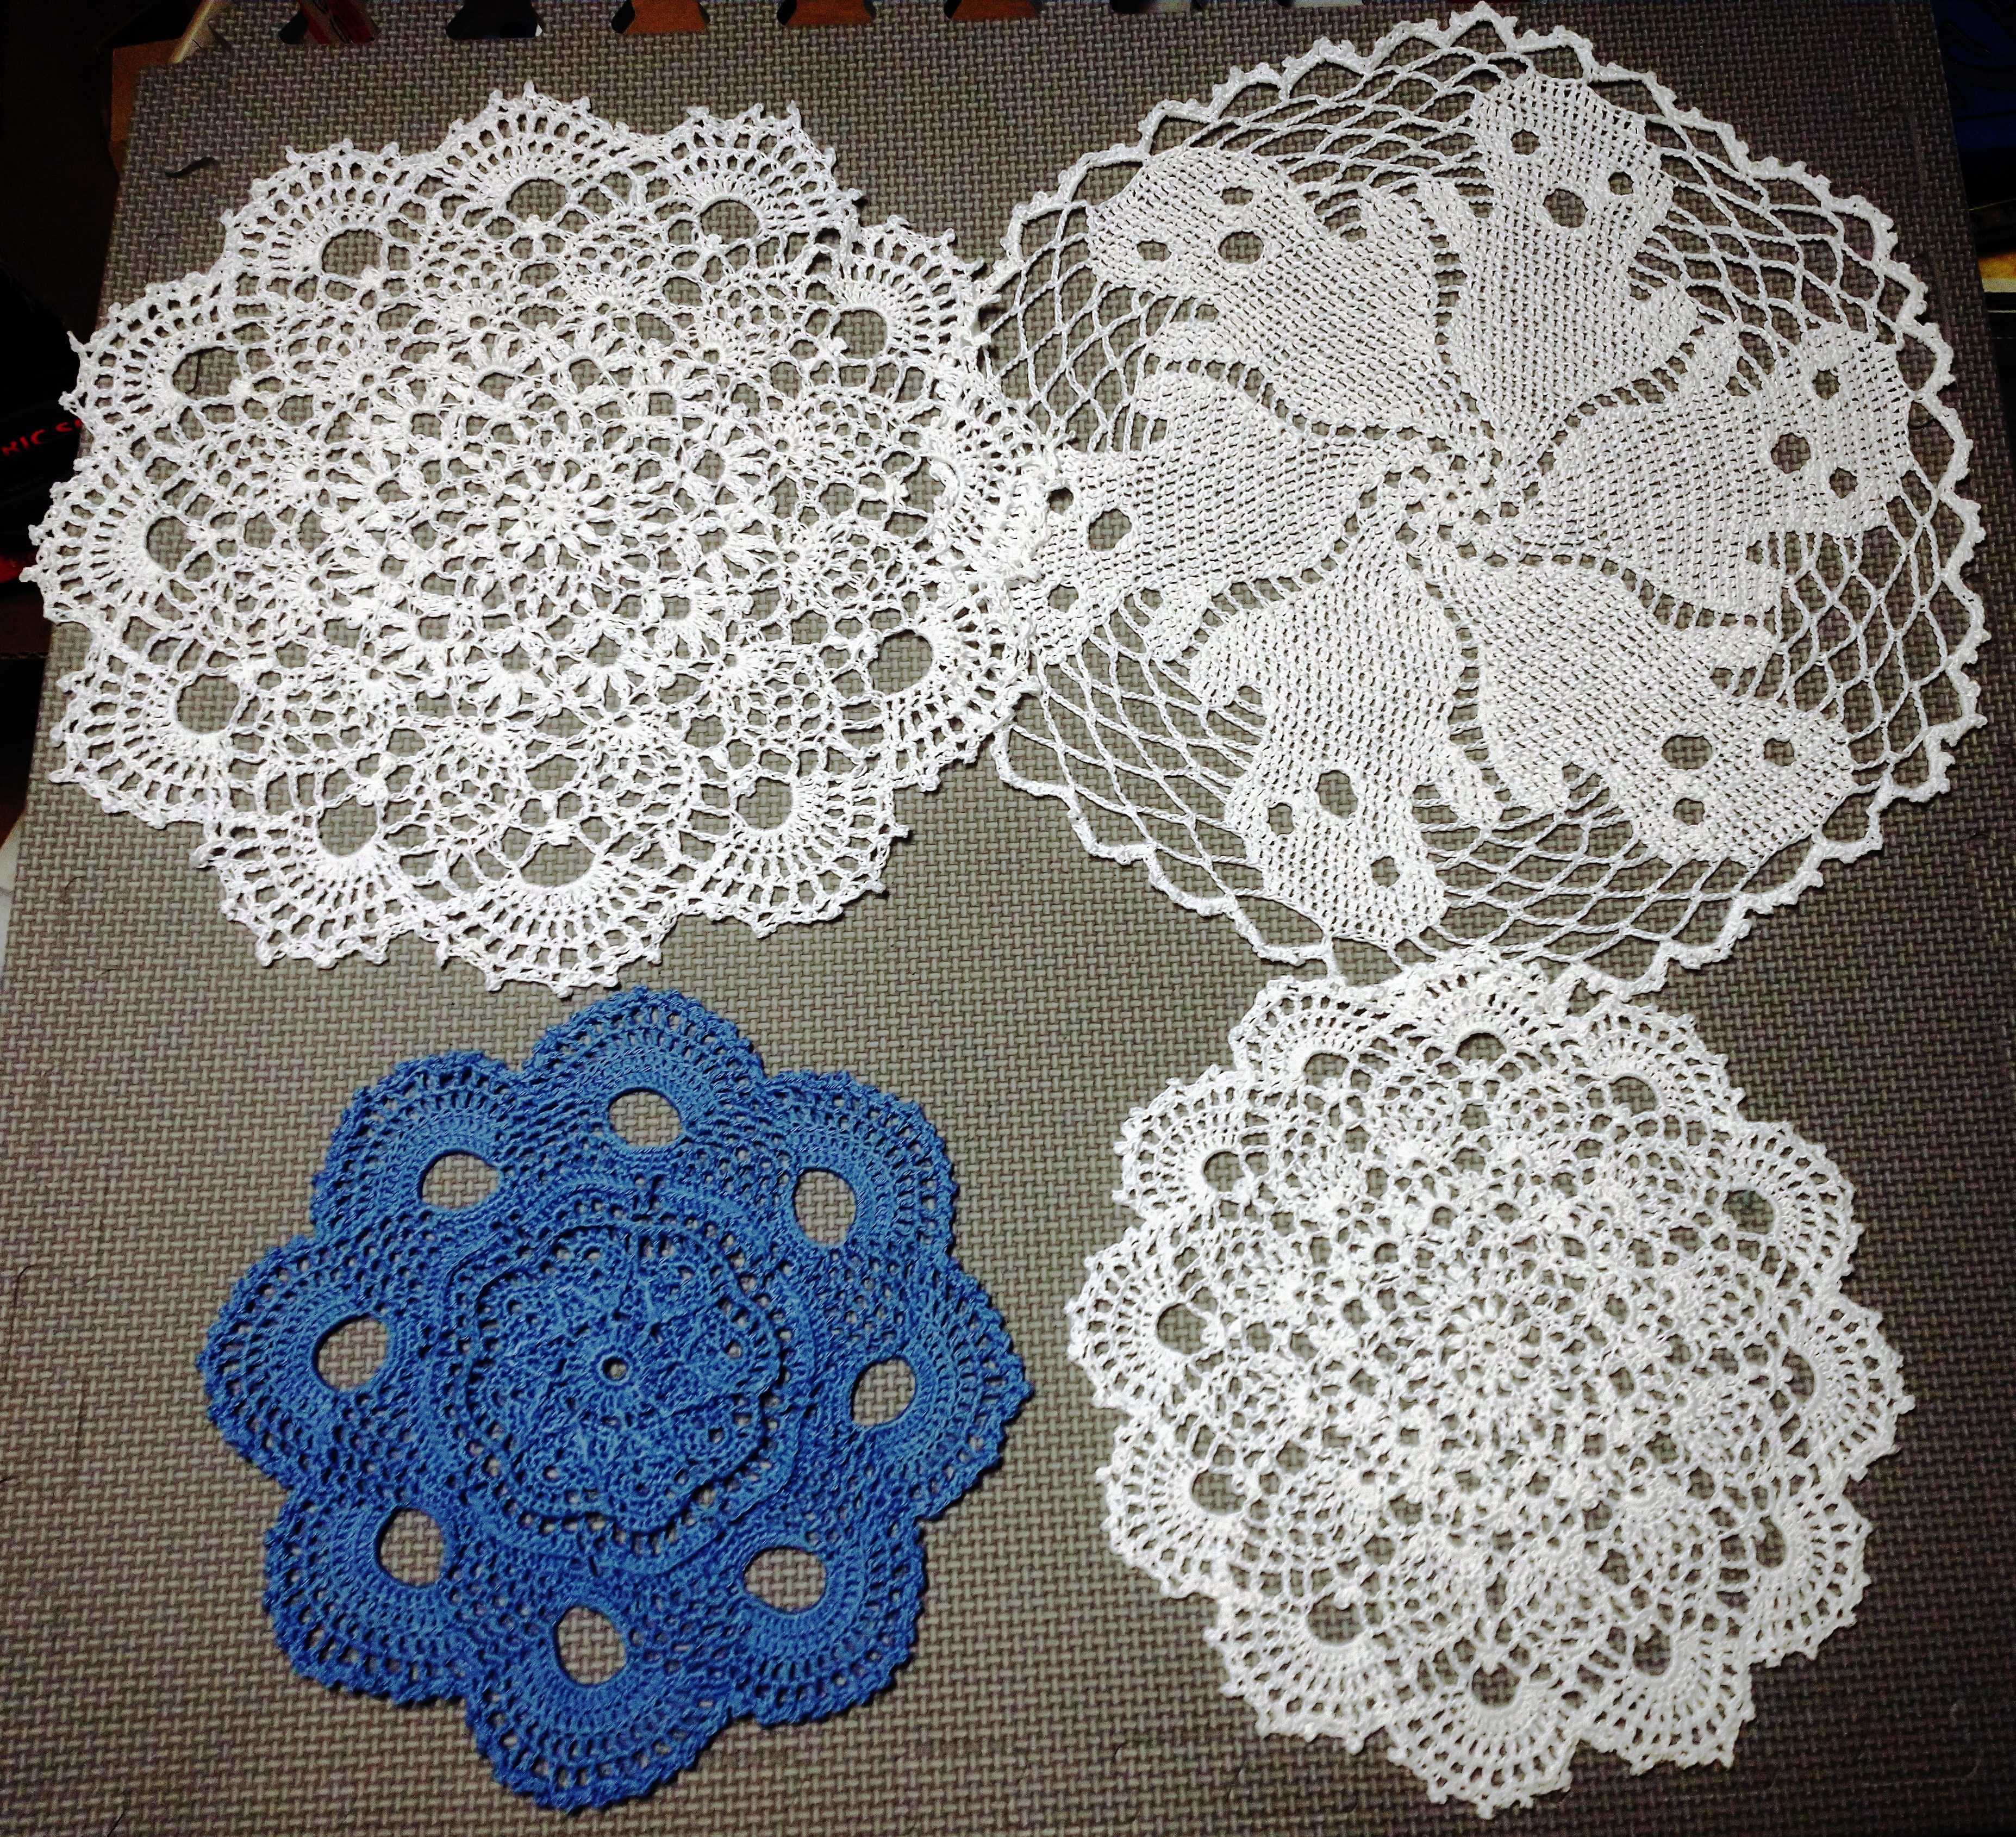
Thread crochet has always looked impressive to me, so I decided to get back into crochet by trying to make some doilies (using #10 thread). I have been happy to find active designers publishing modern doily patterns. These three in particular have many patterns I’d like to try:
-
Grace Fearon — She has 157 designs on Ravelry and several print books.
One thing I learned from my first attempt (which turned out much larger than expected) is that you can’t trust the size stamped on cheap steel hooks! I measured the ones I had with some calipers, and not only were many of the sizes wrong, they weren’t even monotonic: some of the smaller sizes were actually larger in diameter than the ones that were supposed to be several sizes larger than them. I ended up buying a set of Clover steel hooks which are much more accurate (and ergonomic).
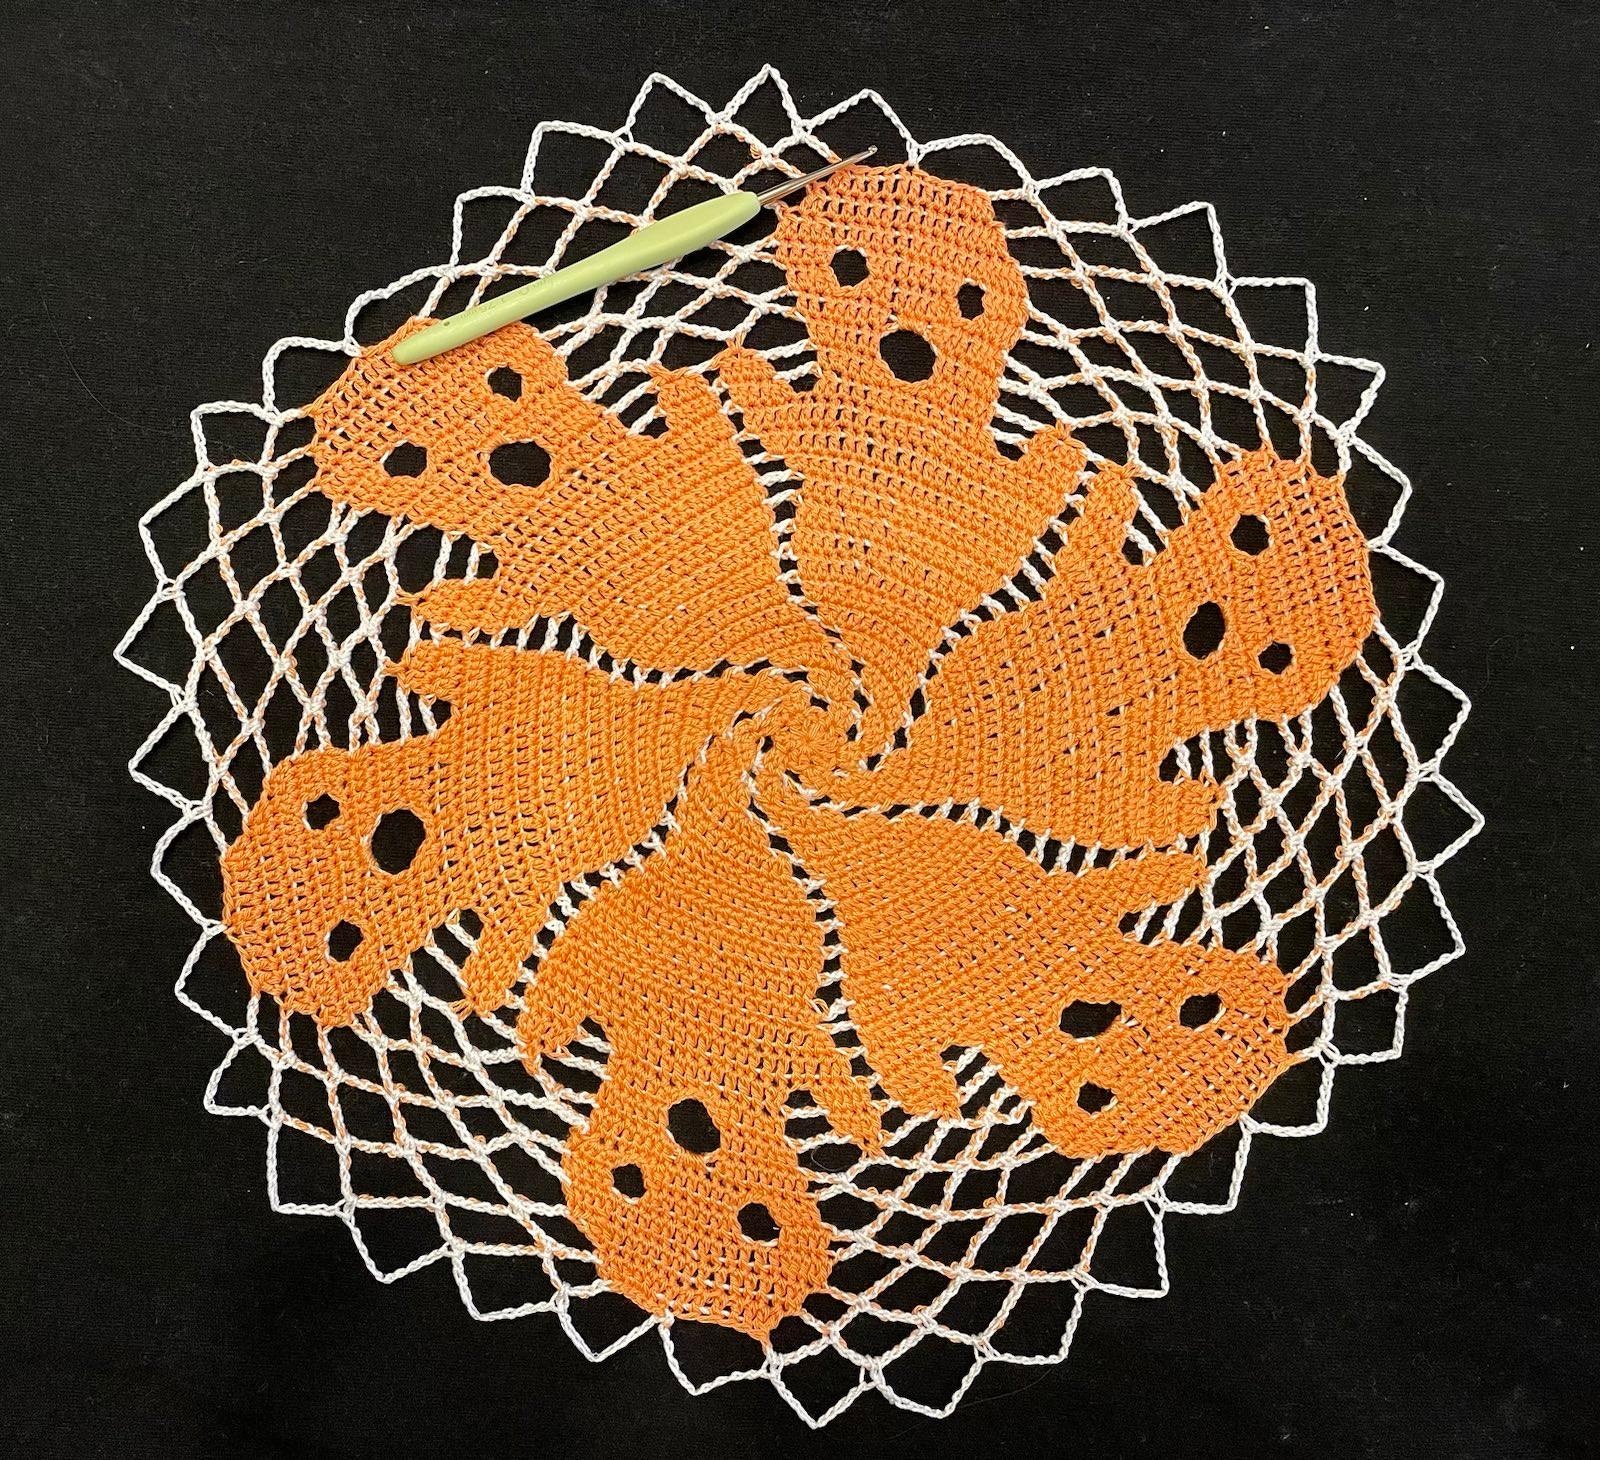
So far my favorite result is a textured doily called Elise by Grace Fearon that I did in a soft blue thread. But my most impressive is a two-color version of Marsha Glassner’s Halloween themed ghost doily I worked out how to do.
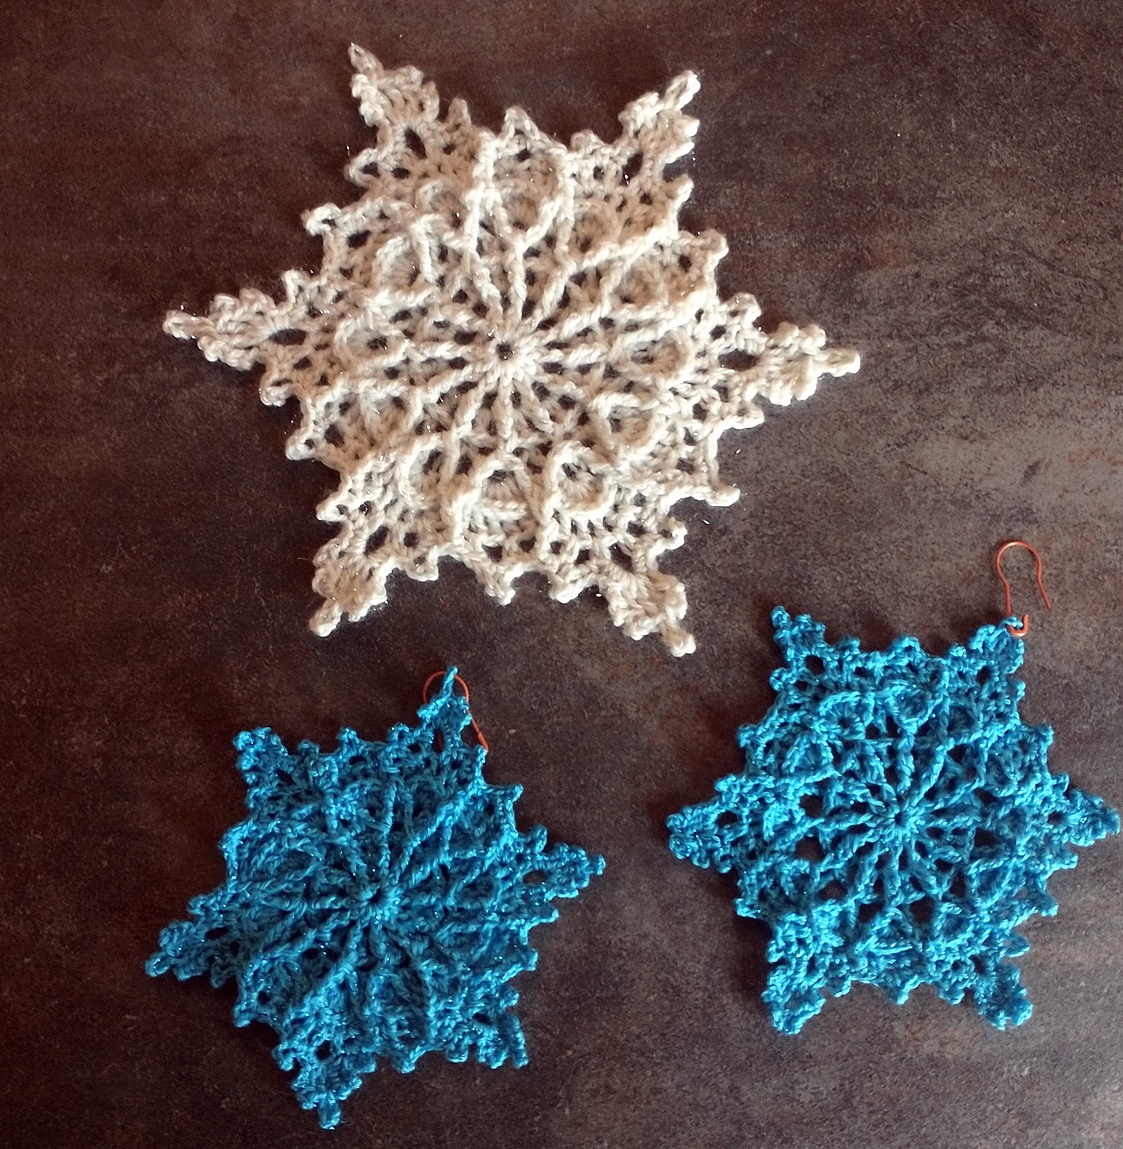
For Christmas I made some snowflakes following an Irina Maleeva pattern. The best one (fewest mistakes) was done in sparkly white fingering weight wool rather than cotton thread.
-
Ravelry Project: Four Practice Doilies
-
Ravelry Project: Two-tone Boo!
-
Ravelry Project: Christmas Ariel snowflakes
Yellow Hex Christmas Stocking
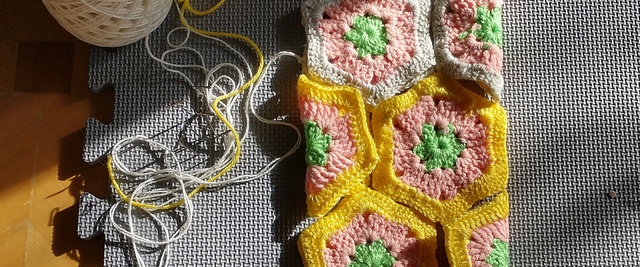
30 years ago my mom crocheted hexagon Christmas stockings for me and my four siblings. At some point my youngest sister’s stocking went missing. This year my mom and I decided to make a replacement.
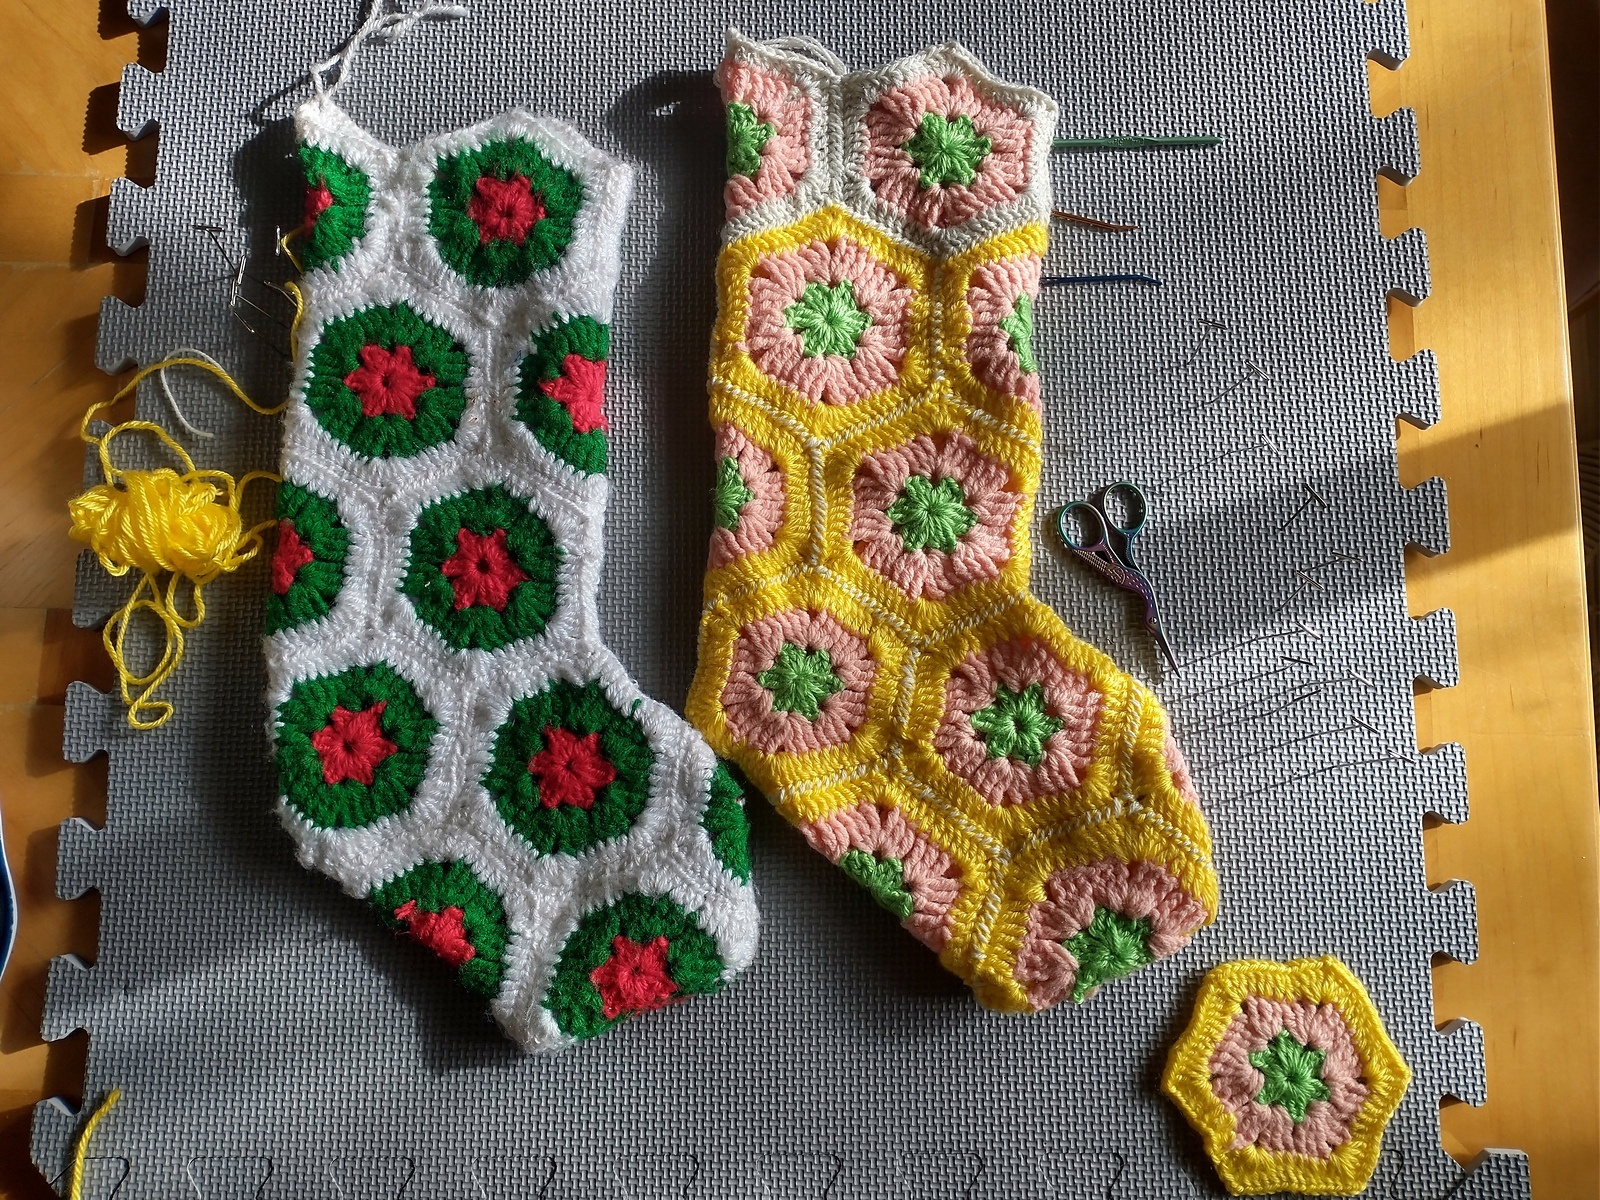
The original pattern could not be found. I found several similar patterns including this free one on Ravelry, but none of them were the same. So I reversed the pattern from one of the old completed stockings. My mom’s toe hexes are laid out differently than any of the other patterns I found: to get a round toe she seamed the pointy bits to the inside.
We made it using whatever worsted acrylic that was in my stash (most of it I inherited from my mom or sisters and is probably 20 years old itself!) plus some sparkly white sock yarn (held double). All of the old stockings are made from red, white, and green, but I actually really like the bright colors of this and it suits my sister’s personality.
-
Ravelry Project: Yellow Hex Replacement Christmas Stocking
Bonus: 3D Prints
Just before Christmas a friend gave me a 3D printer he no longer has time to use (an Ender 3 Pro)!
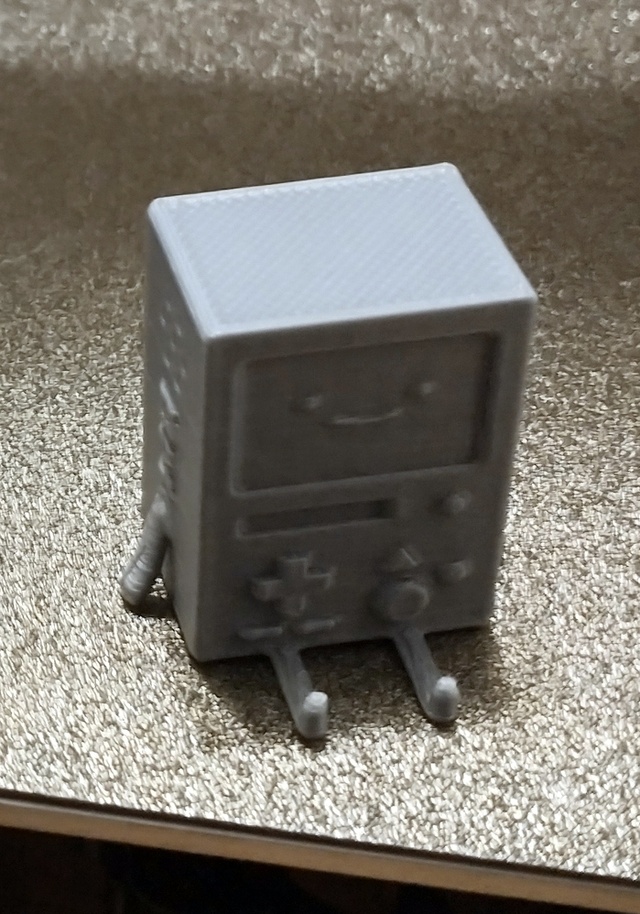
I have zero prior experience with 3d printing, but my very first print was successful: a little BMO character from Adventure Time (I scaled it to 25% before printing, so it is only about 1" across).
But my attempts at printing were not always immediately successful. In particular any model with small-diameter features on the first layer would often not adhere. After spending hours leveling and re-leveling, I found that the most effective thing was usually to wash the build surface with soap and water (and not merely wipe it with isopropyl).
To increase the ratio of my time spent printing vs leveling, I replaced the build surface with a PEI surface (which is great because once the bed cools down the prints pop right off), replaced the bed-leveling springs with stiff silicone spacers (as recommended in several reddit threads), and installed a CR Touch “auto bed leveling” sensor which replaces the Z-axis limit switch with a sensor that can always zero to the surface of the print bed. To take full advantage of the CR Touch I upgraded the printer’s firmware to a version of Marlin that supports mesh-based auto leveling (I used the pre-built firmware by Shiny Upgrades; they also have a good general guide here: Ender 3 Pro Starter Guide).
I still have tons to learn, but I am now getting reliable first layer adhesion even for models with tiny circles. Overall, hobby 3d printing feels closely adjacent to yarn crafts. Except it is cheaper ($20/kg of PLA filament vs $200/kg of wool yarn) and faster (a large print can take 24 hours plus some setup time, while a large knitting project can take 24 weeks or more, all of it labor intensive).
There are currently several competing model/project database websites (Thingiverse, Printables, Thangs, …), though none of them are as feature-complete as Ravelry is for yarn crafts. I like the look-and-feel of Printables best, but Thingiverse has more models and its database of makes (“projects” in Ravelry terms) prompts for more metadata which I like. For now I’m using both.
— Thingiverse Make: Adventure Time BMO
Print-in-place
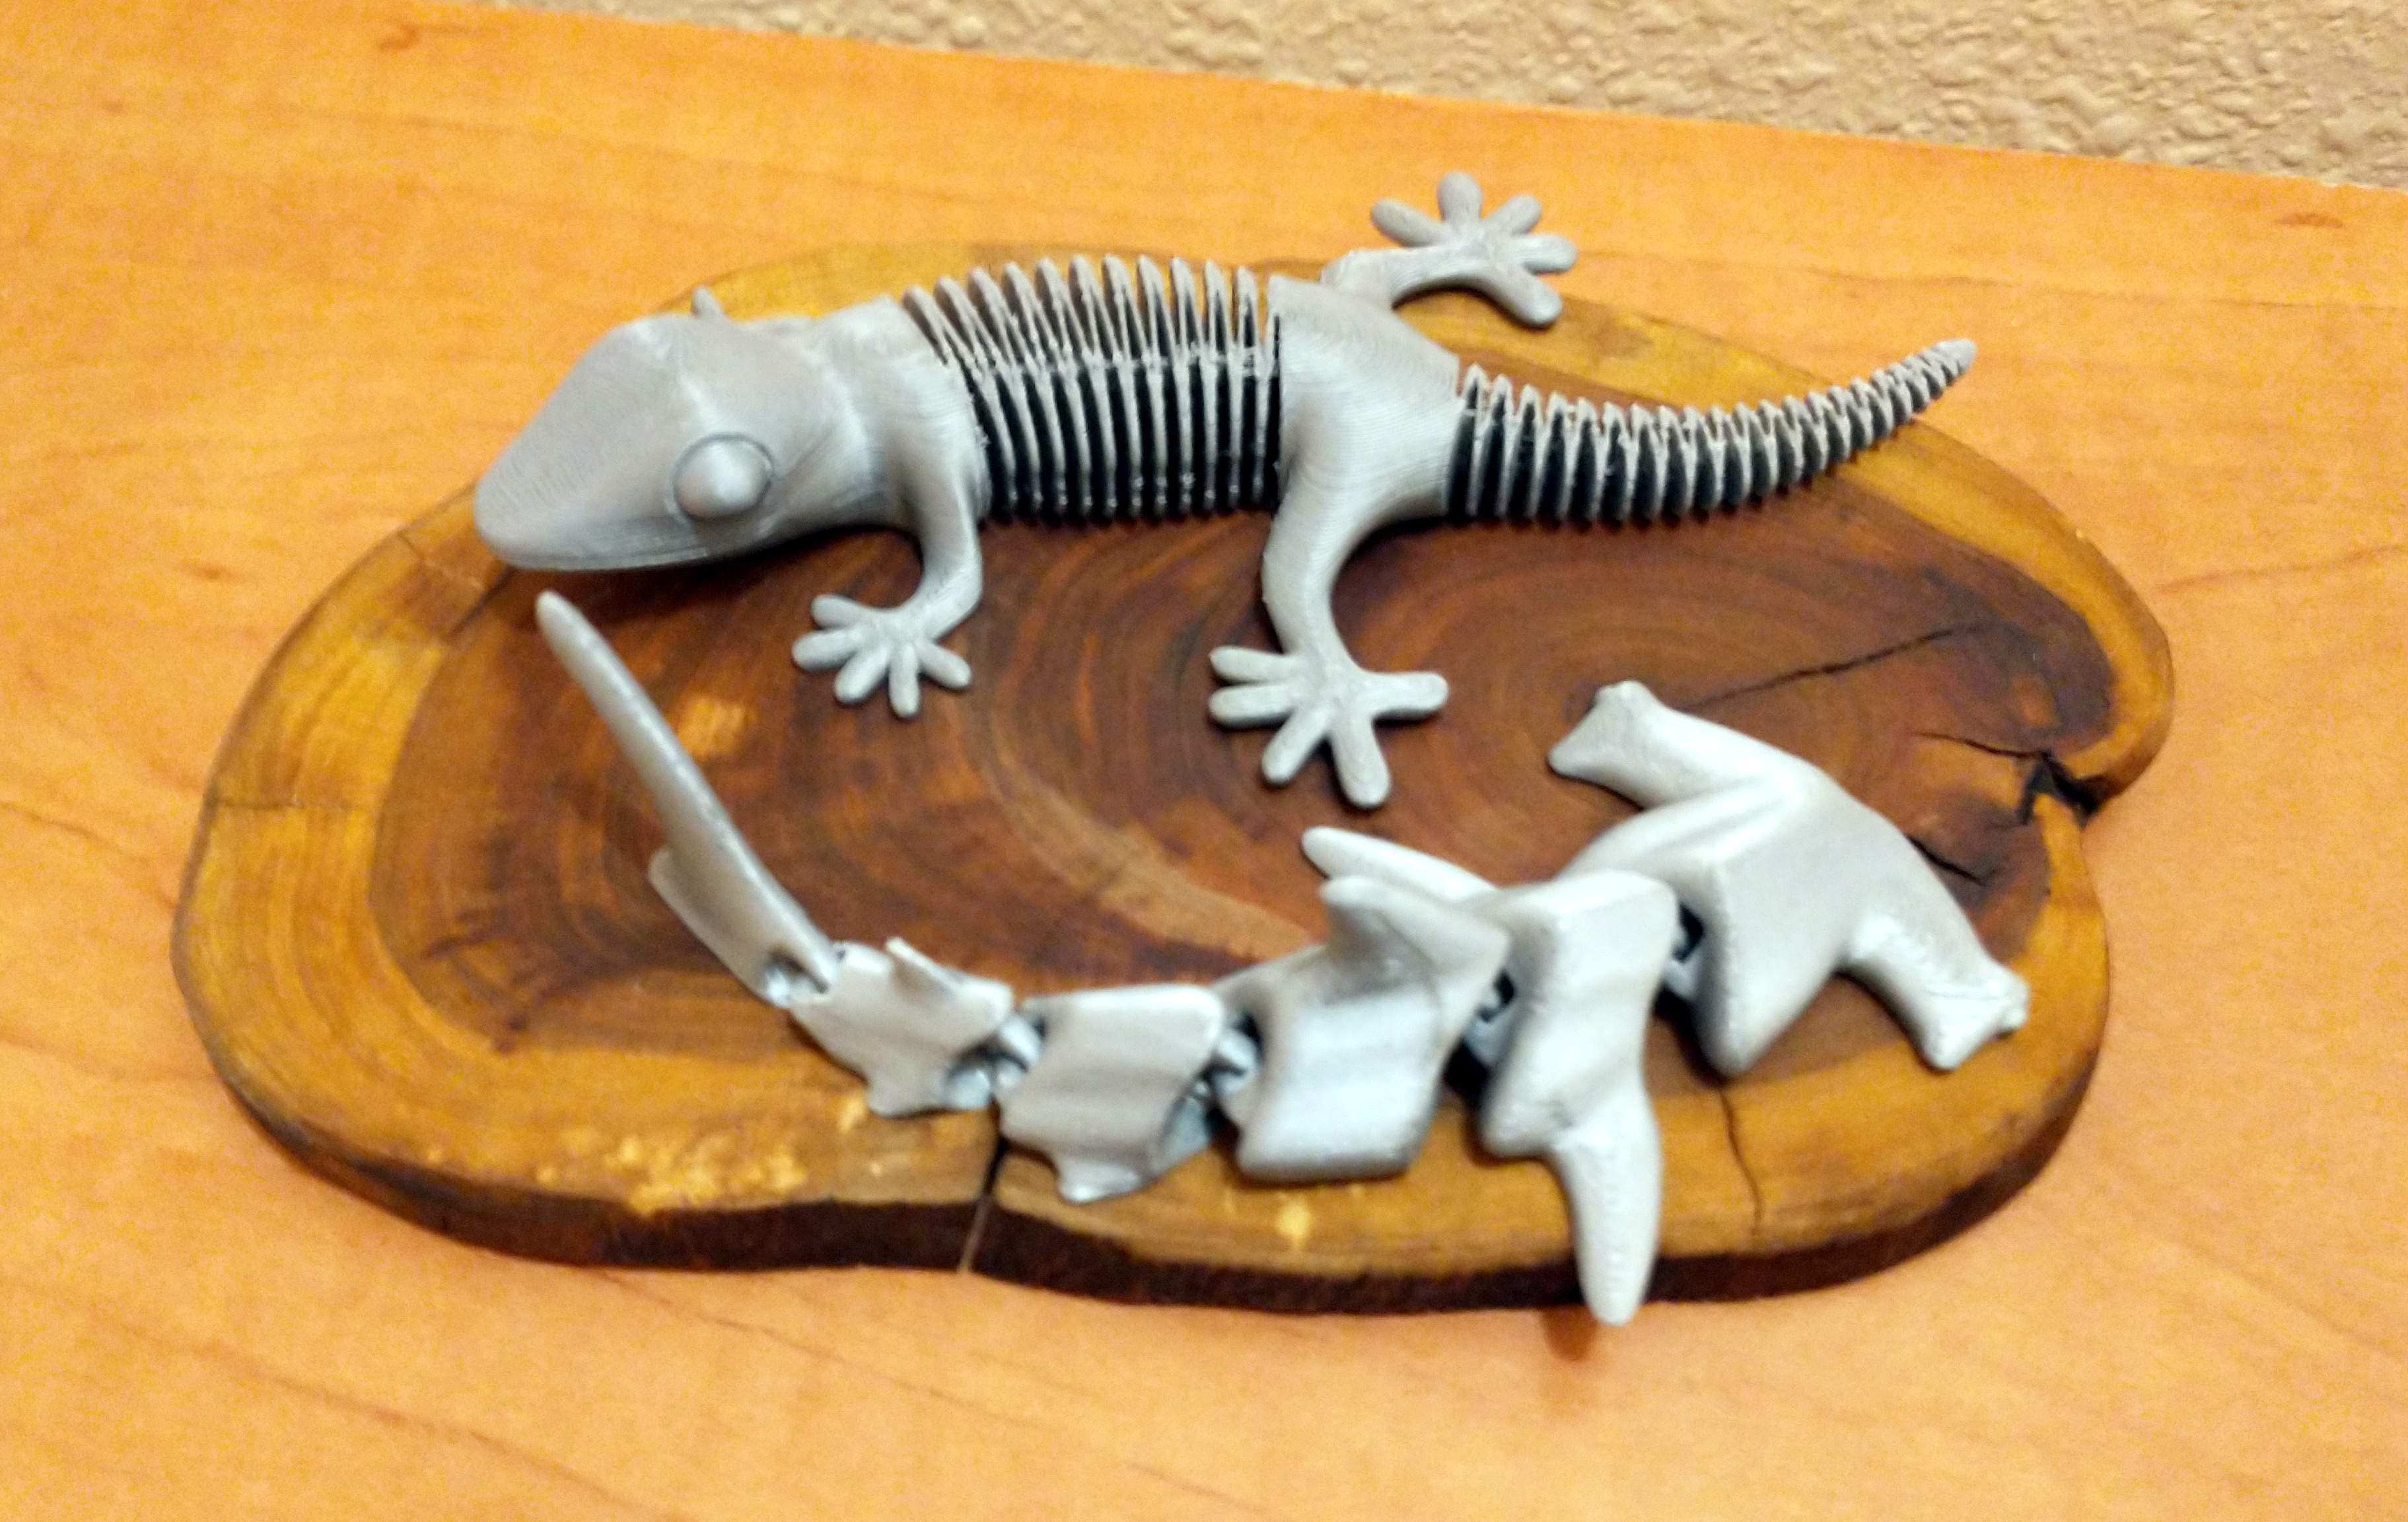
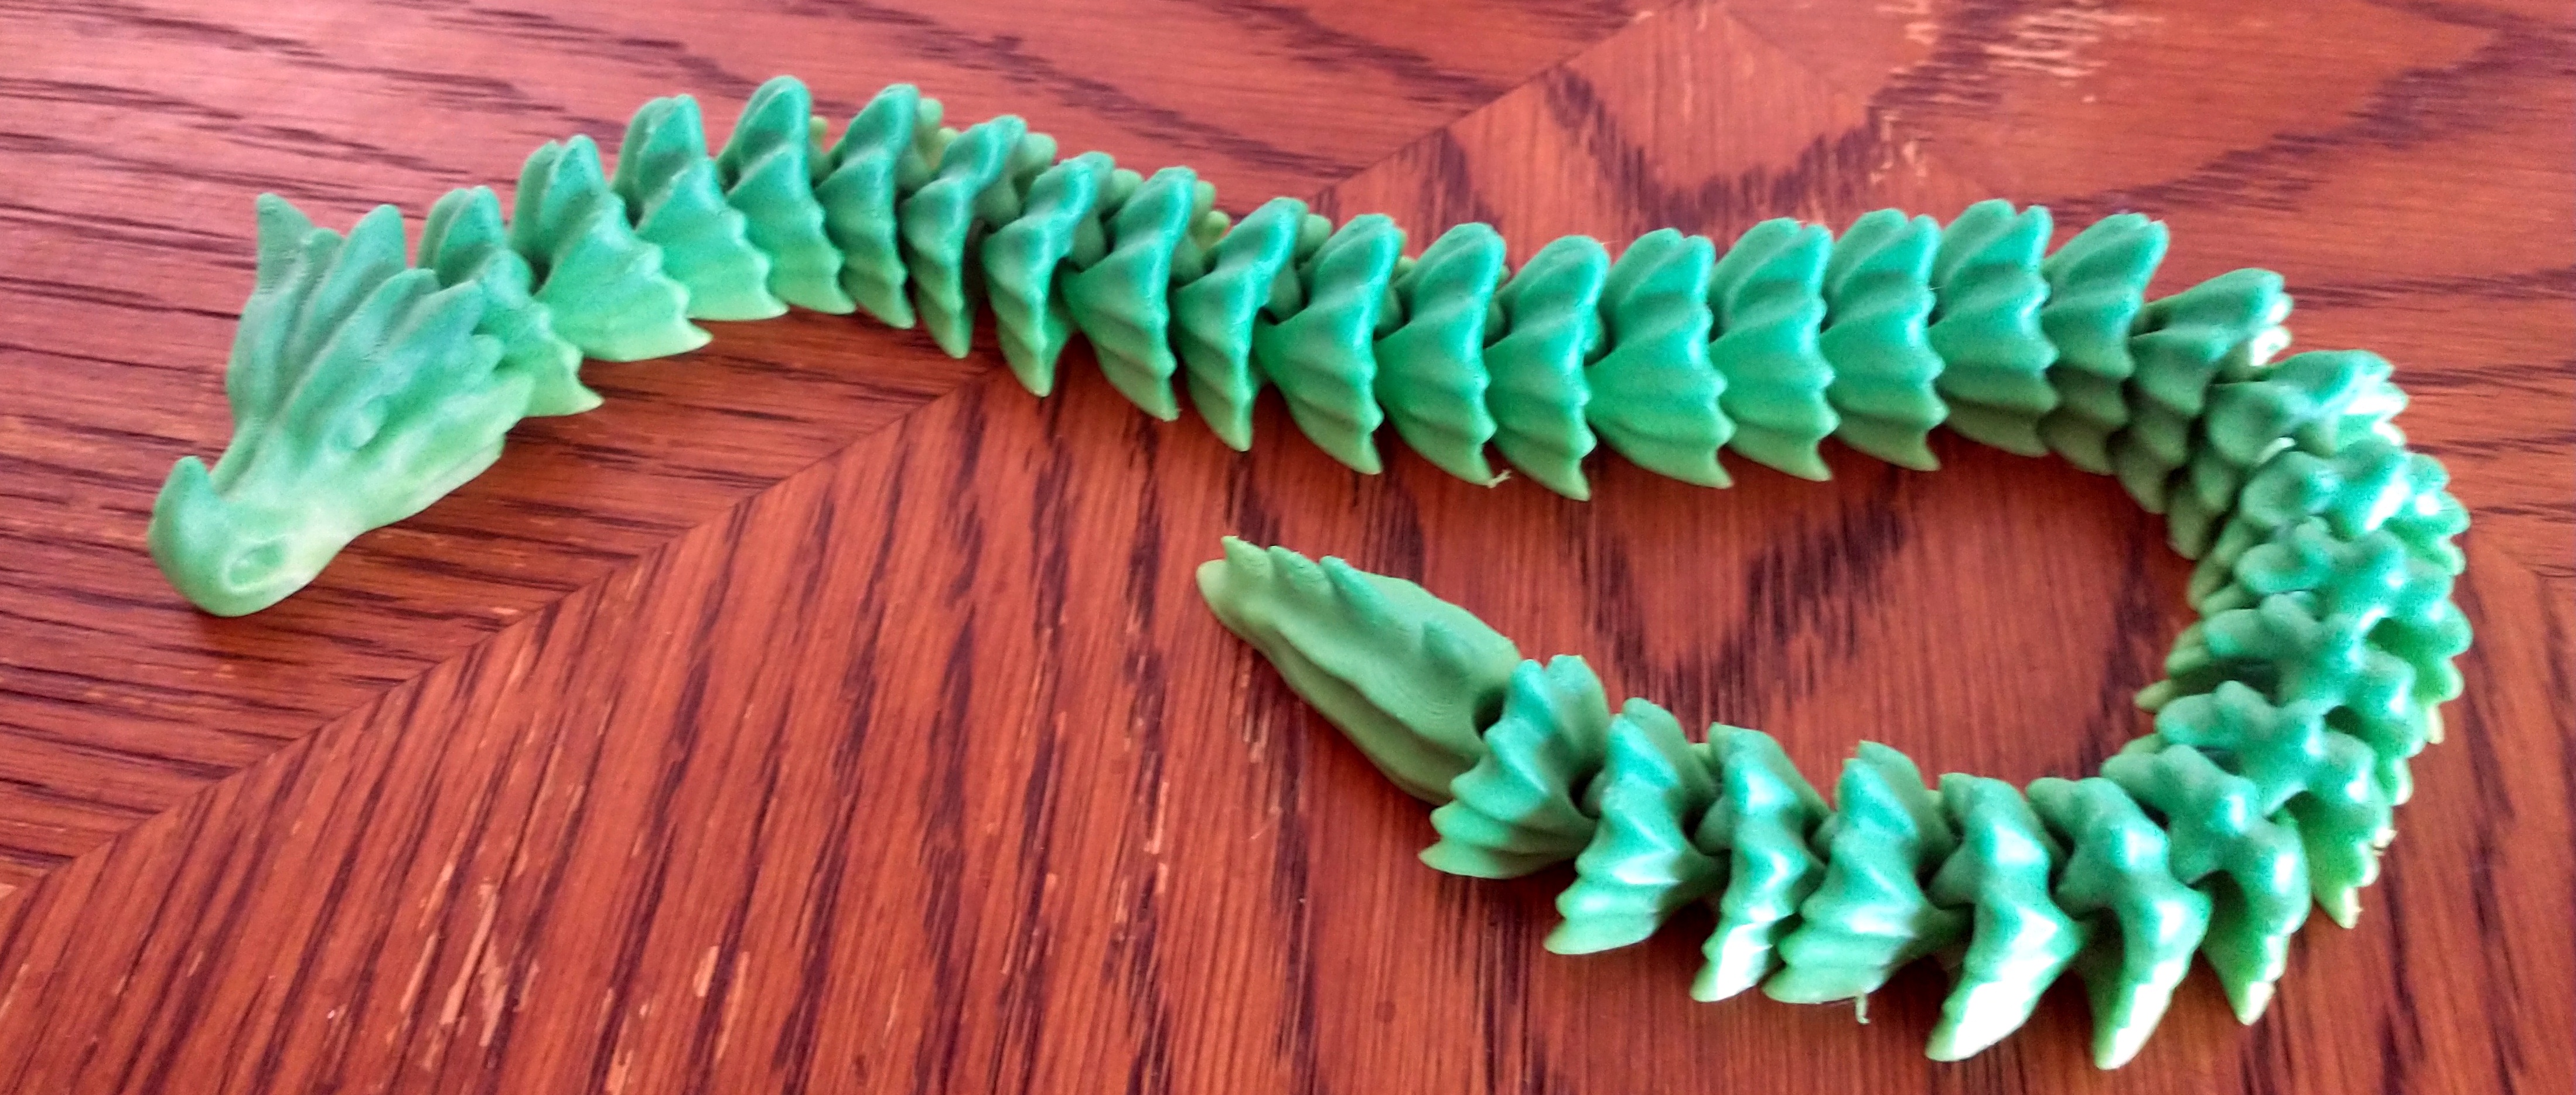
One of the coolest classes of designs made possible by 3d printing are so-called “print-in-place” models which have multiple parts joined by hinges printed as a single piece. Once the model is finished it can articulate with no assembly required. So far I’ve tried a hammer head shark and a 30-segment snake model, and they both worked perfectly.
-
Printables Make: Articulated Hammerhead Shark
-
Printables Make: Articulated Bone Dragon
Card kit
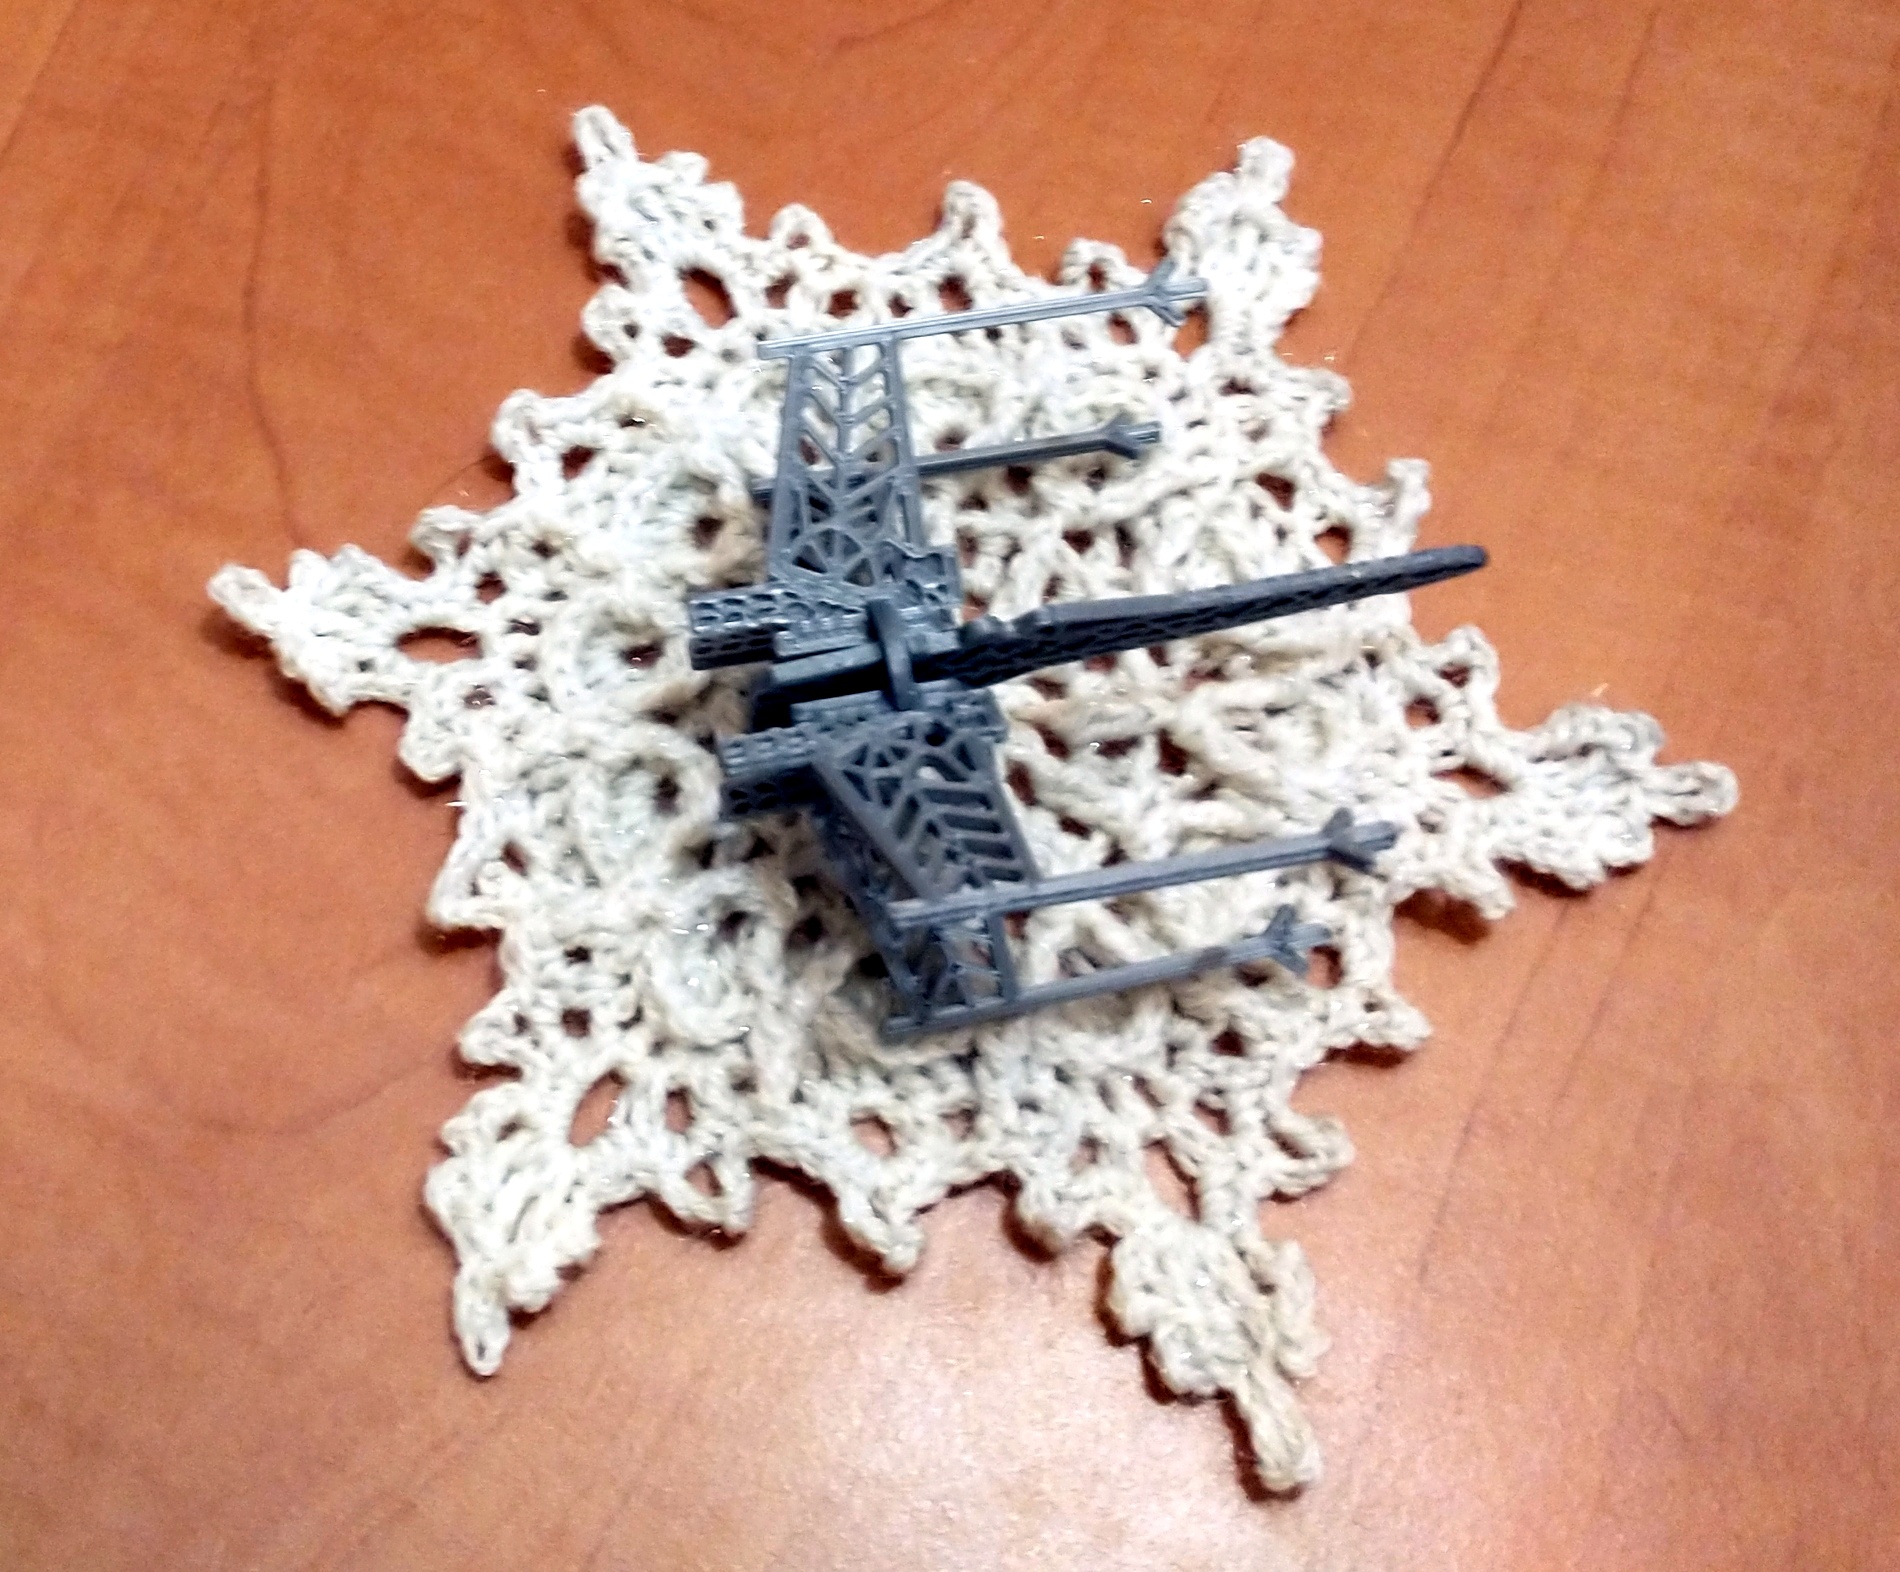
Another technique is to design models which print flat and then snap together into a 3d shape like this Christmas-themed X-Wing fighter.
-
Thingiverse Make: Snowflake X-Wing Kit Card Ornament
Vase mode
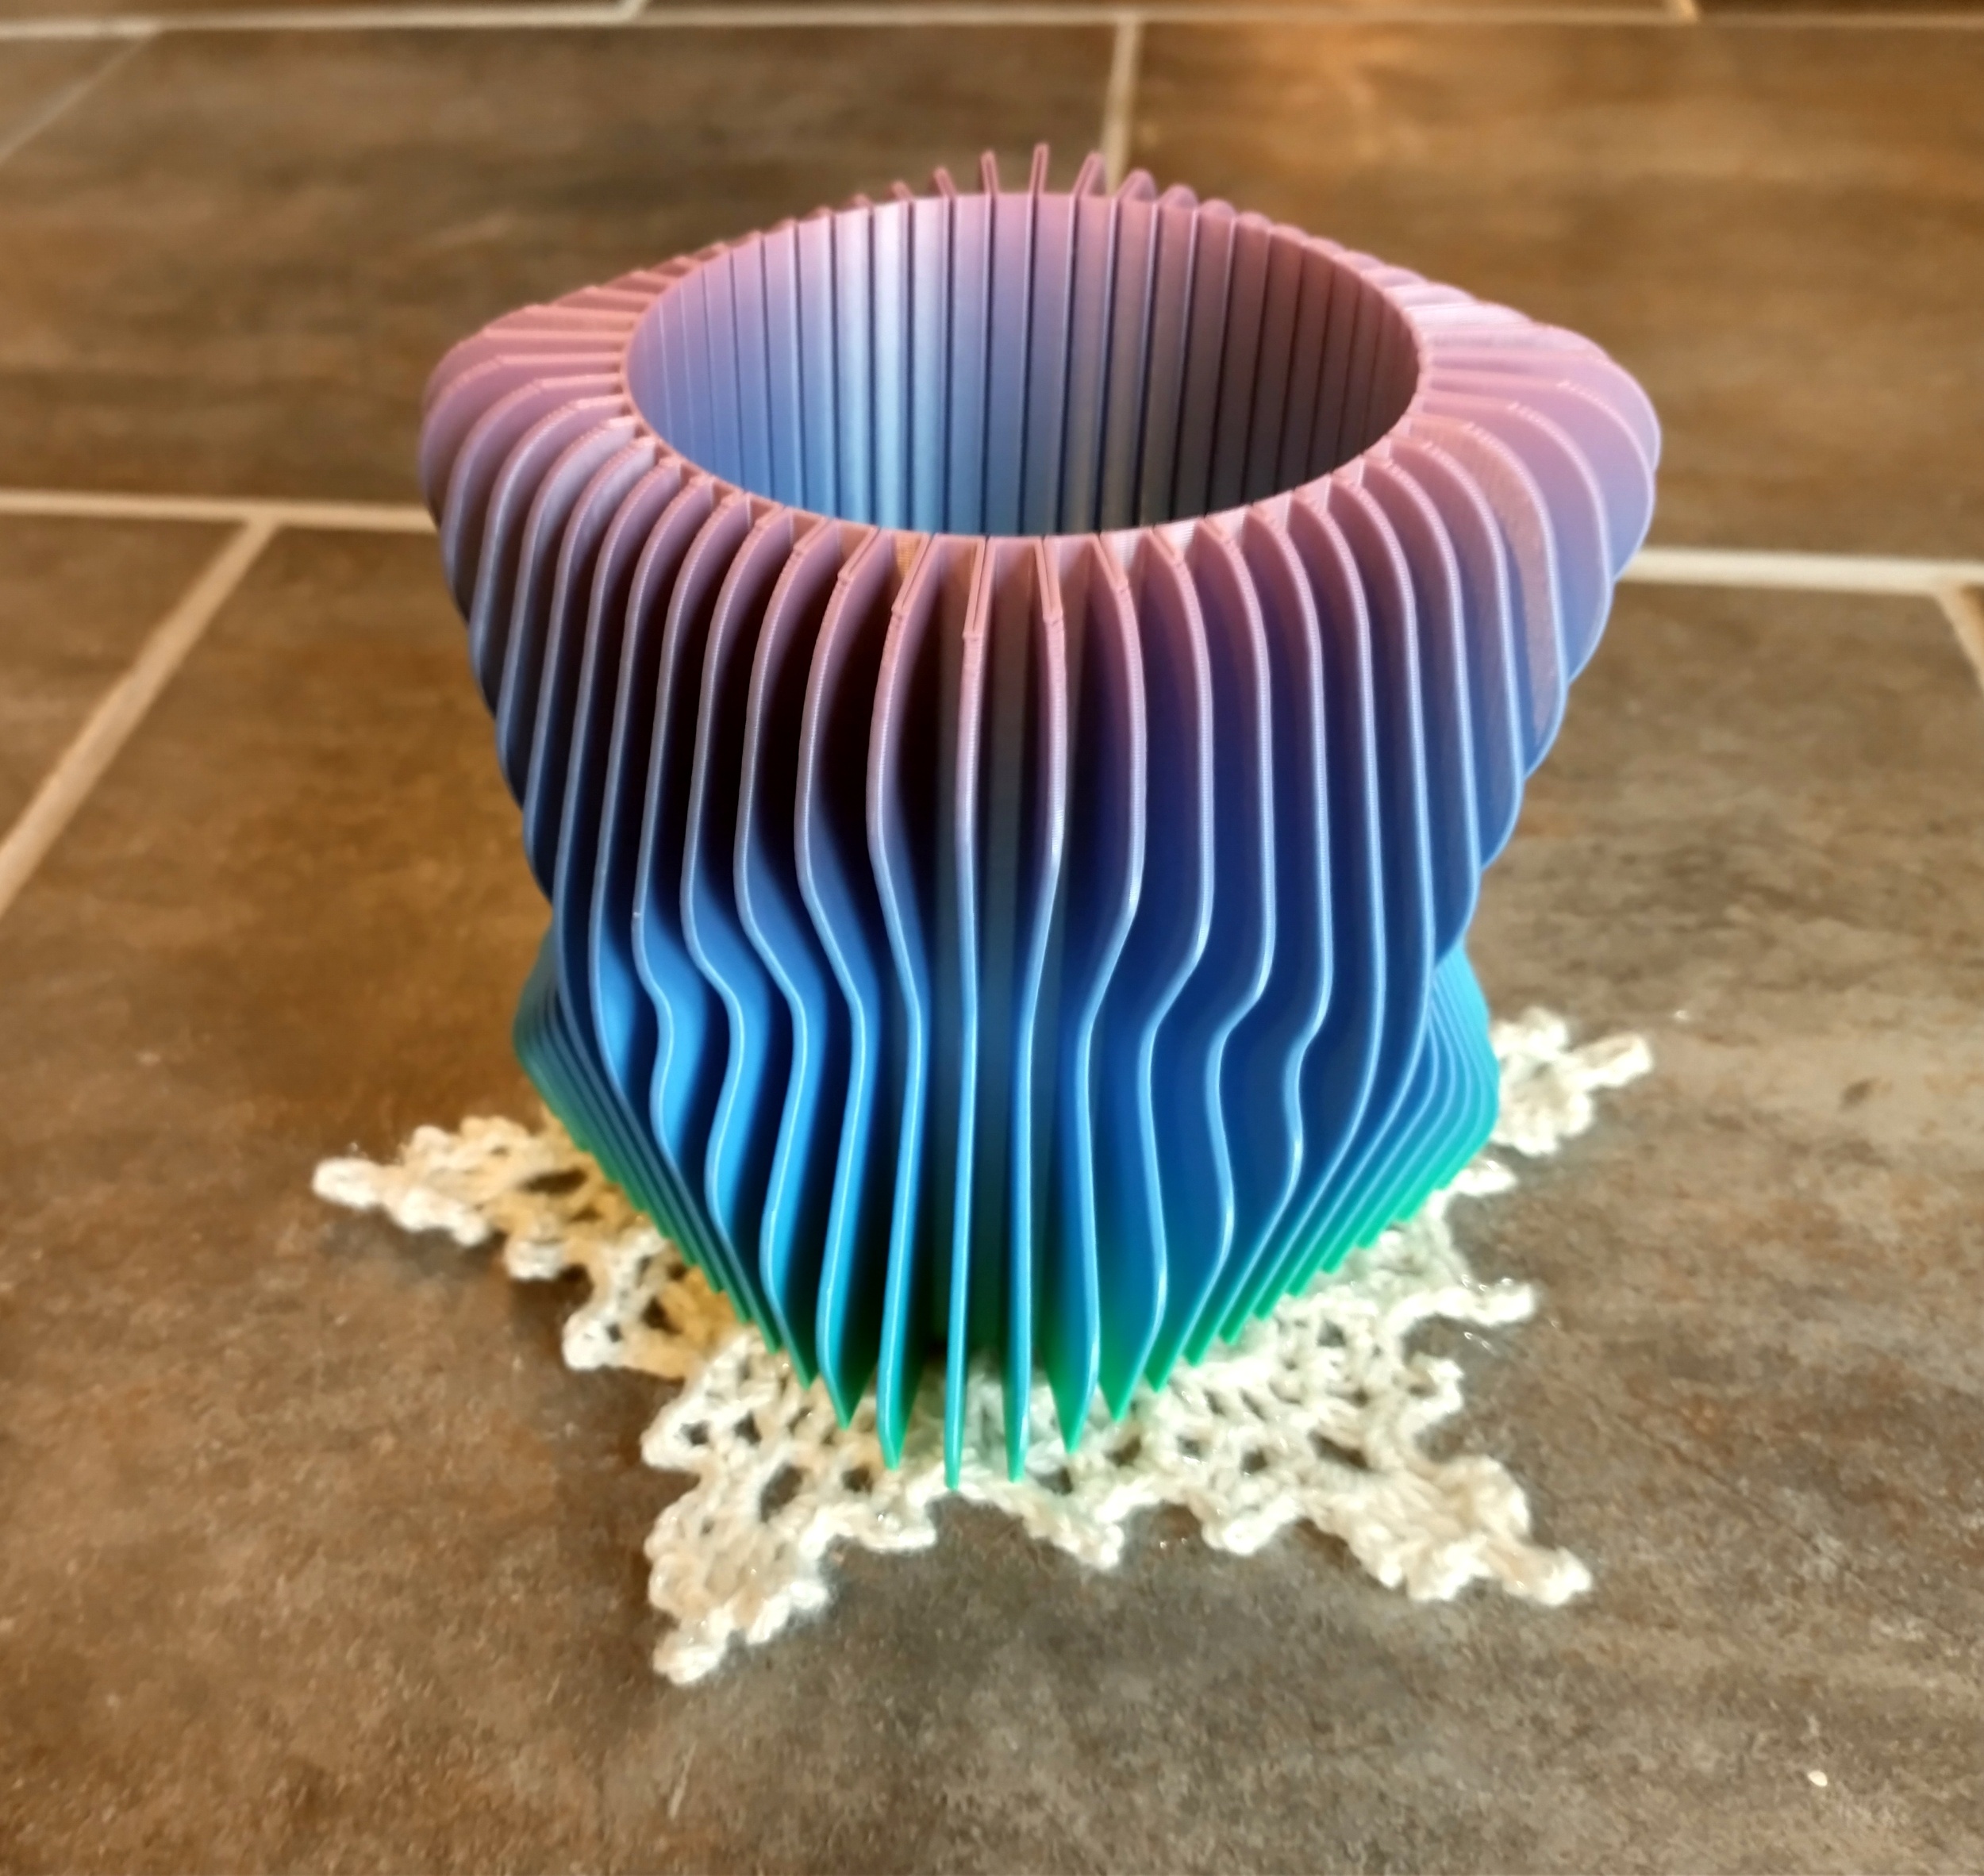
Vase mode (or “Spiralize Outer Contour” in Cura) is a way of printing vase-like models without a Z seam. The print nozzle continues around in a seamless spiral rather than printing discrete layers. This is analogous to crocheting continuously in the round instead of joining each round with a slipstitch.
I printed this pencil holder in some ombre filament I got as a Christmas gift (Creality Ender-PLA+ in colorway “Colourful”). I love how it turned out! Though it is a bit squishy… I should have probably increased the extrusion width to 0.6mm (with my 0.4mm nozzle). I will try that on future vase-mode prints.
-
Printables Make: Wavy Pencil Holder
Cookie cutters
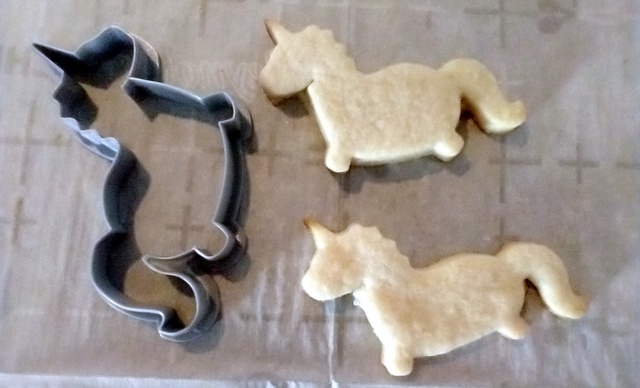
By far the most pracitcal prints I’ve made so far are cookie cutters! The most popular is the fat unicorn.
-
Printables Make: Unicorn cookie cutter
Up next
In 2024 I hope to focus even more on knitting. Most immediately that means probably making a pair of Cookie A’s Monkey Socks, but more long term I intend to complete at least Level 1 of The Knitting Guild Association’s Master Hand Knitter program. I haven’t signed up yet, but I just registered as a TKGA member while writing this post!
I also hope to dedicate time to creating some knitting CAD tools.
In addition to knitting and crochet, I have a growing queue of sewing projects. I already have all of the materials for the Fremont tote bag, so that will probably be first up!